There are many types of shirt for both men and women, but what are the actual specifics of a shirt?
Let’s take a look at the different parts of a shirt, so that you can feel more confident sewing shirts of your own, and understand the terminology used in the sewing pattern and books.


How Many Parts Are In A Shirt?
There are usually ten parts in a shirt, but the number can vary depending on the type of shirt being made.
A sleeveless tunic style shirt will have only:
- Shirt front
- Shirt back
- Button stand
- Collar
- Hem
Which is only five parts. So the number of parts need per shirt really is subjective to the shirt type or style.
What Are The Parts Of A Shirt Called?


Here’s a list of the different shirt parts:
- Collar
- Collar stand
- Button stand
- Shirt front
- Yoke
- Shirt back
- Sleeves
- Placket
- Cuff
- Hem
Let’s take a closer look at each of the different shirt parts!
Shirt Collar


The collar on a shirt should fit perfectly. If the collar is gaping, the shirt is too big. When it comes to shirt sizes, only mens shirts are sized by the collar / neck measurement.
The collar can be very plain and traditional in size and shape, or something more elaborate, depending on the designer.
Collar Stand
The collar stand connects the collar to the shirt front and shirt back or yoke.

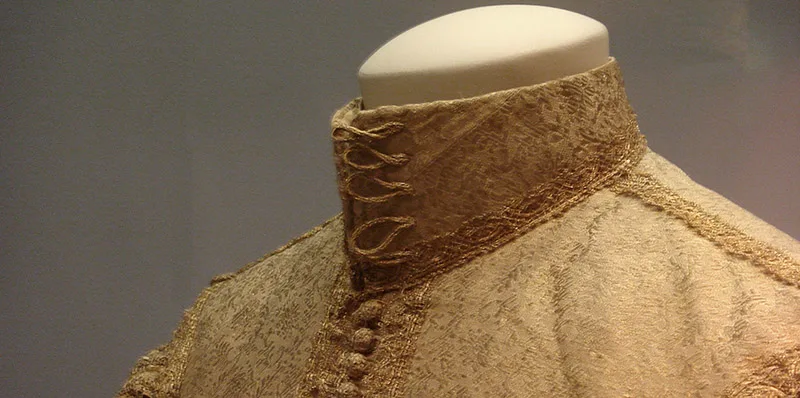
Not all shirts will have a visible collar stand – sometimes they are designed into the collar itself.
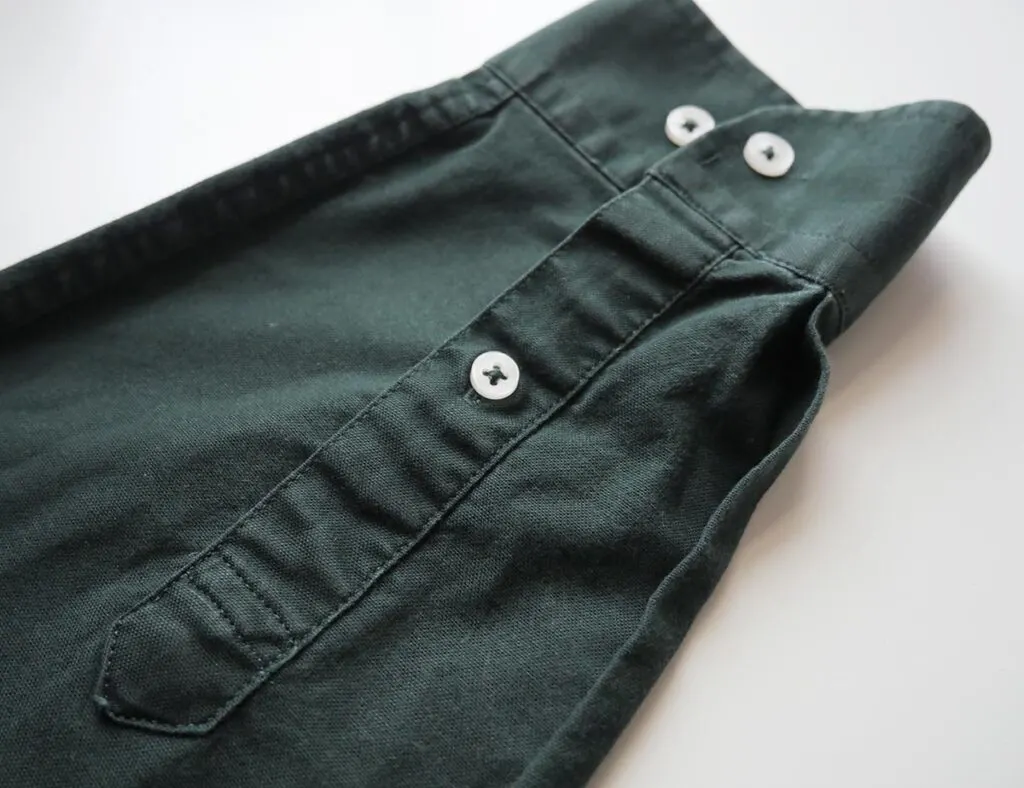
Shirt Button Stand
The button stand exists on both sides of the shirt front, usually down the centre front except on asymmetric shirts.


Oftentimes this is called a ‘placket’ in the sewing community, but from a fashion design perspective, it is always referred to as a button stand.
Button stands can be visible or concealed (above image) and either ‘grown on’ as part of the shirt front, or added on, meaning that they have a separate pattern piece.
Shirt Front


This is the front of the shirt – usually cut as a pair but if there is no full length centre front opening, it can be cut in one piece with a placket added at the neckline to allow the shirt to be pulled on over the head.
Shirt Yoke


Not all shirts have them – but the more formal, tailored shirts we wear for work and events usually do.
The yoke is a section on the upper back, attached to the front pieces at the shoulder seam and to the back piece along the back around the back armhole area.
If there are darts on the back section of women’s shirt pattern, these are often pivoted into the back armhole and then the yoke is cut to incorporate the darting.
Some shirts will extend the back yoke over the shoulder and into the front of the shirt!
Shirt Back


The skirt back is usually cut on the fold, and sometimes incorporates a small pleat at the centre back / yoke join.
If there is a centre back opening instead of a front opening, the shirt back can be cut as a pair if a button stand is needed, or on the fold if a placket or zippered open is planned.
Shirt Sleeves

Sleeves for shirts come in different lengths and sleeve styles, from a standard shirt sleeve seen on work shirts and formal shirts to big bishop sleeves on women’s blouses and small cap sleeves on knit shirts.
Sleeves are usually cut as a pair and on a traditional tailored shirt, are sewn to the body of the shirt with a run and felled seam – also known as a flat felled seam.
The shirt sleeve details must always be sewn before the sleeve is attached to the body of the shirt!
Shirt Sleeve Placket


This is the finished ‘slit’ in the shirt that allows the arms to move in the sleeve.
There are three types of placket that can be used on a shirt:
- American placket
- Classic placket
- Bound placket
For a more classic shirt, the classic placket is standard.
Once your placket is prepared and sewn, you can now close the shirt by sewing the sleeves on, then sewing up the underarm and down the side seam!
Shirt Sleeve Cuff


The last stage of sewing a sleeve on your shirt is to attach a cuff. There are as many cuff styles as there are types of shirts but the cuff’s purpose is to close the sleeve so that it fits nicely around the wrist.
Like the shirt collar, you don’t want the cuff to be too tight, so make sure to draft a cuff pattern that is the appropriate size for the person that will wear it!
Shirt Hem


The end of the shirt is called a hem. Usually the hem of a shirt is sewn with a double fold hem and often is shaped rather than straight across.
Other types of shirt hems are:
- Single fold hem (more often seen on low priced, mass manufactured shirts)
- Raw edge hem (ironically, this hem finish shows up on both high-end designer shirts as well as more low priced versions too!)
- Pin hem (this is a hem that is used on shirts made from fine or lightweight fabrics such as chiffon)
- Faced hem (either using self fabric or bias binding to face the hem)
Shirt Anatomy
There you have it! A shirt anatomy – all 10 parts – fully explained so that you are now in a much better position to not only sew a shirt for yourself, but also design a more unique one too!
Learn more about the different kinds of shirts here, the various collar types and my guide to sleeves types too – all three essential reading if you plan to design or sew your own shirts!