How To Make A Pouch With My Zipper Pouch Pattern
I love the zippered pouch I made using my Walnut Slouch Pouch Pattern, and thought I would show you how to make a pouch yourself!
This is a beginner friendly project, which I created for my Learn to Sew students, so that they could practice a variety of sewing techniques that I teach in my online sewing course.
But, let’s take a look at what you’ll need to sew your own fabulous zippered pouch!
Supplies To Make A Cute Zipper Pouch
There are a few things to gather up to make a slouch pouch of your own, but you should be able to find most of this at home or a local store.
Note: Some of the links in this article are affiliate links. This means that I may receive a commission if you make a purchase, at no extra cost to you.
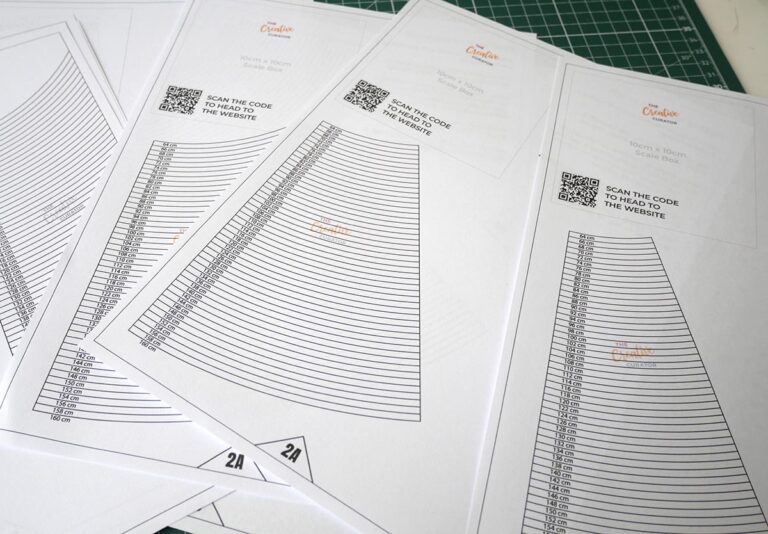
Zipper Pouch Pattern
You’ll need a pattern of some sort. You can wing it and create your own, but I have this Walnut Slouch Pouch pattern all ready to go for those who want it!
Fabric
I used curtain fabric, but anything would wok for this sewing project. Repurposing denim from old jeans is a great option, a ripstop nylon works great for a packing cube feel or maybe make one from an old lather jacket for something more structured and heard wearing?
Zipper
You’ll want a zipper for the opening. I used a continuous zipper in size no.5 as it perfectly matched the fabric I had picked, but you can use a closed zipper if you have one long enough.
Lining – Optional
For the slouchy version I made, I opted to not line it, but I do have another version in progress which is lined and will be sharing that when complete. Aim for a lining that is lighter in weight than your main fabric!
Bias Tape – Optional
If you would rather a more graphic style zipper pouch, you can sew the pieces wrong sides together so that the seams are outside, and then apply a colourful bias tape to enclose them. This would make for such a fun variation of this pattern!
D Rings – Optional
If you really liked the zipper pouch design and wanted to make it more of a bag style, you could attach a D-ring to either end to attach a strap to!
3 Things To Keep In Mind
This is an easy project to sew, but here are some additional suggestions to keep in mind before you sew a slouch pouch for yourself!
Tip 1: Use a needle suitable for the fabric you have chosen to use.
Tip 2: If you plan on lining your zipper pouch, make sure that the fabric is silky, and hand tack it to the seam allowance of the main fabric so that it stays nicely in place.
Tip 3: If you do not have a zipper the right length or right colour for you fabric choice, you can use continuous zipper tape in size No.5. Leave a centimetre longer on either side and melt the tape once cut to size so that it doesn’t fray.
How To Make A Zipper Pouch Of Your Own
If you prefer to watch instead of reading, I have a video tutorial on my YouTube channel showing how I made a cute zipper pouch.
Step 1: Start by cutting out the pattern pieces for the zipper pouch pattern according to directions.
You will need:
- 2 side pieces
- 2 top pieces
- 1 main piece
- Lining is optional
- Bias tape finish is optional

Step 2: If you are not planning on lining your slouchy pouch, then make sure you take the time to serge or overcast the fabric edges of each piece for the zipper pouch pattern!

Step 3: If you do not have a zipper the correct size, you can cut continuous zipper tape to size. I like to leave 1″/2.5cm over on each end. You’ll need to feed the zipper pull on as well!

Step 4: Once prepped, you pin your zipper to one top piece of the Walnut slouch pouch.

Step 5: Sew the first side of the zipper to the top piece. I like to keep a pin on both ends of my continuous zipper tape, as there are no stoppers on it.

Step 6: Pin and then sew the second top piece onto the opposite side of the zipper. Make sure that the shorter ends are aligned.


Step 7: When the two top pieces are sewn to the zipper, you can topstitch if desired to hold the zipper tape in place.

Step 8: Pin the shorter ends to the top panel as shown, and then sew both side pieces in place. You can topstitch as well if desired.


Step 9: Pin the short edges of the side panels to the main piece of the zipper slouch pattern, matching the notches as indicated in the pattern.

Step 10: Pin the remainder of the zipper pouch pattern together, matching notches. Ensure that the zipper is open, so that the slouch pouch can be turned through when sewn shut.


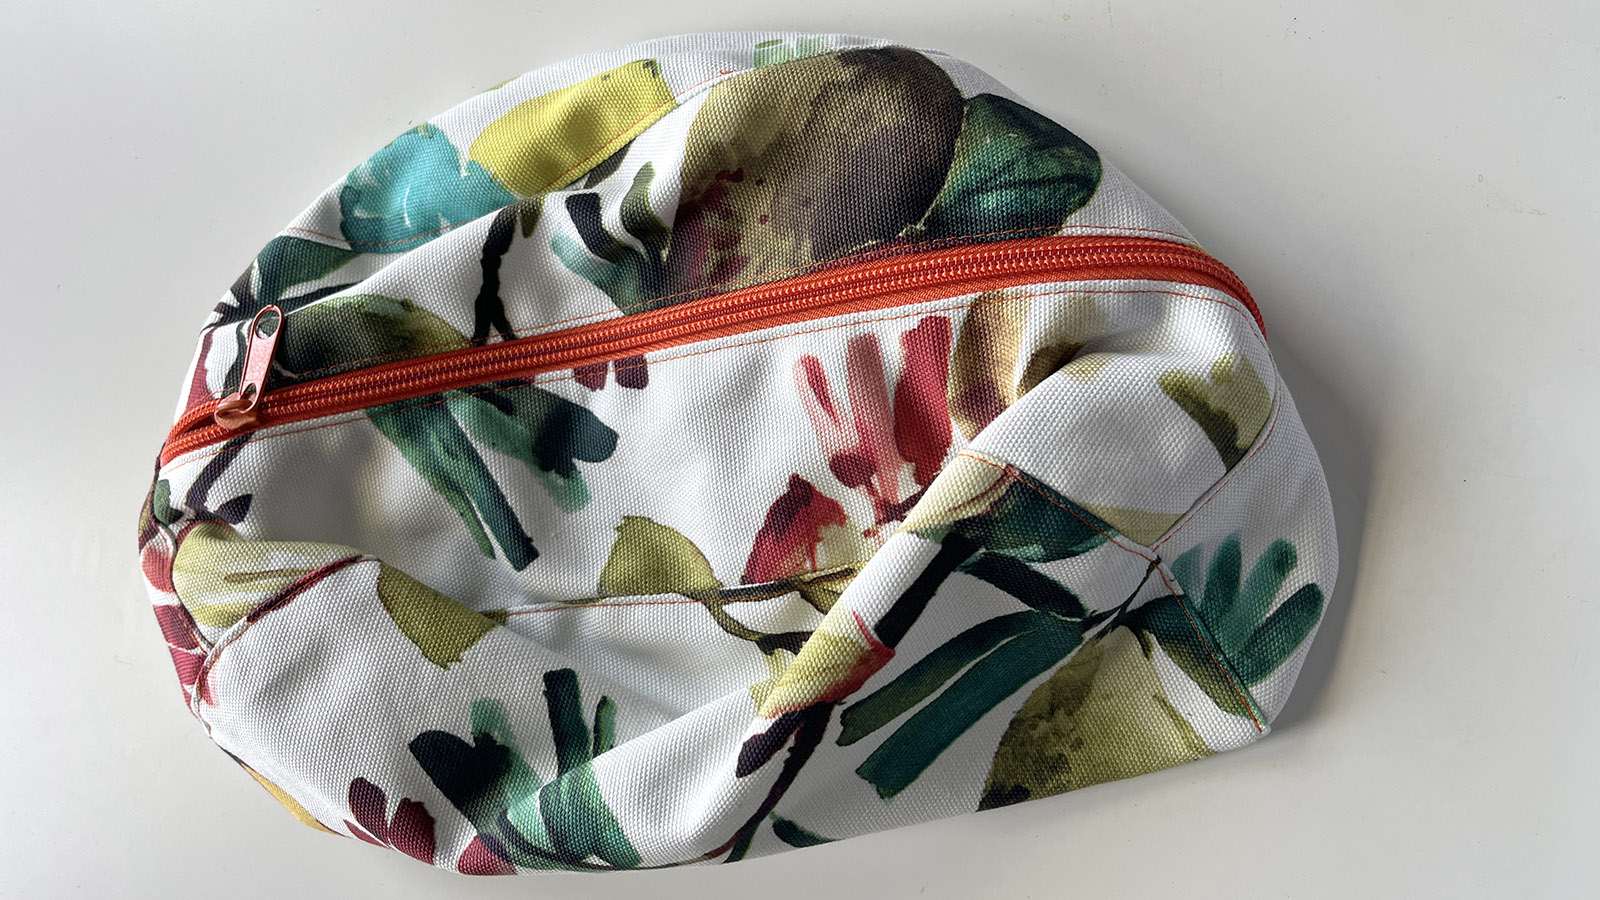
Step 11: Once the zipper pouch pattern is sewn, you can turn through the opening and your slouch pouch is complete!

Step 12: Optional final step is to add any top stitching if desired… and trim away any loose threads that are loitering!
What do you think?
The zipper pouch is slouchy and can be collapsed to take up less space


Here’s everything I fit into my zippered Walnut Slouch Pouch for an overnight trip – enough for two days!!

And this is what the zippered pouch looks like with all the above are tucked inside!

If you’d like to make your own zipper pouch, grab my Walnut Slouch Pouch pattern here! And let me know how yours turns out in the comments below or use the hashtag #etwalnutslouchpouch on social media and tag me!