
Types of Seams Used in Sewing (And How To Sew Them)
Seams are an integral part of all sewing, and appear in most garments. If you’re new to sewing and still learning about the variety of garment details, then this is an important blog post to read.
Understanding the different types of seams, and how to sew them, is important because they are a key part of sewing clothes and will really affect how your final garment looks!
We’re going to take a look at the different types of seams open to you when you start sewing your own clothes, and you’ll also learn the very basic steps on how to sew each seam too, though I will provide a direct link to each seam tutorial which is more in-depth.
What A Seam Is…
The definition of a seam is:
The line where two or more layers of fabric are held together by stitches.
Wikipedia
But in reality, a seam is created when different pieces of cloth are sewn together, using a sewing machine or by hand sewing. Seams can also be glued or fused together depending on the fabric being used – take lather as an example, it is often ‘cemented’ together!
Seam Finishes
As well as having the function of joining two pieces of fabric together, seams can also be used as a decorative feature and as a way to finish a garment off.
If we consider jeans as an example, the seam used on both the inside of the leg and the back yoke (this is the bit above the back patch pockets which is attached to the waistband) is called a felled, and it provides both function and style. In cheaper made jeans, you may see the felled seam replaced by a welt, which gives a similar appearance from the outside but is constructed differently.
The function part is the reinforcement of the seam which gives it strength against a lot of wear and tear – denim was originally a workwear fabric after all! The style aspect of the flat felled seam is the different colour thread used for top stitching, as well as the width of the seam: wide or narrow? Changing the topstitch thread colour and / or the width of the flat felled seam will have a strong visual impact on the sewn garment.
Knowing Which Seam To Use

When you’re new to sewing, you may be confused as to which seam type you should use where, but worry not! If you’re using a commercial sewing pattern, the instructions provided by the pattern designer will usually tell you which type of seam to use and how much seam allowance they have included.
Consider this to be a guideline when you’re starting out, and once you’ve had a bit of practice, it’s fun to change this up and experiment for yourself, though you will need to allow for this by adding or removing seam allowance from the pattern pieces. I have a tutorial on that which I’ll link to in the further reading section.
One big suggestion however is not to try sew an enclosed seam on a bulky or heavy weight fabric. You may get it to seam, but the weight of the fabric used would make it look clunky and unattractive! Always consider the seam choice in relation to the fabric choice for a project.
Other Ways To Create Seams
Sewing seams is not the only way to put two pieces of fabric together.
Cement Or Glue
If you’re using leather, you can glue or cement seams by laying the wrong side of one piece on top of the right side of another. If the glue or cement isn’t particularly strong, or not designed to work with leather, you’d probably want to reinforce the seam with a line or two of stitching though.
Double Sided Fusing

You could also use a double sided fusible to ‘stick’ two fabrics together. When I was interning at Roland Mouret, we fused two layers of fabric together to make the garments reversible. They called it arrignée – which means a spider web in French apparently!
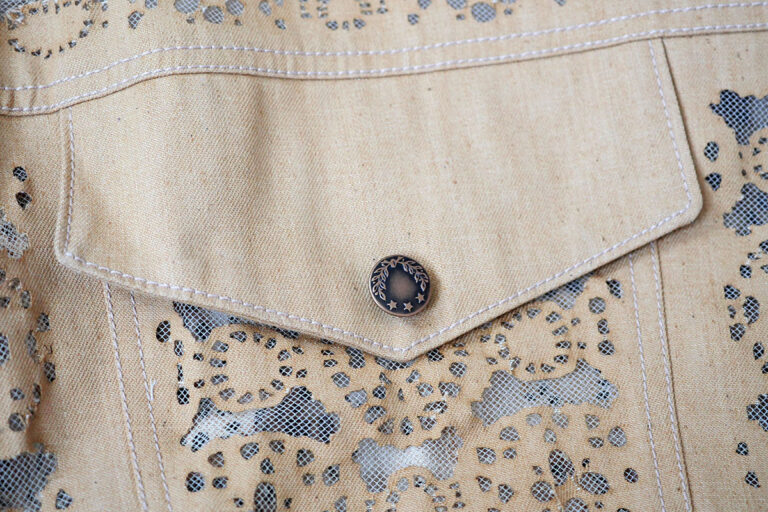
Using Hardware Elements

More decorative ways to make a seam would be to use hardware such as rivets, grommets and eyelets. If you’ve never used these before, I have a great tutorial on installing eyelets! Just as you placed the two pieces of leather on top of each other with glue, you can do the same with metal wear.
Different Types Of Seams
There are quite a few seams to choose from when sewing your own clothes, but your first decision would be to decide on whether you want an enclosed seam or not.
Enclosed Seams
Enclosed seams are seams that keep all the seam allowance hidden within the seam finish. An enclosed seam usually needs two stitch lines as a minimum.
The two you should learn are:
- French seam
- Flat felled seam
The French Seam Process
A French seam is a delicate thing, to be used on sheer or fine fabrics only, as anything heavy would be too bulky! This is a basic overview starting with a 1cm seam allowance, but I have a more in-depth French seam sewing tutorial here. If you want to sew a curved French seam in a sheer fabric, you’ll want this curved French seam tutorial! And if a French seam sounds too tricky, try my mock French seam tutorial instead!
- Place the wrong sides of the fabric pieces together, and sew as straight and smooth as possible.
- Press the stitched line.
- Trim the seam allowance down to 4mm.
- Press this seam allowance to one side.
- Place the right sides of the fabric together and press.
- Now sew along the seamline with a 6mm seam allowance.
- Press and finish.
This should leave you with a beautifully crafted French seam and no threads peeking through. Voila!


The Flat Felled Process
The fell seam. Hmmm… When I was at uni, I was told to do a ‘running fell seam’ on one of my garments, for the shirt project. Having never encountered such a seam before, I went off and searched my many sewing and pattern making books. Nothing. I explored the university library – still nothing. In desperation, I asked a sewing technician.
Turns out, the running fell / run and fell seam is basically just a flat fell seam, only with the fabric starting from rights sides together! Doh!
For a much more in-depth look at flat-felled seams and run and fell seam, do check out my flat felled seam tutorial!
- Start with a 1.5cm allowance, unless you specifically want a narrower seam finish.
- Place the wrong side of the fabric together, so the right side is facing you.
- Stitch along your 1.5cm allowance.
- Press.
- Trim one side of the allowance to 5mm.
- Press both allowances to one side.
- Fold the larger allowance over the smaller allowance, enclosing it.
- Press.
- Stitch along the edge (this will be the wrong side of the fabric facing you – and also the ‘running’ fell aspect!)
- Turn to the right side of the fabric.
- Edge stitch the seam.
Here’s a flat felled seam…
And here’s a run and fell seam. Can you spot the difference?

Non-Enclosed Seams

This should be clear based upon the heading, but non-enclosed seams leave the seam allowance visible. This means that the edge of the fabric needs to be finished to prevent it fraying, unless you’re using a non-fraying material, like leather or felt.
Non-enclosed seams are:
- Open seam
- Lapped seam
- Welt seam
- Piped seam
The Open Seam Process
If you’d like to learn to sew an open seam with a step by step photo tutorial, pop to this open seams article! It leaves raw edges so you will need to finish the edges of your seam allowance with a serger or a zig zag stitch, to prevent fraying!
- Place one piece of fabric on the table with the right side facing up towards you.
- Place the second piece of fabric on top of this with the wrong side facing up towards you.
- Match up the all the notches (if applicable).
- Take the fabric to the sewing machine, and place under the sewing machine foot so that the edge of the fabric lines up with the 1cm guideline (or the amount you’re using for your seam allowance!).
- Place the presser foot down.
- Turn the needle with your right hand so the needle pokes a little into the fabric.
- Use the back / reverse option to make a few back stitches to secure the start.
- Continue sewing forward, slow and steady. Try not to watch the needle, as your line may go wonky, instead focus your attention on the line in the centre of the sewing foot.
- When you’ve sewn all the way along the stitch line, stop but keep the needle in the fabric.
- Lift the presser foot, turn the fabric 180 degrees so they the seam allowance is on the opposite side, and pop the presser foot right back down again. (You could also just use the reverse stitch button again.)
- Sew 2-3 stitches, just to secure the end of seam line.
- Press both sides of the seam allowance open


The Welt Seam Process
As mentioned earlier, a welt seam is used in denim as well as workwear and outerwear. It’s an easy seam to construct. Sewn just like an open seam, but with a bigger seam allowance, the seam is opened out and the allowance pressed to one side before being stitched down.
It is a less bulky version of a felled seam on denim, and is not an enclosed seam! My post ‘Welt Seam Tutorial‘ provides a step by step photo tutorial!
- Place right sides of fabric together.
- Sew a 1cm seam allowance down the length of fabric.
- Press.
- If you have one, overlock (or serge) the edge of the allowance, being careful not to trim the fabric with the blades!
- If you don’t have a serger / overlocker, you can use the zigzag stitch on your machine.
- Press the allowance to one side.
- On the right side, stitch a line parallel to the seam line in order to secure the allowance and strengthen the seam.
The Lapped Seam Process
This seam is usually used on leather, suede and non fray fabrics only.
- One piece of your fabric should have 1cm seam allowance.
- The second piece should have the seam allowance trimmed off.
- Place the second piece (no seam allowance) on top of the first piece allowance 1cm overlap.
- It can be helpful to use a temporary spray glue to hold the pieces together, as pins will leave visible holes.
- Once you are confident that the piece is secure, start stitching your first line close to the overlapping edge.
- You then stitch a second line close to the unseen edge of the under piece.

I have a fab step by step photo tutorial for sewing a lapped seam too!
Practice Makes Perfect
Remember that when starting your sewing journey, you shouldn’t expect your seams to be perfect from the outset – nobody’s is! Take your time and practice, and if you feel like you need more help, use my step by step photo tutorials, or consider buying my online ‘Learn to Sew’ course, which is full of video lessons.
If you feel like testing out your new seams on clothing patterns, I have a post with 5 free and easy sewing patterns for sewing beginners which would be great for testing skills!
That’s it folks. The most important thing to remember is pressing your seams with an iron is the key to having a professional finish. Honestly. And the second most important thing? HAVE FUN!!!
Different Seam Finishes Used In Garment Sewing


Wow! I didn’t know there were so many different types of seams, such a great post. This is really useful!! 🙂
Thanks for popping by Toni! Am so glad that it has been informative. Let me know if you have any questions!
Had great time learning about seams, thanks Eve
You’re very welcome! 🙂