
How To Sew A Hem With A Sewing Machine
I created this sewing tutorial for those sewing beginners who would like to know how to sew a hem with a sewing machine. The single fold hem is the easiest and best place to start when learning to sew hems, suitable for both woven and knit fabrics, but there are several other hem types that you could try sewing too.
My all time favourite hem is the pin hem – though it is only suitable for fine, lightweight fabrics – followed by a nice neat single hem.
This is the most basic type of hem that you can sew. It’s super simple, and every sewing beginner should have this sewing technique down once they’ve mastered sewing the open seam!
Some of the links in this article are affiliate links. This means that I may receive a fee at no extra cost to you if you purchase a recommended product.
Single Fold Hem Tools
The tools you’ll need for the single fold hem are:
- Sewing machine or hand sewing needles
- Thread
- Seam gauge
- Pins
- Iron
Step 1: Finishing The Raw Edge

To start you’ll want to make sure that your fabric edge is finished in some way. This is because the single hem is just a single fold of fabric, so nothing gets enclosed.
Finishing the raw edge of your fabric will therefore help to prevent knit fabric from unravelling or woven fabric from fraying.
You can use an overlocker / serger to finish the edge or the zigzag stitch function on your regular sewing machine. At the time of writing this, I did not have my serger available, so the photo below is of my seam edge being zigzagged.

Step 2: Measuring The Hem Allowance
Next, you’ll want to measure the correct amount of allowance and pin it into position. I recommend using a seam gauge, as it is more accurate that guessing.

A tape measure can also be used, but I do find it to be a little less accurate due to the flexibility of the tape measure.
For a single fold hem, you would usually turn over between 1 cm and 1.5 cm allowance, though deeper single hems have also been turned too. Whichever you decide to go for, remember that there will be one line of visible stitching on the right side of the fabric at the edge of your fabric’s raw edge.
Pin the hem to secure it in place before moving on to step 3.
Step 3: Pressing The Single Fold Hem
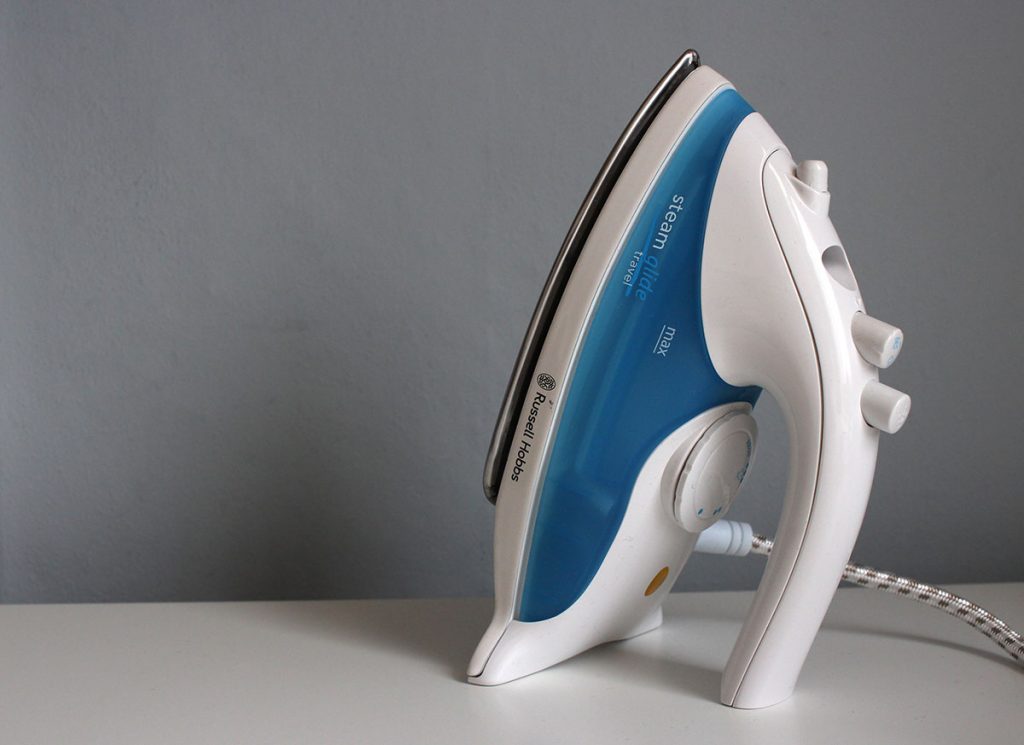
Now you need to press the hem allowance in place to ensure a crisp fold to your hemline. I use a small travel iron, which is effective for small tasks such as pressing seams and hems.
Being careful to avoid the pins holding the hem allowance in position, carefully press the fold line you created when measuring your hem amount.
In the photo below I have left out the pins, so that you can see the fold hem once pressed.

Step 4: Sewing The Hem With A Sewing Machine
Your final step is to sew the hem allowance in place to secure it. Be sure to select a thread colour that works with your fabric, as the thread will be visible when sewn.

You can sew this stitch-line with a seam allowance that is 2 or 3 mm smaller than your turned hem allowance. This will make sure that the hem allowance is caught securely in the stitches.

I like to use the edge of my sewing machine foot as a guide, but you could use the marked lines on the sewing foot plate as above, or a sewing guide instead.
Sew with a medium length stitch around the hem.

And from the wrong side, you’ll see two lines of stitches – the zigzag or overlocked stitches you used to finish the raw edge and the straight line of stitching used to secure the hem in place.

Pro Finishing Tip
If you want your single fold hem to look amazing, be sure to remove the pins as you sew, and then using the iron, gently press the stitches you made when hemming from both sides of the fabric.
This works to set the stitched in place, and gives a more professional finish to your sewing.
There you have it. The easiest way to sew a hem with a sewing machine. You can also sew hems with a range of different sewing machine feet, but when you’re starting out learning to sew, this simple hem finish will be a great addition to your skills!


In my sewing class we usually use the 3-step zig zag stitch to finish the raw edges of hem allowances and seam allowances. This keeps the fabric edge nice and flat -no tunneling.