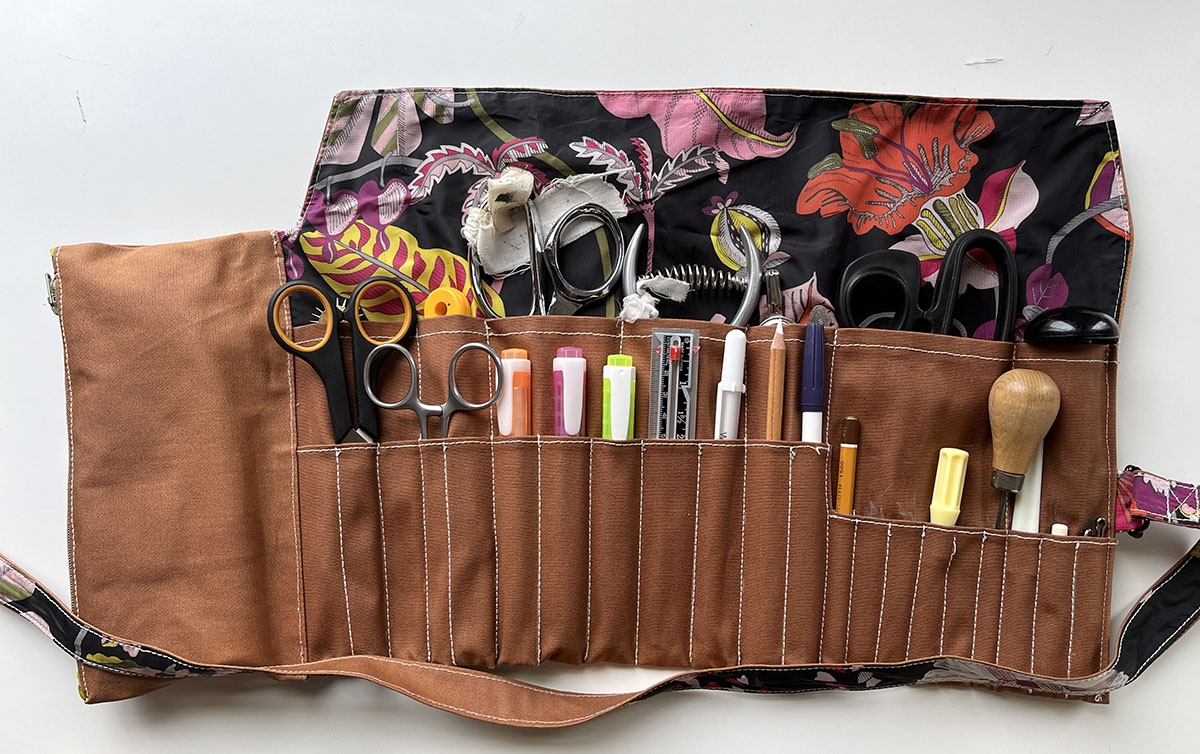
Rowan Tool Roll Sewing Pattern
Oh my word, I am IN LOVE with my new sewing pattern! I should add that it is not a garment sewing pattern, but an accessory pattern that I suspect you will love as much as me.
One of my pet peeves is having my sewing supplies (and my favorite art supplies) scattered across my desk or in multiple glass jars. I prefer to have my go-to tools all in one place.
It makes things easier for me to:
- Tidy up at the end of a work / art session.
- Pick up those supplies and move to a new location as needed.
I’m going to be honest – this sewing pattern came about after lusting after the Peg & Awl Sendak roll which frankly is gorgeous but ridiculously priced at almost $200. Yep, you read that right, almost $200! Mindblown!

So while I loved the look of the Sendak, I realized my time was better spent making a tool roll that best suited by needs rather than lusting after the unattainable and overpriced. In doing so, I created two versions that I use daily, that are loved by many on my arty YouTube channel.
Tool Roll Sewing Pattern Variations
The Rowan Tool Roll Sewing Pattern has two views.
- View A: a table version which can be used for anything you desire, and makes your life easier by simply rolling it up with tools inside to tidy away your work tools.
- View B: a belt version which can be tied around your body providing you with easy access to those tools stored within.

Above you can see View A, the desk version with a selection of sewing supplies.

Above you can see View B, the belt version with the same selection of sewing supplies.
The two views are essentially the same. Their size does not differ, it is only the length of the belt and the addition of the fastening tab that allows the extra long belt to be secured when worn as a more utilitarian version.
Fabric Choice For The Rowan Tool Roll
If you plan to make one for yourself you’ll want to choose a more structured type of fabric. I used a waxed cotton – this pink duck cotton is similar to the one I used and gorgeous.
The best fabric options include:
- Coated fabrics
- Waxed cottons
- Denim
- Leather / faux leather
- Anything with some structure to it
That said if you have a woven fabric in your stash that is just screams gorgeous tool roll at you, why not double it up by fusing it together to make one piece of fabric? This tutorial will take you through the process of fusing fabric together.
Fabric Requirements

The tool roll sewing pattern does not require a lot of fabric, and if you’re short on one fabric, you can always patchwork others together to get the amount you need.
Additional Supplies
As well as the above amount of fabrics you’ll also need:
- Two D-rings or O-rings
- Slider or Buckle
- Zipper maximum length 20cm
I have not used any interfacing in either version that I made, but if you wanted additional strength in the strap you could add interfacing if your chose fabric allows.
Printing The Rowan Toll Roll Sewing Pattern
Included with your purchase are three files:
- A4 DIN
- A0 Copy Shop
- US Letter
When printing at home, please make sure that you are printing at 100% scale. The first page on both the US letter and A4 DIN versions have a scale square included.
Constructing The Rowan Tool Roll

Also included with the pattern is a 19 page PDF guide. Inside this you’ll find:
- Pattern information, including description, finished measurements, pattern piece inventory, and the printing layout.
- What you’ll need to complete the project such as fabric types, amounts and other supplies.
- All the prep steps, from cutting the fabric to the different seam allowance amounts that are included.
- The construction steps, which are in-depth with photos to guide you through the process.
- A space for notes, which I always find helpful but rarely see in pattern instructions.
Note that the file is color heavy due to the photographs, so you may not want to print it. That said, you can import it into any note-taking app to zoom in or make notes as you wish.
I loved creating this tool roll sewing pattern, and use both versions daily. I hope you enjoy using yours too!


