Newborn Baby Onesie Sewing Pattern and Tutorial
I’ve got a great-niece now, which means I can finally create lots of gorgeous baby clothes for a little one! Yay! First up was the newborn baby vest for baby M and I made it up using one of her great-grandmother’s favorite tops. Which came as a lovely surprise for my niece!
The baby vest in this tutorial is made from 100% cotton, and stripey, so she will look like a baby burglar, which is kind of adorable right? I also added some applique hearts to girlify it a little more.
I’ve made the pattern available in my online shop, so you can grab it there. There are no written instructions with it but you can use this written tutorial with photos or follow the sewing steps in this YouTube video!
Newborn Onesie Finished Measurements
Use the following measurements to see whether the pattern as is will be suitable for the newborn you’re making it for:
- Back length: 31cm / 12.25″
- Front length: 27.5cm / 10.75″
- Chest circumference: 40cm / 16″
- Shoulder length: 5cm / 2″
- Sleeve length: 8cm / 3.25″
- Maximum head opening: 34cm / 13.5″
Note that the above measurements are a guide only, and are subject to change based upon your the stretch ratio of your knit fabric and the scale at which you print the pattern.
What You’ll Need to Make the Newborn Onesie

There are a few things you’ll need to sew up a newborn onesie:
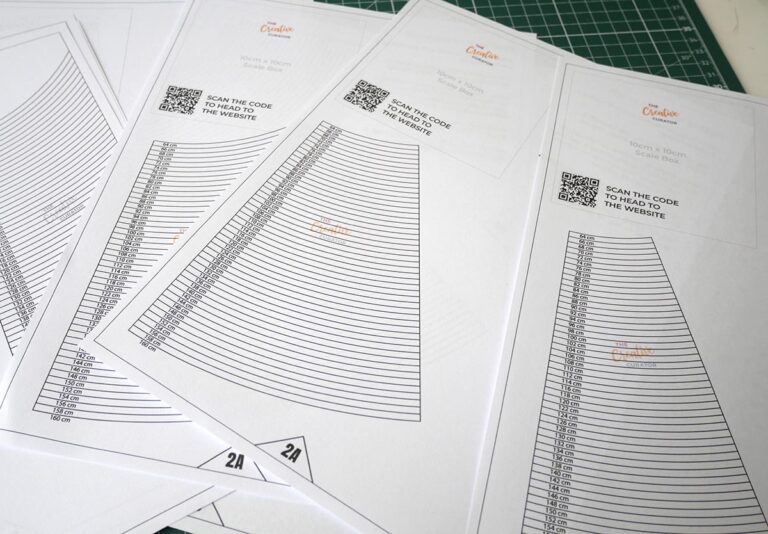
- Printed pattern (available from my online shop, print it out at 100% scale for the above finished measurements)
- Knit fabric (I used an old t shirt with almost no stretch)
- Fabric scissors
- Pins or clips
- Sewing machine with a zigzag stitch or a serger/overlocker
- Thread
- 2-3 Poppers (personal preference, I used 2)
- Tool to set the poppers
Top Tips
Before we start sewing the onesie here are a few top tips to make sure yours comes out as good as mine!
Fabric Choice
All baby clothing should be made from 100% cotton. It’s natural, it’s breathable, and it has the added bonus of being easy to sew. This means it’s beginner friendly.
A great option is to use tee shirt fabric, and this can be from tee shirts you no longer wear, assuming that they are in good condition of course.
Memory Onesies
I love that a newborn onesie is so small, it can be made from a tee shirt. This makes it possible to create a special onesie from a favorite top of someone we have loved and lost.
Design Details
Be aware of the fabric you’re using and use it to your design advantage. I used a striped fabric, which allowed me to play with the stripe directions to create more graphic detailing: one sleeve has horizontal stripes and the other has vertical. And on each, I appliqued a heart with stripes in the opposite direction! Win!
Needle Choice
As this pattern has been created for knit fabric, use a sewing machine needle suitable for knit fabrics. I used a ballpoint needle.
Bias Finish
If you’re not a fan of cutting and sewing a bias binding finish, you could use a fold over elastic to finish the lower hemlines. I wouldn’t sew this to the necklines, as FOE is not likely to be 100% cotton, and it may irritate the baby’s skin.
Alternatively, you can learn how to make your own bias tape!
Popper Choice
If possible, use high quality poppers and make sure that they are secure – if they come loose, they’ll be a choke hazard.
Prepping The Materials

Once your pattern is printed, prepped and cut out, you can cut the fabric. You’ll need the following pieces to make this project:
- One front
- One back
- Two sleeves
- 4 bias tape pieces (though you can cut it as one long piece and trim down as you go)
- Applique details if adding
Sewing The Newborn Onesie
Now that we have everything in hand, we can start sewing. This project comes together super-fast, so you’ll have it sewn up in no time.
Attaching the Bindings
Start by pinning the bindings to the front and back necklines and hems. I did mine right sides together.

Once you have them pinned securely, you can sew them – I did so with a 7mm seam allowance, but after I attached my appliqués.
I then pressed and turned the remaining bias tape towards the back, effectively enclosing the raw edges, and then topstitched from the right side to secure. I did not roll the excess fabric under again, as this would have made it quite bulky, but you can if you want to.
Hemming the Sleeves
The pattern has 1.5cm allowance for the sleeve hem, so turn this amount up and pin to hold. I used a zigzag stitch on my regular sewing machine for a decorative look.
Applique Details

If you are planning on embellishing the front and sleeves of the onesie, you should pin and sew them now. I cut out hearts of varying sizes and placed the bigger one on the front and the two smaller ones on the sleeves. I should add that I did not interface the hearts.

I used a narrow zigzag stitch to secure the hearts to the onesie.

Creating the Envelop Neckline
We can now place the front piece down, right side facing up, and then the back piece on top, matching the shoulder notches on both sides, followed by the back and front armhole notches.

I like to baste these layers together to make sure there is no shifting.

Attaching the Sleeves
With the shoulder areas basted together, we can now pin the sleeves into position. Make sure that you are placing the correct sleeve on the correct side of the onesie – the double notches indicate the back!

Next, sew the sleeve in place. I used my overlocker for this, set to a 7mm seam allowance. Press the seam allowance into the sleeve.

Closing the Sides
Now we can close the side seams and underarm seams. I again used the overlocker and sewed from the hem up to the armpit and to the hem of the sleeve.

Closing the Hem
To finish the newborn baby onesie, we need to close the lower edge. I’ve indicated two locations on the pattern where poppers can be used, but feel free to change this as per your needs.
I used sweet plastic poppers from Prym, as well as this handheld tool. It was easy to do, and the poppers are stuck fast, meaning they are unlikely to be a hazard to small people.

If you need assistance with this, it is included in the video tutorial for the newborn onesie over on my YouTube channel, and I also have a separate tutorial on how to install jersey poppers here.
The Finished Onesie
I absolutely adore the newborn onesie I made for my great-niece. I know her mum will love it when it arrives in the post, and it will be treasured due to the sentimental aspect of using my Mum’s favorite stripey tee.
I won’t be sharing photos of baby M wearing it, due to privacy reasons, but below are a few photos of it finished and ready to be posted to the UK!


And as baby M outgrows it, the onesie can be used to dress her favorite bears or dolls down the line, if that is what she (and her mum) would like!

Stay tuned for more baby projects – I have the perfect fit model now! If you’re ready to make your own newborn onesie pattern, you can get the pattern and access to my private online community right here.