Sewing Hems: The Different Types Of Hems
When sewing hems, you have quite a few options depending on the fabric you are using and the garment you are sewing. Today I’ll show you how to sew a hem, in several ways!
First, though, let’s cover a few questions sewing beginners often have about sewing hems.
Some of the links in this article are affiliate links. This means that I may receive a fee at no extra cost to you if you purchase a recommended product.
What Is The Difference Between A Seam And A Hem?
As both seams and hems are types of finishings, the difference between them can often confuse sewing beginners.
- A seam is the joining of two or more pieces of fabric
- A hem is the edge of a piece of fabric
How Do You Finish A Hem?
You can finish a hem in several ways:
- Folding and stitching in place
- Facing
- Binding
- Attaching a decorative trim
What Stitch Do You Use For Hemming?
The choice of stitch you use when hemming your sewing projects depends entirely on the garment type, the fabric you’re using, and the hem finishing you’ve chosen.
Typically, for most hems, you would use a running stitch on your sewing machine unless you are sewing a blind hem.
How Do You Sew A Straight Hem?
If you have previously sewn a hem on something and found it to not be very straight, you probably felt a bit disappointed and disheartened.
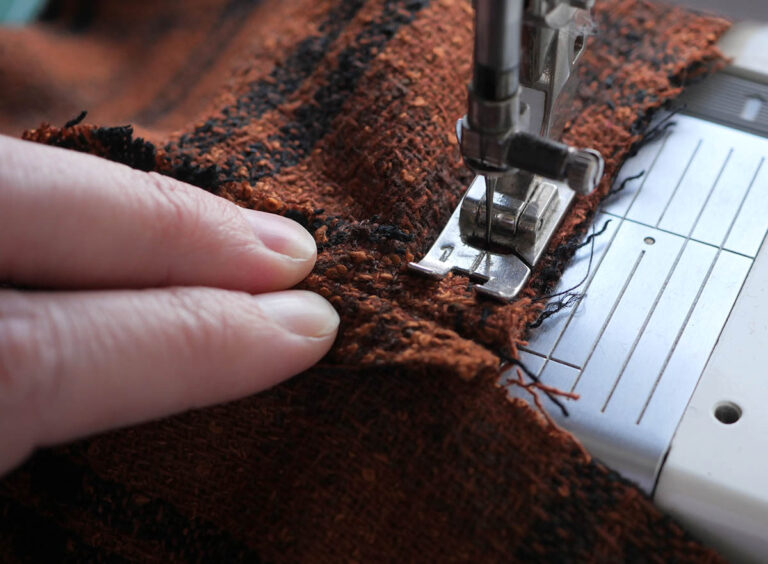
I sew straight hems by marking the hemline in place, often with a tailor’s chalk, before turning and pinning the hem in position. Whilst sewing, keep the folded edge of the hem a set distance from the sewing machine foot to keep your stitch line straight too!
You can also use a seam gauge to help you more accurately measure your hem allowance.
Tips For Sewing Hems
Before you even get started sewing hems, you’ll want to think over the following sewing tips:
- Use a sewing gauge or tape measure to mark in the hem accurately as it is one of the last things to sew, and you do not want to end up with something that is too short because you cut off too much fabric!
- If the item you’re hemming is a lightweight fabric, be sure to hang the garment up and allow the fabric to ‘drop’ overnight. This is essential for anything cut on the bias!
- If the item you are hemming is a garment, have the intended recipient wear it so that you can accurately mark in the finished hemline. You could do this with tailor’s chalk, a basting stitch, dressmaking pins, or clips if the fabric is not delicate. If the item is for you, ask someone to do this for you!
- Make sure you finish the fabric edge appropriately before you hem. You could use a zig-zag stitch or an overlocker / serger, pinking shears, or even hem tape.
- Consider the width you want the hem to be, as this will help you choose which hem type to use. I’ll cover the widths needed for the different hems further down.
- For certain garment types, the hem will need interfacing. You can use fusible or sew-in interfacing, but you’ll want to think about this and your fabric choice early on.
Different Types Of Hems
Ok, let’s cover the different types of hems that you can sew – these are just short descriptions of the different types of hems, and I’ll link each to the sewing tutorial for you to learn the hemming techniques!
1. Single Fold Hem
A single fold hem is exactly what you think. The fabric at the hem is turned once and stitched in place.
2. Double Fold Hem

The double fold hem is more widely used than the single fold hem as it helps to enclose the raw edge of the fabric. That said, when sewing with heavier weight fabric, a double fold hem can be hard to achieve due to the added bulk.
RELATED CONTENT:
Learn how to sew a double hem here.
3. Rolled Hem
A rolled hem is sewn by hand or machine on lightweight fabric. You sew most fine silk scarves with a rolled hem. There is no visible fabric edge as it is ‘rolled away’ inside the hem.
4. Blind Hem
We call it a blind hem because it is almost invisible to the eye when sewn. You can sew a blind hem with a special blind hem sewing machine foot.
5. Pin Hem
I love a pin hem. It is similar to a rolled hem in that it is usually sewn on fine fabrics such as chiffon, but it can also be used on lightweight cotton too.
A pin hem is a great choice for hemming a circle skirt as the curved hem can be tricky to sew a single or double hem greater than 5 mm. There’s a pin hem tutorial here for anyone who wants to try this sewing technique.

6. Faced Hem
A faced hem can give such a professional finish to your hand-sewn clothing. Usually drafted to complement the shape of the hem, a faced hem is a separate fabric piece rather than rolling over a hem allowance.
7. Piped Hem
A piped hem is a simple way to add a little detail to your hem.
8. Bound Hem

One of the easiest hems to finish, you create a bound hem by sewing binding along the hem allowance to wrap and enclose the raw edge of the fabric. I have a binding tutorial here which shows you how to bind the hem of fabric.
Hem By Hand Vs. Machine Hemming
When deciding whether to hem by hand or pull out your sewing machine, consider the project itself.
You wouldn’t want to sew bias binding on a circle skirt by hand when a sewing machine can do it so much neater and faster, but you may want to sew a blind hem by hand on a draped silk jersey dress.
The choice is down to how you want the final garment to look when the hem is complete!
I’ll add a post shortly on hemming by hand for those who would like to try it!