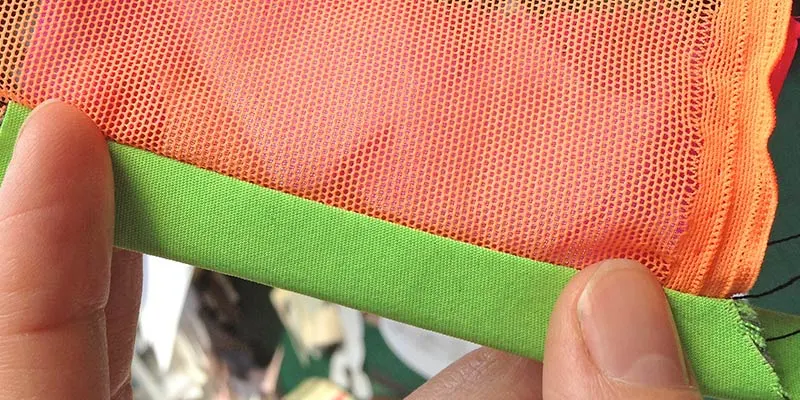
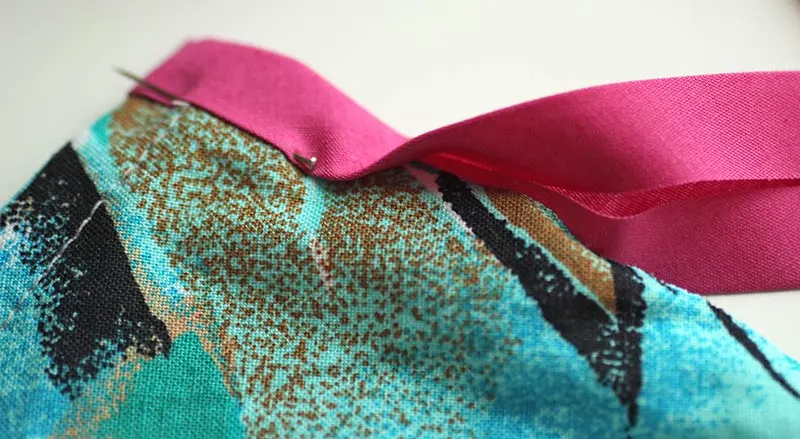
I have been using bias binding a lot lately in my sewing projects, as it is an easy way to finish fabric edges. I thought it would be appropriate to create a series of bias binding tutorials for those sewing beginners who have no idea what bias binding is or the different ways they can use it!
This bias binding tutorial will show you how to use single fold bias tape to create a top-stitched bound hem.
- Learn how to cut bias binding strips to make into your own bias tape
- You can learn how to make your own bias binding and use that self created binding in this sewing tutorial!
- You can also use bias binding to ‘face’ your fabric edges such as necklines and armholes with this bias facing tutorial!
First up, let’s get down with some frequently asked questions about bias binding!

Some of the links in this article are affiliate links. This means that I may receive a fee at no extra cost to you if you purchase a recommended product.
What Is Bias Binding Used For?
Bias binding is used to ‘bind’ the raw edge of fabric. It helps to enclose the raw edge and prevent fraying, but you can also use bias binding as a design detail or fashion statement.

What Widths Does Bias Binding Come In?
Bias binding comes pre-made in different widths at haberdashery stores. I usually use the 25 mm wide version. Here are the more common widths that you can buy pre-made as single fold or double fold bias tape:
What Is The Difference Between Bias Tape And Binding?
Bias tape and bias binding really are the same thing; the difference is in how they are both used.
Bias tape is the item being used – long strip of fabric cut on the bias – and when bias tape is used to wrap a fabric edge, it is referred to as bias binding.
How Do You Sew On Bias Tape?
The technique you use to sew on bias tape depends on what you are trying to achieve. If you are using bias binding to create a visible bound edge, then you would wrap the bias tape around the fabric edge and stitch into place. This is more easily achieved with double fold bias tape, though in this tutorial I am showing you how to achieve the same affect with single fold bias tape.
If you were using bias tape to face a fabric edge and didn’t intend for it to be visible, you would sew the bias tape to the right side of the fabric and turn it completely under to act as facing.
Is Bias Tape Stretchy?
Yes! As the fabric used to create bias tape is cut on the bias – 45º angle from the selvedge – it has more stretch in it than bias tape cut on the straight grain. This is why it is important to not stretch the fabric strips when making your own bias binding tape.
How Do You Make Bias Binding?
Making bias binding is quite an easy task, if you opt for a simple fabric.
You place the fabric you intend to use for bias binding on a flat surface – I recommend a cutting mat! – and, using a hard plastic or metal ruler and a rotary cutter, cut strips of fabric on a 45º angle from the selvedge edge.
Now, let me also clear up a confusing point!
- Single fold bias tape has two folds
- Double fold bias tape has three folds
Confusing right?
To make single fold bias tape, you need to press the long edges of your fabric strip into the middle for single-fold bias strips – this creates two folds.
If you want to make double-fold bias binding, you would have take the single fold strip, and fold it in half down the centre – creating a third fold.
The bias tape in the image below is a custom tape I created for a client project, and had I folded the extended section, it would have been double fold tape!

It is important to make sure that you do not stretch the bias binding strips when pressing the folds in, as this will act to reduce the width of the tape.
You can learn how to cut fabric for bias binding here.
How Do You Make Continuous Bias Binding Tape?

You can make continuous bias binding tape by taking the bias binding strips your create and connecting them with a small seam.
When creating continuous bias binding tape for a specific project, I like to measure the circumference and add 10% on top to make sure. This is then the length of tape that I will create.
How Does A Bias Binding Maker Work?

If making your own bias binding sounds fun, you can buy a bias binding maker from a haberdashery store to speed up the process.
These work by guiding the bias fabric strips you have created through a metal tunnel to create folds. If you pin the starting point to one end of your ironing board, you can use the iron to press the folds in place as you move the bias binding maker along the length of your ironing board.
You can learn how to make your own bias binding using a binding maker here.
What’s The Difference Between Bias Facing And Bias Binding?
Bias facing describes the technique used to sew bias binding tape as a facing rather than a binding. So the bias tape is instead turned under the main garment edge and stitched into place to finish the fabric edge off.
Bias facing is usually hidden, while bias binding is visible.
You can learn how to use bias tape as a facing here.
Bias Binding Tutorial: Using Single Fold Bias Tape To Finish Edges
This bias binding tutorial will show you how to use single fold bias tape to finish the edges of your sewn projects. In this example, I’ve used single-fold bias tape to bind the edge of my DIY wrap skirt.
There are several ways that you can use bias binding tape to finish edges, but in this tutorial I’ll show you how to topstitch your binding into place as a hem finishing technique.
1. Fold Your Single Fold Bias Binding Tape

For me, once you have cut the length of bias binding tape needed, the first step is then to create the clean folded edge. This is because when left until last, it can be quite tricky to get a lovely clean finish.
Start by folding the bias tape down the centre lengthways and cutting the end edge of your bias binding to the shape you need. I am working with a 90º right-angled edge.
2. Sew A Neat Edge On Your Bias Binding Tape
Next, turn the wrong sides of your bias binding tape together and pin in place.
Using your sewing machine, sew a line parallel to the cut edge of your bias binding tape. I sew with a 1 cm seam allowance.

4. Press the Bias Binding Edge
Give the stitch line a little press and then turn the bias binding tape through so that the wrong sides are facing each other again. Be sure that the corner is nice and sharp rather than rounded – I use the end of my sewing machine screwdriver for this as it has no sharp edges. You may need to clip the seam allowance a little.

5. Insert Your Fabric Edge Into Bias Binding
Now that one end of your bias tape is perfectly finished, we can move on to using it to bind the edges of your fabric. Place the chosen edge of your garment into the bias binding, making sure there is no ‘step’. It should lie flush. To achieve this, I push all the excess tape to what would be the wrong side of the garment fabric.

Pin in place and continue wrapping the bias binding tape around the length of the fabric edge until you reach the end. Make sure that the binding is neat and the right length before trimming away the excess. I like to leave around 2.5 cm as a tail, just in case.
6. Sew The Bias Binding Into Place
Using a medium-length stitch on your sewing machine, edge stitch just inside the edge of the single fold bias binding from the right side of the fabric. Make sure that the wrong side of the binding is also being caught in the stitch line as you sew.

7. Finish The Bound Edge
The last step to finish your newly bound edge is to press the bias binding gently. This will help to set the stitches and create a crisp finish to the folded edge of the bias tape.

Bias Binding Variation
This bias binding tutorial has shown you how to topstitch single fold bias binding as a ‘wrap’ over a raw edge.
If you wanted a cleaner finish, with no visible stitching on the right side of your project, you would go about things a little differently, like the photo below.

Why Use Single Fold Instead Of Double Fold Tape?
Usually, you would buy and use the right tape for the job, so I could have used a double fold tape to get the same effect.
However, I also wanted to use a bright pink to contrast with the blues and greens, and I could only find the pink as a single fold tape. Knowing that pressing one extra fold into place would technically make it double fold allowed me to just go ahead with the pink. And it is a winner right?

Siobhan Wall
Tuesday 7th of July 2020
Your bias binding comments are useful. I have been making my own bias binding for years but hadn't realised that it doesn't always have to be invisible!
Eve Tokens
Thursday 9th of July 2020
Super happy that you now know - imagine all the creative things you could do with bias binding!