Using Topstitching in Your Sewing Projects
I love topstitching! Not only is it a great way to add some decorative stitching to your seams, but it can also be used as a way to strengthen or reinforce seams too!
It’s often used as a way to add detailed or decorative stitching that is visible rather than hidden as part of a seam.
But what is topstitching and what are the ‘rules’? I’m going to share all that I know about using top stitching on garments!
What Is Topstitching
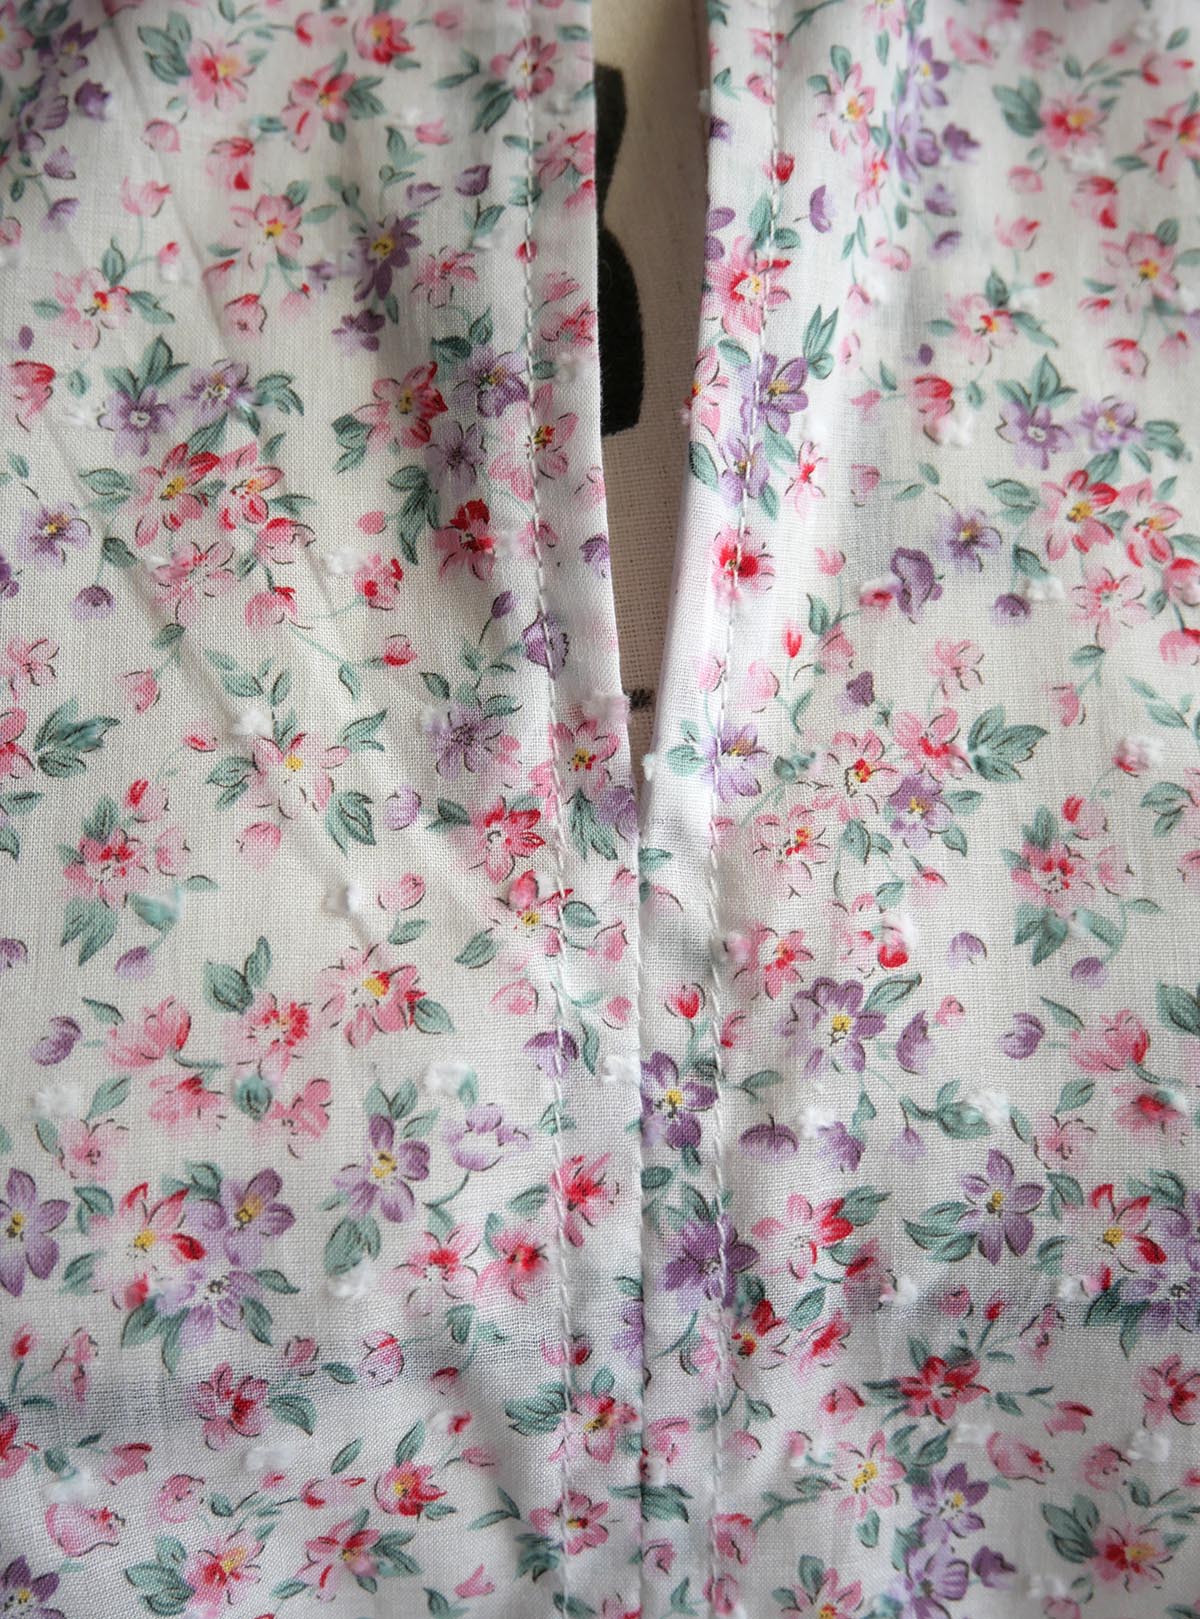
Usually when you sew a line of stitches, it is because you are connecting two or more pieces of fabric to form a seam. The most basic form is the plain or open seam.
Topstitching is the line of stitching made on the right side of fabric that isn’t part of seam creation. (Seams that appear to have ‘top stitching’ – flat-felled seam and welt seam are the obvious ones! – aren’t technically topstitched as the stitched line is part of what created the seam type!)
Top stitching is usually sewn a set amount away from a seam, depending on the garment type and the area of the garment being topstitched.
Choosing A Needle For Topstitching
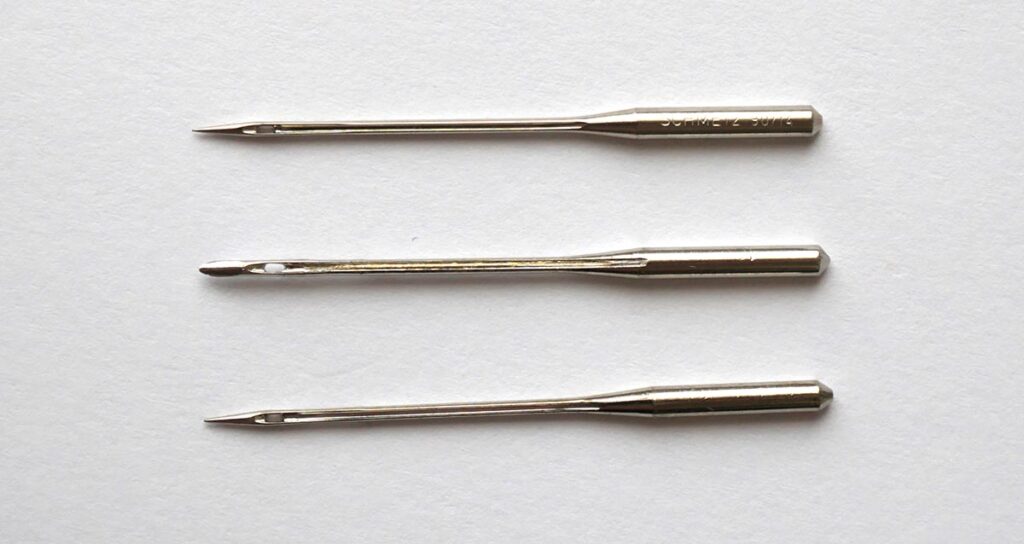
When it comes to top stitching, you’ll want to choose your needle based upon the fabric weight that you are sewing. The heavier the fabric, the bigger the needle, because you’ll want a larger needle eye to accommodate the heavier weight thread needed to help the topstitching stand out.
If you select a needle that is too ‘thin’, you risk your needle breaking when sewing fabric that is too thick; this is because multiple layers of this fabric are too much for a narrower needle to work with.
Top Stitching Thread Choice

There are threads created specifically for topstitching which are a heavier weight thread, but you can also ‘cheat’ by doubling up on standard thread. Typically, topstitching thread is denser, which helps it to ‘stand up’ more from the fabric to make it more noticeable. However, as we have all experienced, not all threads come in the colour we want or need. This is when doubling up comes into play.
Backstitching When Topstitching
I personally do backstitch when I am topstitching, unless I am working with leather. In which case, I pull the top thread under to the reverse, and tie the threads into a knot before trimming.
Topstitching Bobbin Thread
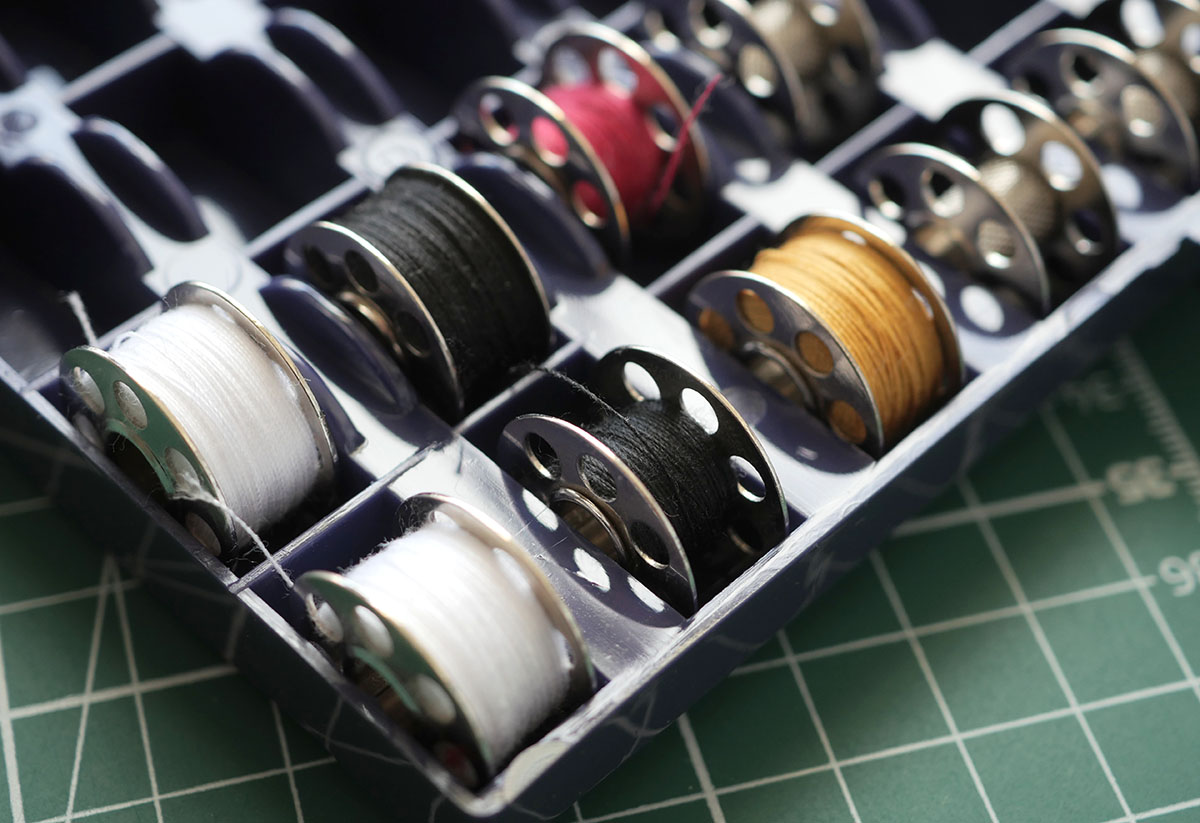
There may be some who say that you should use the same thread in the bobbin as the one you are using in the needle, but I have always found that it is perfectly fine to use a standard thread in the bobbin – I just make sure that the color matches exactly the topstitching thread I have chosen for my project.
Top Tips for Topstitching
The biggest tip I can give you for topstitching neatly is to use a guide. This can be a magnetic one that is secured to your machine or even a laser that is attached to the top of your machine and shines down.
I personally have my own go to method which is to use the presser foot I am sewing with. I’ll show you exactly how I do this in the tutorial below.
Next up is to be consistent – do your topstitching the same stitch length and distance from the seam for the whole project. Consistency is key for a professional looking result.
Finally, consider thread contrast – if you are a beginner to topstitching, you should aim for a subtle difference I your thread and fabric colors. Once you are more practiced and able to achieve straighter and more consistent top stitching you can be bolder!
How To Topstitch In 7 Steps

As topstitching is a decorative stitch, you want to make sure that the stitching is as beautifully done as possible, as it is very visible on any item of clothing or bag that it is applied to.
Step 1: Install the correct needle. Remember that the best needle is a dedicated topstitching needle, but the sharp point of a microtex needle can also help sew beautiful topstitching.
Step 2: Ensure that you have chosen the correct thread type so that your topstitching is visible and doesn’t ‘disappear’ into the fabric. Thread up your machine with it.
Step 3: Select a longer stitch length on your sewing machine. Top stitching stitches should never be shorter than 3mm in my opinion.
Step 4: Decide the distance away from the original seam or hem that you want the topstitching to be. You might want to select a specific sewing machine presser foot to help you.
Step 5: Make sure that your sewing machine tension is correct. To check, sew some topstitching samples on a piece of scrap fabric. It goes without saying that the scrap fabric should be the same fabric used for the project.
Step 6: Start sewing from within the seam allowance of the section you are top stitching. It is up to you whether you will back stitch or not.
Step 7: Once your line of top stitching is complete, trim and secure the threads before moving onto the next. I also like to give my stitch lines a little press to set the stitches – but this is just something I was taught to do as standard back in Fashion School.
Okiedokie, you now know how to sew your own beautiful and consistent topstitching! Let me know how you get on in the comments, I’d love to know if you found this helpful or need a little more guidance.
In the meantime, do have a browse through my other sewing tutorials – there may be another sewing technique that you’ve not yet mastered!
And if you enjoyed this, feel free to save it to Pinterest or share on Facebook!