Coverstitch vs. Serger Sewing Machines (Do You Need One or Not?)
There are many sewing machines types used in the production of clothing but two that come up a lot in the sewing community are the cover stitch sewing machine and the serger.
They are both sewing machines that are used with knit fabrics – and with domestic home versions looking quite similar – they can often cause confusion, so today I’m going to deep dive on the coverstitch vs serger machines, exploring what each of them is and when you might need one yourself!
Coverstitch Machines

A coverstitch machine is a special type of sewing machine that has been designed to create a coverstitch finish for hems. This is a high-quality hem made of two parallel lines of stitching that are visible on the fabric’s right side while on the inside of the garment the coverstitch looks a lot like a chain stitch.
Using a coverstitch finish gives hems a more professional finish, but it also helps to provide strength to the seams on the edges of a garment.
The most noticeable difference when comparing a coverstitch machine against a regular home sewing machine is that they can be used with up to three needles, whereas your standard sewing machine can manage no more than a twin needle.
And, the same is true for sergers!
Along with the help of up to three needles, coverstitch machines also features a thread looper which is located below the machine and creates the chain stitched look.
This specialized sewing machine type weaves the thread together to create a stitch that will help with a hem’s stretchiness. You’ll notice what a coverstitch finish looks like by looking at any higher quality shirt made from knit fabric – and if you pull it between your fingers, you’ll see that it stretches nicely and doesn’t ‘snap’ when put under tension.
This makes the coverstitch machine a good option for finishing up knitted fabrics, and it’s why I used one at fashion school when working on any ‘jersey’ based projects!
To the untrained eye, the coverstitch machine has a lot of similarities to the serger. However, that is where the resemblances end, as the coverstitch sewing machine and the serger specialize in different types of sewing.
Serger Sewing Machines

I have an existing post covering serger sewing machines and whether you really need one, so I’ll keep it brief here, but they became popular for cut and sew seams used in mass production of clothing and transitioned to the home sewing community to offer a ‘cleaner’ finish on raw edges of fabrics like wovens.
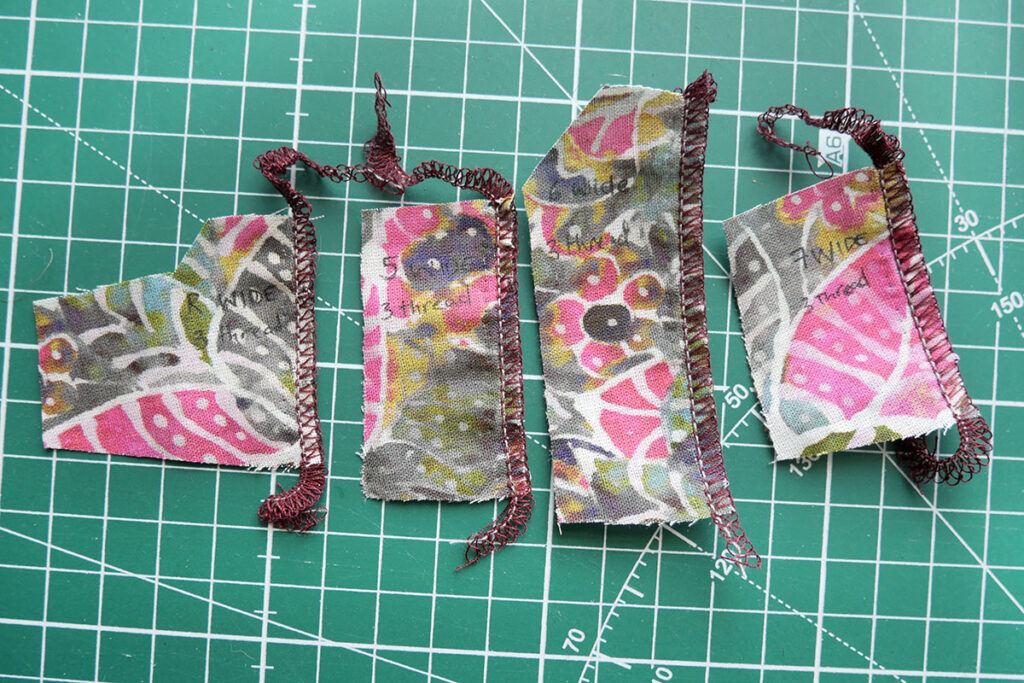
Sergers also allow knit fabrics to be seamed and hemmed with a stitch that is stretchier than a standard straight stitch sewing machine, and they use two needles and between three and five spools of thread.
When enabled, sergers also have a blade that will cut or trim excess fabric away – which is why they’re also nicknamed as ‘cut and sew’ machines – before finishing the edge of fabric with the upper and lower looper threads.
Reasons For Buying A Coverstitch Machine (Or Not)
Deciding whether you need to invest in a coverstitch machine will rely on several things…
First, dof you plan on making garments using a lot of stretchy fabric in the foreseeable future? If yes, then investing in your own coverstitch machine might well be a smart move. But if you are mainly using a sewing machine as your hobby, I would suggest checking on alternatives instead, as there are considerably cheaper options than what a coverstitch machine costs!
Especially now that the average home sewing machine now comes with a stretch stitch option which is sufficient enough for hemming home sewn garments. And you can also use a twin needle with a straight stitch for a similar look if the two lines of stitching are what you’d like to achieve!
Reasons For Buying A Serger Machine (Or Not)

Sergers are much more user-friendly in my experience, and beginners will get the hang of using one pretty fast – especially if you take my Sergers for Beginners online class! However, I do suggest choosing sergers that have the option of four threads rather than three. The four-thread version is designed so that two spools are used for looping underneath the needles and two are used in the needles, and this opens up a variety of finishing options.
More detailed instructions on how to use the serger can be found in the manual that comes with the one you buy, and I highly recommend you start by reading it through. Once you start being comfortable using your serger, you’ll find that it can be used to do several things, such as cutting excess fabric away, finishing the raw edge of most fabrics – including woven fabric – and even creating a rolled hem and ruffles!
7 Tips For Sewing With A Coverstitch Machine
While I haven’t covered the coverstitch machine in much detail elsewhere, I didn’t want to leave you empty handed so here are some tips for working with a coverstitch machine.
Baste The Fabric
Many people may ignore basting, and that’s your prerogative but, in my experience, sewing with a coverstitch requires a certain methodology (more so if it’s an industrial version) so you may want to baste the fabric first so that you have everything in position before you take on sewing the hem.
Flat Sew The Hems
Always sew the hems on the flat. This makes finishing the hem a lot easier than trying to hem on the round, and you can then serge the garment closed at the sides once the hem is finished.
Needles
Always make sure that your needles are in tip-top shape. If you’ve used the needles on a previous project, check them on scrap fabric to make sure they’re still suitable for this project.
Tension
Check if the tension is correct by slightly tugging at the upper threads. There should be plenty of resistance if you pull on it.
Avoid ‘Pausing’
Avoid pausing when coverstitching. You can sew over fabric scraps in the beginning and finishing stages. Be confident and don’t stop, as this is when mistakes are made when using coverstitch machines. I actually hated using the industrial coverstitch machine at fashion school because we were given such strict instructions on using it that I felt certain I would break the machine!
Fabric Placement
For best results, make sure that both needles hit the folded fabric. This will require that you fold under a specific amount of fabric for the folded hem and then stitch to a set hem allowance so that the needles fully catch the double fold of fabric.
Rethreading
If there are any persisting issues, try rethreading the machine. Like your standard home sewing machine, rethreading it will usually solve most problems.
5 Serger Machine Sewing Tips
I have several articles already on using sergers including how to thread a serger sewing machine, so I’ll just leave you with these five tips.
Clear Thread Path
It is crucial that you make sure that the threads pass freely through the different thread paths unhindered. You’ll find the paths for the different threads clearly marked on your serger, so follow them carefully!
Raise The Presser Foot
To ensure that the threads are secured correctly into place, you should raise the presser foot before threading. This will make sure that the tension mechanism is ‘free’ and will be able to receive the lines correctly, because a lowered presser foot usually engages the tension.
Thread Order
Threading the machine in order is vital. The loopers (upper looper, then lower looper) will be threaded first, then the needles. I know I’m repeating myself, but be sure to follow the guides that are provided by all serger manufacturers!
Use The Differential Feed When Needed
If there is any distortion at the seam, I recommend using a differential feed. It helps to feed the top and bottom fabric through at different speeds which will help you get a better finish. Mine is often in use!
Secure Your Needles
Before you begin, you should check to see if each needle is secured in the clamp. Remember that the left needle should be slightly higher than the right one.
Hopefully you now feel more confident on what the coverstitch and serger sewing machines are and how to use them. Let me know if you have further questions in the comments below!
And if you’re ready to buy one, check out my post on buying a sewing machine before you splash your cash!