There are many types of sewing tools and equipment used in the various sewing crafts, and today I’m going to dig into all of them, so that you can be better informed about them all.
As well as a brief overview of the different tools used in dressmaking – I have a great article already covering the 10 sewing tools for beginners – I’ll also be looking at tools for sewing machines, tools that are needed for embroidery and quilting as well as large sewing equipment too.
By the end of this article, you should know all you need to about the different tools and the various equipment used in sewing!


Note: Some of the links in this post are affiliate links, which means I may receive a commission if you make a purchase at no further cost to you.
What Is Sewing?
Sewing is the term used to describe making stitches using a needle and thread. We sew when we create embroidery stitches, we sew when we create seams in clothing and doctors sew when they create stitches to seal open wounds.
In all instances, a needle is used and through the eye, a thread is put.
What Are The Sewing Crafts?
There are many crafts which use a needle and thread:
- Applique
- Cross stitch
- Darning
- Dressmaking
- Embroidery
- Needle lace
- Patchwork
- Quilting
- Tapestry
I’m are there are others I’ve not listed. For instance, embroidery itself has many disciplines with just crewel and tambour beading being two that spring to mind!
What Common Tools Are Needed For Sewing?

The most common tools used for any sewing craft are a needle and thread, as mentioned further up. But there are other tools that are found across the crafts:
- Scissors
- Pins
- Hoops
- Rulers
- Markers
There are far too many to list and go into individually, so I’ll link out to each individual guide I have which will serve you better:
Let’s move onto the tools used for individual sewing crafts!
What Are The Tools Used In Dressmaking?


Dressmaking is the term most often used to describe the making of clothing whether for yourself or as a custom piece for a client.
The basic tools used are the same as those that I wrote about in my 10 sewing tools for beginners article, so I’ll provide an overview list here with additional tools that I use:
- Tape Measure
- Ruler
- Fabric scissors
- Paper scissors
- Seam ripper
- Pins
- Sewing machine and needles
- Iron
- Pressing mat
- Tailors ham
In addition to those listed above, other tools used in dressmaking include:
- Dress forms
- Pattern master
- Variety of sewing machines
- Eyelet press
- Rotary cutter and cutting mat
- Tracing wheel
Each of the above are linked to article on my site so that you can learn more about them.
What Are The Tools Used In Quilting

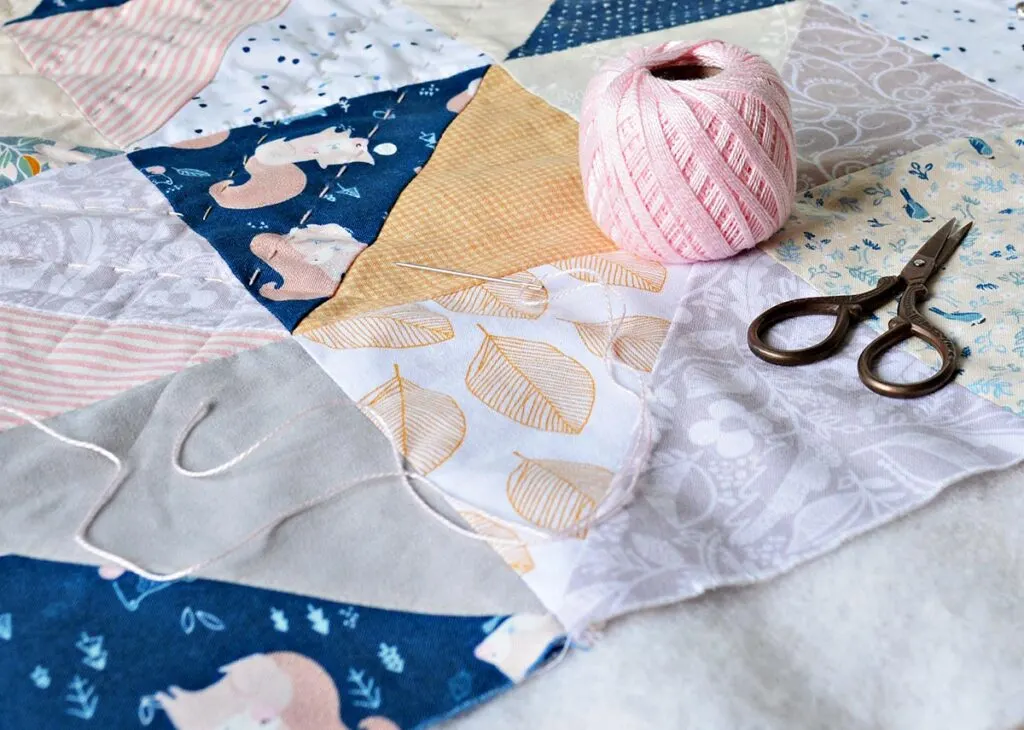
No, I should note that I am not yet very good at quilting. I have quilted some projects, but more for clothing than anything to have around the home.
According to the book I learned from – A Makers guide to Patchwork & Quilting – the tools needed for quilting are:
- Tape measure
- Quilting rulers
- Fabric scissors
- Embroidery scissors
- Paper scissors
- Seam ripper
- Rotary cutter
- Cutting mat
- Pencils
- Markers
- Pins
- Fabric glue
- Curved quilters pins
- Needles
- Quilting hoops
- Thimble
- Walking foot
- Quilting needles
I feel like that is a much longer list than what is required for dressmaking, but I myself do have many of the items listed which I use when making my own clothes.
What Is Large Sewing Equipment?


Large sewing equipment would be the heavy equipment that is used in sewing studios, so not necessarily something the average home sewer will need:
- Sewing machine
- Serger / overlocker
- Coverstitch machine
- Eyelet press
- Dress forms
- Heated roller
- Heat press
- Ironing boiler
- Vacuum ironing board
Let’s look at each in turn!
Sewing Machines
I’ve got an extensive article on the different types of sewing machines so I’ll keep this brief.
There are different types of sewing machines which serve different purposes.
- Flat lock machines sews straight stitches only
- Standard home sewing machines will usually sew straight and zigzag stitches
- Coverlock machines sew two lines of stitching on knitwear
- Baby lock machine sews a tine hem
- Serger / overlocker finishes and seams in one with a zigzag type stitch
- Walking foot machines have a foot that walks and is good for leather, quilting and tricky / bulky fabrics
Before deciding on a sewing machine it is a good idea to make a list of what you would like to use it for so that you can have a better idea of what you need the machine to do.
Here are some questions to ask yourself:
- Will I sew clothes or simple home items?
- Do I want to sew woven fabrics (shirts, pants, bed linen), knit fabrics (comfy clothes like tees and sweatpants) or both?
- Do I want to sew simple stitch lines or more extravagant ‘designed’ stitches?
- Will I want to sew heavy fabrics for curtains or bags or just light fabrics for pillowcases and dresses?
Asking yourself these questions will help you know what to look for when you are looking at buying your first sewing machine, so that you don’t invest in something that isn’t right for you!
Where To Buy A Sewing Machine
Next up, you’ll want to find somewhere that sells sewing machines at a store. We can all go online and order a machine, but what happens when it turns up and we unpack it, sit down and try it out only to realise we hate it?
By going to a store, you can try out the sewing machines to see which one you have a feel for. If you end up loving sewing, you’ll be best friends with your machine for years, so it’s really important to choose based upon how *you* feel using the machine, and not another person’s recommendation!
If you are completely new, and do not yet want to invest in a new machine, you can check out thrift stores and charity shops for second hand machines. I mostly only see old clunky versions at the charity shops in the UK – but you may be luckier than me!
Check out my guide on buying a used sewing machine!
When it comes to choosing a sewing machine brand, the ones I have owned and / or used are:
- Bernina
- Brother
- Janome
- Juki
- Singer
You can also check out the top selling sewing machines on Amazon here to get an idea of pricing.!
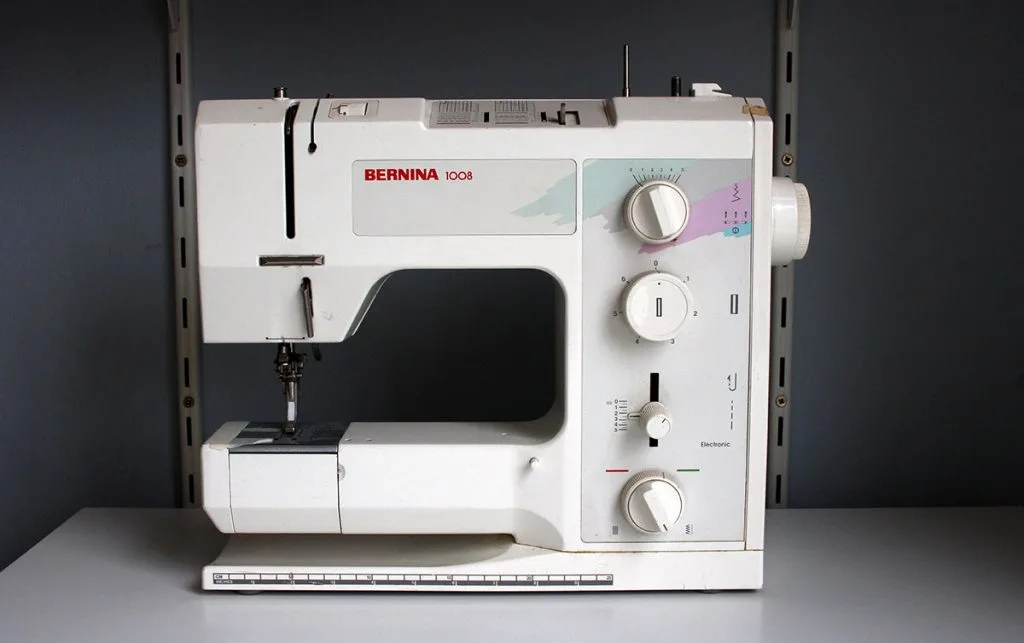
These are some of the ‘big brands’ so you may recognise some of the names on the list. I currently use a beloved old Bernina 1008 and a Brother serger.

Serger / Overlocker
A serger – also known as an overlocker – is a machine that has two needles, and either three, four of five spools of thread. Rather than two threads that catch to form a stitch, a serger uses ‘loopers’ to wrap the edge of the seam in an almost zigzag like thread design.


Overlockers and sergers are used mostly on knit fabrics as they thread used and the stitching method allows the fabric to ‘stretch’ without snapping the thread.
I have had a Brother 1034 for over ten years now, and it is still going strong. This is the more modern version from Brother! An overlocker / serger is not an essential machine, so only look into these once you are comfortable sewing, and know that you will sew knit fabrics in the future!
Overlockers can also be used to neaten up the raw edges of woven fabric too, so that it isn’t fraying all over!
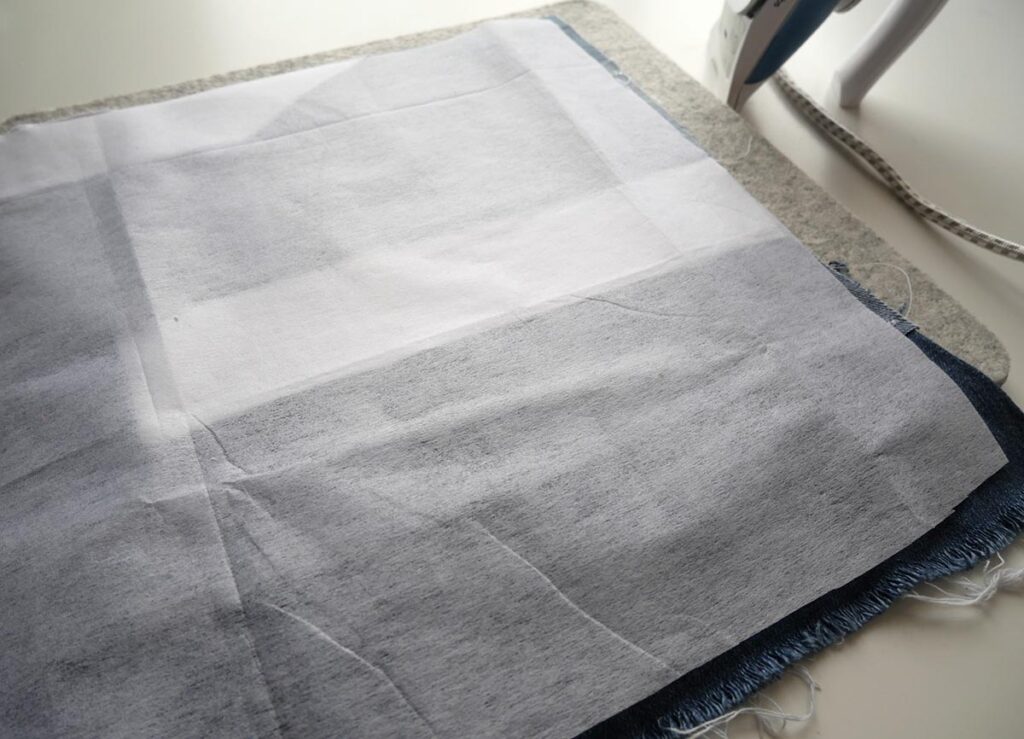
Iron / Steam Unit

When it comes to sewing, the single most important thing to know about getting a professional finish to your sewing projects is to use steam!
When we sew a seam, we use an iron or a steam unit to apply heat to that original stitch line. This helps to ‘set’ the stitches, and we can then further press the seam to get a very clean finish.
Often when you see someone wearing a hand sewn garment that looks a little bumpy, it is because the seams were not finished properly.
Which Iron Should You Buy?
An iron is a small investment for someone learning to sew – in fact, you may even have one lying around for when you do laundry at home. Yet a steam unit is a great investment for later on when you realise how much you love sewing!
And if you are someone thinking of setting up a sewing or design studio, then you’ll want to consider an ironing boiler and a vacuum ironing board.
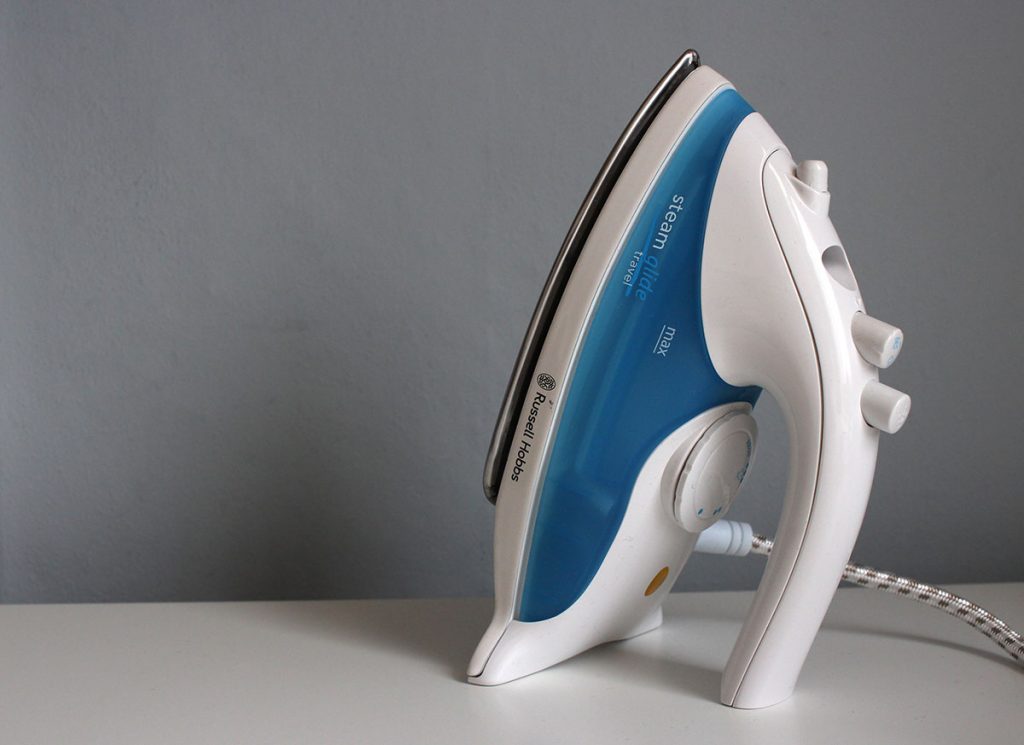
For now, if you do not already have an iron, a small travel sized one will do the trick. The photo below is the one I have used for over a year whilst being between countries, but this one is also well reviewed by sewists!
If a full sized iron suits you better, then this one is fab and for later on when you are passionate about sewing, this steam unit would be a great investment!
Other Tools For Pressing

It would be remiss of me to talk to you about only irons and steam units when there are other pressing tools to consider which will help you to achieve a more professional finish to your sewing:
- Ironing Board (this table top kind works well to start with!)
- Good quality ironing board cover
- Pressing cloths
- Tailors ham
Now, I do again want to reiterate that none of these are essential! I got by for over a year with just a travel iron and a towel on a table!
Considerations When Buying An Ironing Board
If you do not already have an ironing board, and are planning on buying one, you should consider the following first:
- How high can it be raised
- How heavy is it
- How big is it
- How sturdy does it feel
I am a very tall person, and most ironing boards would see me hunching over slightly. For this reason, the height limitations of your new ironing board are important!
Will you leave the ironing board ‘up’ in your sewing area or will you need to put it away after each use? If you need to store it away each day, a lighter ironing board would be better for your back!
If your home is short on storage space, you may need a smaller ‘table top’ ironing board, like this one! Or you can get away with a wool pressing mat too, which I have and use almost daily.
Whichever ironing board you go for, you will need to make sure that it is sturdy enough. We don’t want an ironing board that wobbles at the first sight of a little fabric needing pressing!
Pressing Cloths


A pressing cloth is a piece of fabric used between the item you are pressing, and your iron. It helps to prevent damage to the fabric if the iron gets too hot. You can buy ready made pressing cloths, but I usually use a piece of 100% cotton or organza from my stash!
If you’d like to learn more about using a pressing cloth, Wendy Ward wrote a great tutorial here!
Tailors Ham


I use a tailors ham when pressing seams that aren’t supposed to lay flat. This is usually the sleeve head and the collar stand. When we press these on a flat surface, we end up distorting the design. By using this tailor’s ham, I can keep those lovely smooth curved lines in place.
Sewing Needles
We covered sewing machines as sewing equipment further up, but what about sewing needles? When you buy a new sewing machine, you will usually be provided with an assorted set of needles suitable for that machine. Which makes getting started right away simple.
But if you’ve bought a secondhand machine, or you want to try sewing by hand to start with, you will need to buy some needles that are suitable for the fabric you will be working with!
Below is an overview of the different types of needles used in sewing, but I also have a more detailed guide on sewing machine needles here.
Different Types Of Sewing Needle

There are so many types of needle, and they come in different sizes too! Generally speaking, the lower the number, the finer the needle, the higher the number, the wider the needle. So, for lightweight fabrics like chiffon, I would use a 70/10 but if I were sewing a denim with multiple layers, I would go for 90/14 or 100/15, depending on the weight of the denim.
Here’s a sewing needle overview list, and then I’ll go into more depth on each type of sewing needle further below with a close up photo of each for those that I currently have to hand, and links on where to buy them!
- Universal
- Ballpoint
- Stretch
- Denim
- Leather
- Sharps
- Top stitch
Universal

Used as a standard needle, universals are for woven fabrics first and foremost but can be used in a pinch on knit fabrics too. I always find it handy to have a multipack of universal needles, so that I have a variety of needle sizes to hand!
Ballpoint
Used for most knit fabrics, the ball point sewing needle has a more rounded tip than the universal needle which helps it to pop between the fibres of the fabric, preventing snagging and laddering of your knit fabrics!

Stretch
These stretch needles have been designed to work with those tricky stretch fabrics such as lycra, spandex and powermesh. I don’t sew with those fabrics as they are more sportswear based, so have not used a stretch needle myself! I am told though that they are great for getting a clean finish on those tricky stretch fabrics!
Denim
These denim needles (also known as jeans needles!) are great for heavy weight fabrics like denim, canvas and other heavy weight and tightly woven fabrics!
I love a denim needle, as I break less needles when using them to sew my heavier fabrics! If you don’t have denim / jeans needles but have a project you want to sew now, a 90/14 or 100/16 universal will work too!
Leather
Leather needles work completely different from the other needles mentioned here. A leather needle needs to be able to cut through the animal skin, and so they have a chiselled point at the tip of the needle which allows this to happen.

If you were to try to sew leather with a universal or ball point needle, you would end up with a stitched up mess.
Leather needles are only for use on natural animal skins.
Sharps
These needles are used primarily by sewists making quilted items. This could be quilts, or quilted clothing! They work to allow the needle to penetrate through multiple layers of fabric and wadding, without snapping from the pressure!
Top stitch
Top stitching needles are much like a universal, only they have a bigger eye for the thicker top stitching thread, and a sharper point to help the needle move through multiple layers of fabric.
I have never used a top stitching needle myself, preferring to go for a slightly larger universal needle for any top stitching needs!
To switch your needle in and out on your sewing machine, you will need a small screwdriver, which is often provided with the sewing machine.

Fabrics


To be able to sew, you will need access to different types of fabrics. I recommend starting with 100% cotton fabric as a sewing beginner, because this is an easier fibre to start with, and is more forgiving.
It’s a good idea to start with a basic calico / muslin fabric, which is what we generally use to make a test garment when sewing clothes. This muslin is a good price for two meters.
If you do not have access to a fabric shop near you, or are uncomfortable ordering online, you could start by rummaging through your closet or linen cupboard to see if there is something worn and old that can be cut up and practised on.
A great source of lower priced fabric can be curtains and bed linen found at charity shops and thrift stores. I have previously bought a pair of stunning full length woven silver curtains for just £5!
I intended to make a pair of trousers and a jacket from them, but sadly they were claimed by my Ma to shorten for the spare room windows back home! I am hopeful that I’ll get any remnants back!
I have covered the different fabric types in detail here, so for now, just add that 100% cotton muslin is advised as a learning fabric!
Threads


Without thread, we have no way of joining the fabric together. I love Gutermann sew all threads as they’re readily available in many colours.
As a base, you’ll want black and white, and as these will be used a lot, I recommend getting the biggest spool you can afford!
Once you start working on specific sewing projects with your chosen fabrics, you will want to select thread that is a close colour match to your fabric. This is best done in-store, near natural light.
Cutting Tools
The most important cutting tool used in sewing is a pair of scissors dedicated to fabric.

These scissors must not be used to cut paper, or leather, or plastics. Only fabric.
This is because your beautiful fabric scissors will become blunt if you use them on other materials, which will end up with damaged fabric when you next go to cut out a sewing project!
As cutting tools is a bigger topic, the next post is all about cutting tools for sewing. For this reason, I won’t say anything else in this section for now other than to insist that you should buy a good brand, and keep make sure your fabric scissors stay as fabric scissors!
Marking Tools
Marking tools are used to mark the fabric before we cut, to minimise mistakes. There are different types of marking tools for sewing, and which you choose to use will come down to personal preference:
- Tailors tacks
- Tailors chalk
- Wax pencil
- Invisible pen
- Chalk pencil
- Carbon paper and tracing wheel
I myself stick to a combination of tailors chalk and tacks, as this is how I was trained. I will be showing you how each marking tool works later on, but if you do want to get something now, I recommend this simple piece of tailors chalk.
Measuring Tools
There are many measuring tools I could cajole you into buying, but in all honesty, the only measuring tool you need to get started is a measuring tape.
I mostly use the one pictured below but I have several hanging by my table in easy reach, similar to this tape measure!

Measuring tapes can stretch out, so it is best to use the same tape throughout your project, and if it does look a little stretched out, invest in a new one.
I replace my tape measures frequently!
Seam Ripper
While small scissors can be used to undo a seam sewn wrong, it is much safer to use a seam ripper to unpick a seam.

Seam rippers come in different sizes and colours, but they all have a hook shape to them , with a sharp inner blade, and a small ball at the tip of the shorter section.
This ball is used to prevent accidental ‘cutting’ of the fabric itself when unpicking a seam.
If you do not yet have a seam ripper, this one from Dritz is a very simple and easy to use seam ripper, big enough to use without being fiddly!
Pins
Last but not least, dressmaker pins. We use pins to temporarily hold fabric pieces together before we sew a seam. We can also use pins to securely hold the sewing pattern to the fabric while we cut around the pattern.

I love a long steel dressmakers pin, but if you’re new and nervous, then clips might be better until you’ve found your sewing feet.
Final Thought On Sewing Tools And Equipment
As you can see there are many different tools and equipment types used in sewing. What you choose to invest in largely depends on what you plan to sew.
For me, my first passion id dressmaking, and I love to design and make my own patterns before sewing my own unique clothing.
For you, it may be that you discover a love of sewing home furnishing items or perhaps take to quilting.
And there’s also the option of starting a sewing based business, either as a small fashion designer, an independent dressmaker or an alterations person. The options are endless!
Abigail
Tuesday 19th of July 2022
It's great. So what's next?
Bukky
Monday 20th of July 2020
Fantastic