How to Make a Pencil Case
A pencil case is a super simple sewing project, perfect for anyone new to sewing. And you do not need much to sew one up either.
In this tutorial I’m going to show you how to make a pencil case and will provide the exact measurements I use to make a DIY pencil case from fabric.
This makes a great project if you need a back-to-school pencil case in a hurry, or if you have some beautiful fabric and want to make something a bit more special than what the shops offer as a gift to someone you love!
What You Need To Make A DIY Pencil Case
There are few bits you’ll need to make the pattern and then this super easy pencil case:
- Paper
- Pencil
- Ruler
- Paper scissors
- Fabric (see further down for recommendations)
- Bias tape (optional)
- Zipper: 9″/23cm long closed zipper or use continuous zipper tape cut to size.
- Sewing machine or a…
- Hand sewing needle
- Thread
Creating The DIY Pencil Case Pattern
Start by making the pattern. You can mark directly on the fabric if you want, but I like to create a paper pattern so that I can store it in my folder and use it again and again – it’s a handy one for small gifts after all!
Step 1: Measure the width of the pencil case first. I want mine to fit Tombow brush pens, so I’ve made my pattern 9″/23cm wide.
Step 2: Square up 12.5″/32cm from both ends and then join them with a straight line. You should now have a rectangle measuring 9″x12.5″ / 23cm x 32cm.
Step 3: Add seam allowance to all four sides. I always use 1cm seam allowance, but you can choose your own.
Step 4: Use your paper scissors to cut the pattern piece out. Make sure to label it and note which two sides are for the zipper opening!
Fabric Choice For A DIY Pencil Case

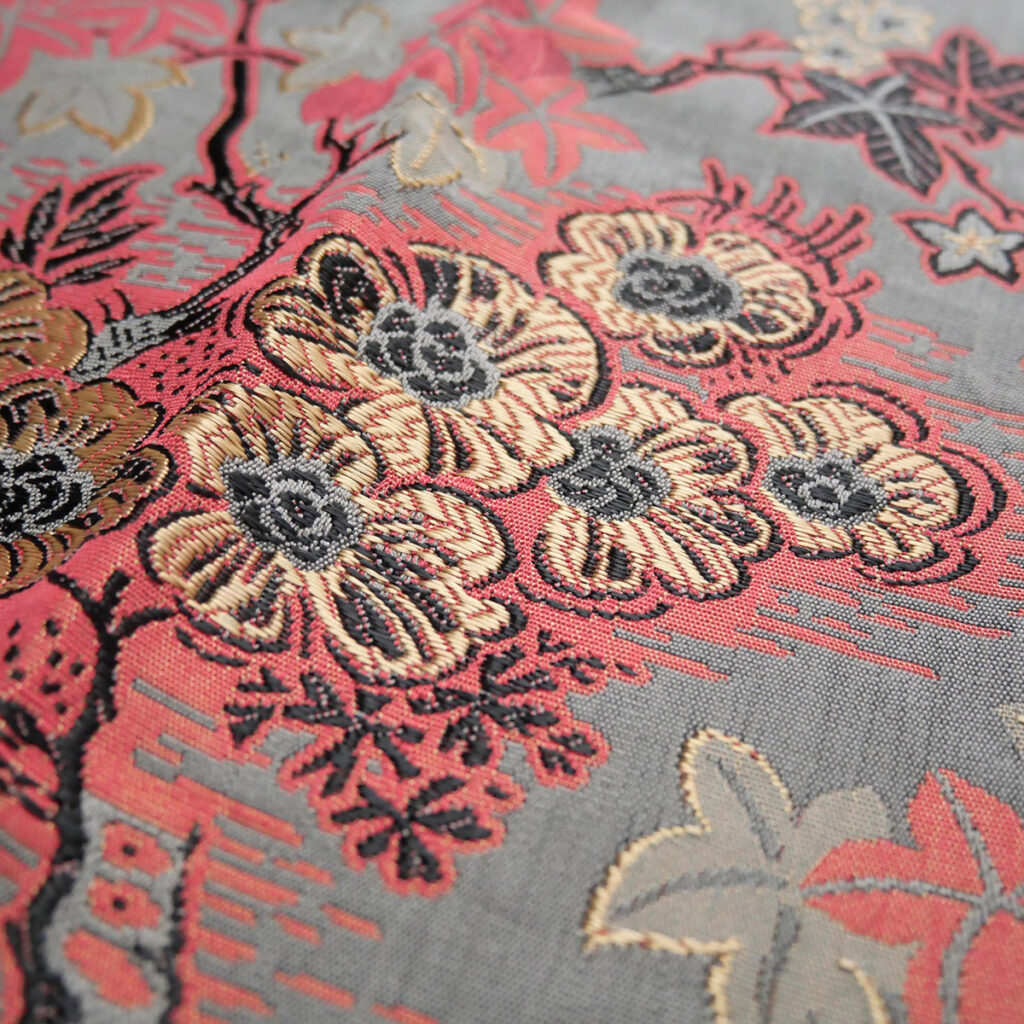
You can use any fabric for a pencil case, but some will work much better than others. You can use denim from old jeans for a more sustainable option or go with a fabric you bought especially.
If you want a pencil case with a bit more structure, choose a fabric that is more tightly woven and medium or heavy in weight (like canvas or denim) or you can quilt a lighter weight fabric with batting.
A final alternative is to apply an interfacing to a fabric to add a little more structure. With this option, you will want to also cut a lining to hide that interfacing away!
Once you have decided on the fabric cut it out!
Sewing The DIY Pencil Case
This is where I show you how to make a pencil case. Start by loading your sewing machine and bobbin with a suitable thread, and check the needle is correct for your fabric choice.
Step 1: Your first step is to overlock along the two edges that will have the zipper attached. If you are not using bias tape to finish the inside seams of your pencil case, you should overlock all four sides.
My fabric was not in one piece so I have created a seam joining the two.
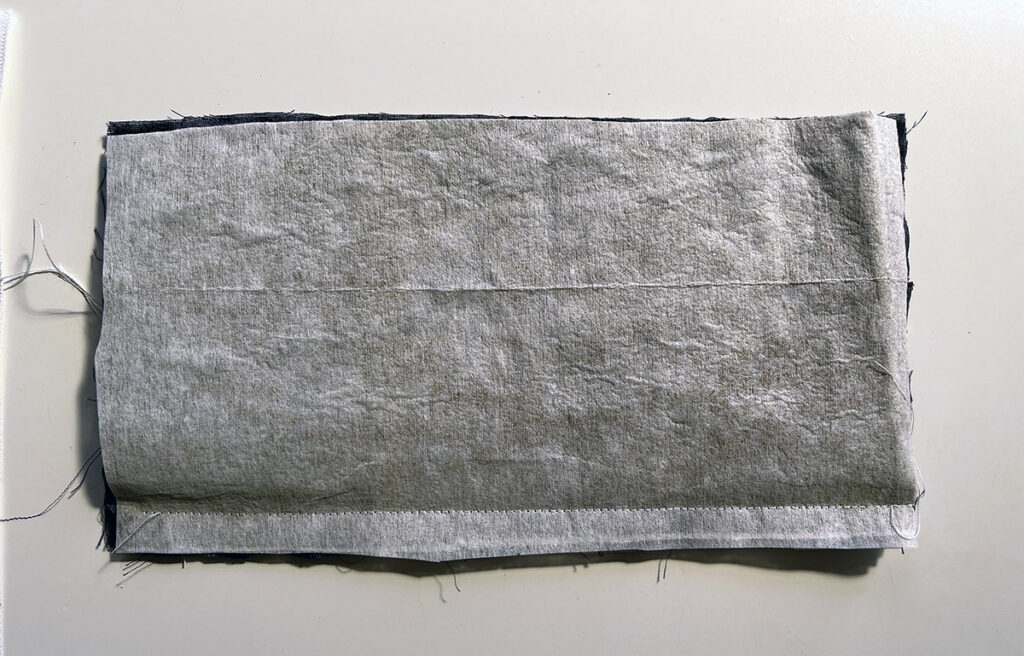
You’ll notice that I also did not serge/overlock my raw edges as this was a rush project, the fabric was already interfaced and I didn’t actually expect to like it as much as I do!
Step 2: Place the zipper right side down onto the right side of the pencil case fabric piece, as shown.
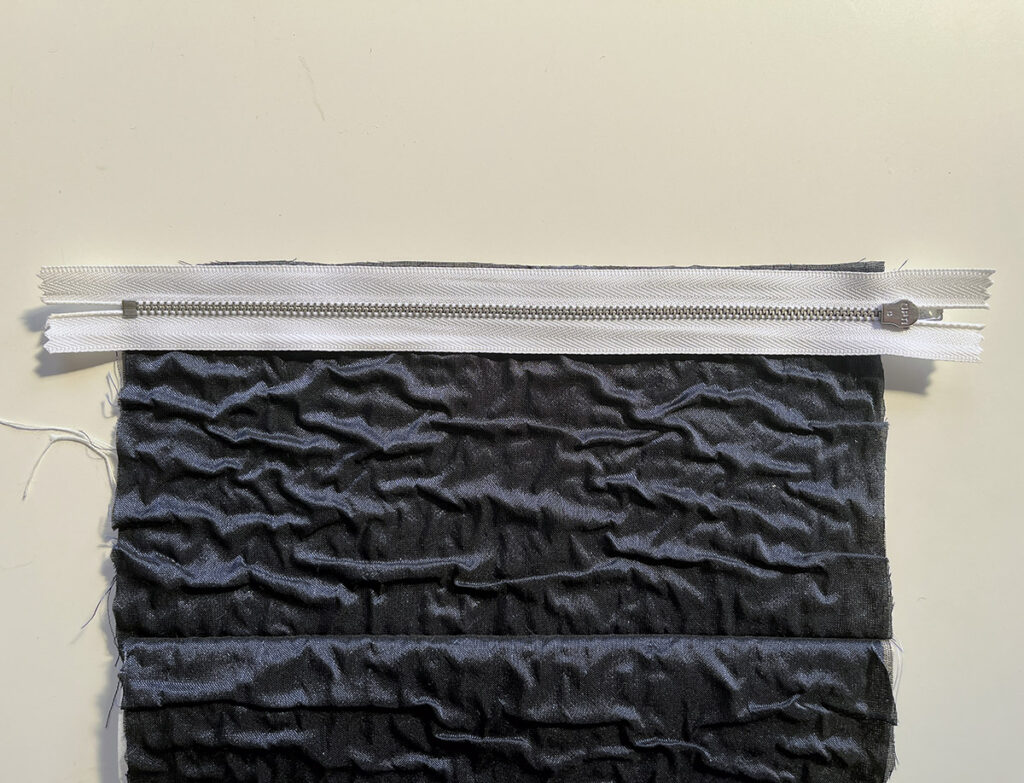
Pin or baste to hold it in place, and then sew along the length of the zipper with your chosen seam allowance.
Below, I have basted the zipper using a regular presser foot, and a longer stitch length. You can skip the basting step, and sew the zipper directly to the fabric with a zipper foot for a closer stitchline.
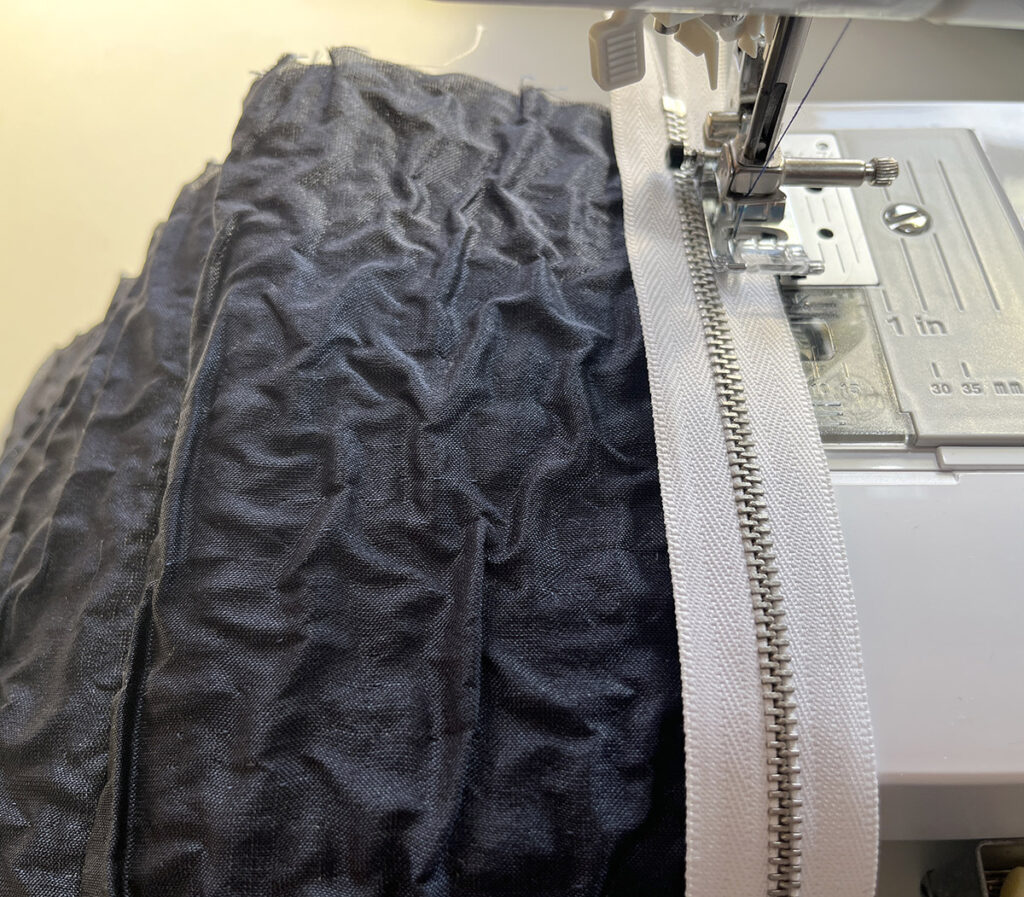
You can also topstitch through the zipper and fabric on the right side for a more professional finish.
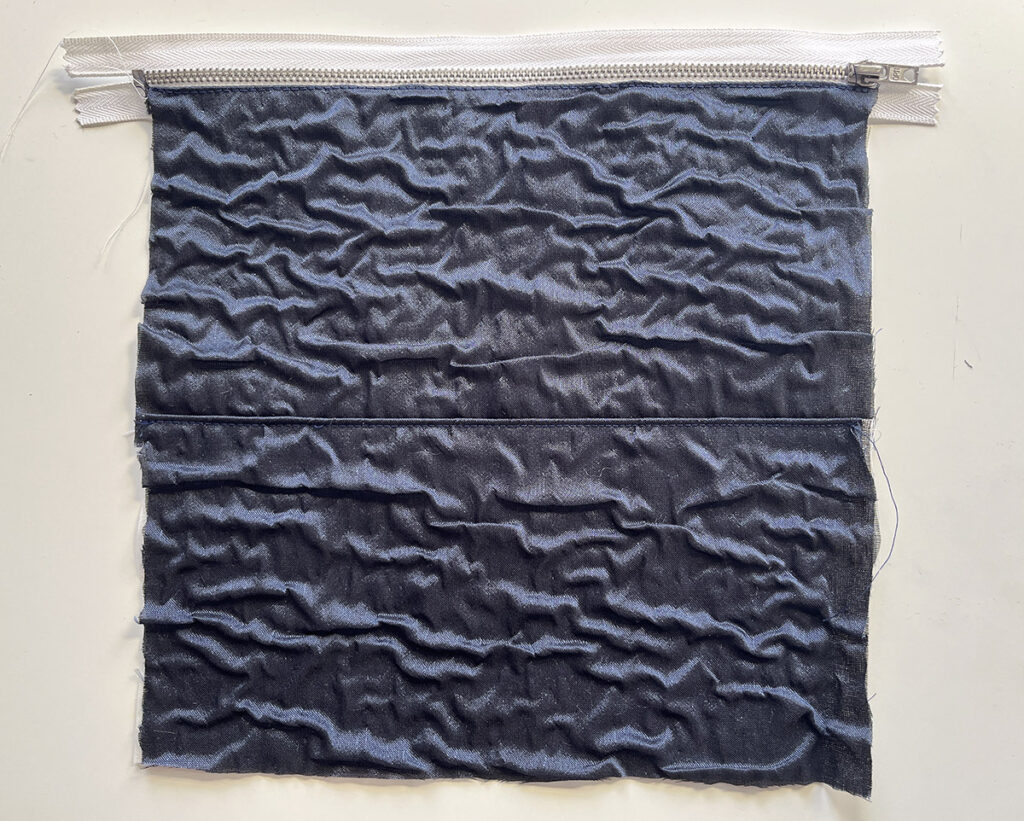
Step 3: Bring the second side of the zipper over to the opposite side of the fabric piece, and again pin or baste in place to secure. Make sure that the edges of the longer sides of the rectangle match up before you pin them!
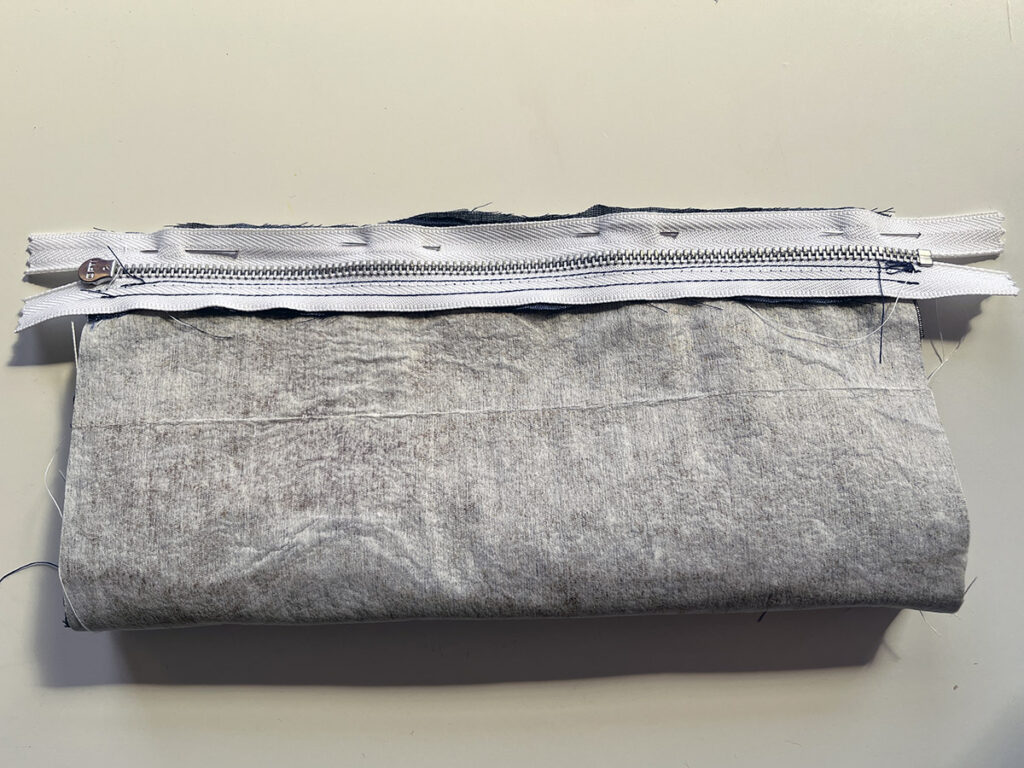
Step 4: Sew the second side of the zipper to the fabric, and again, topstitch on the right side.
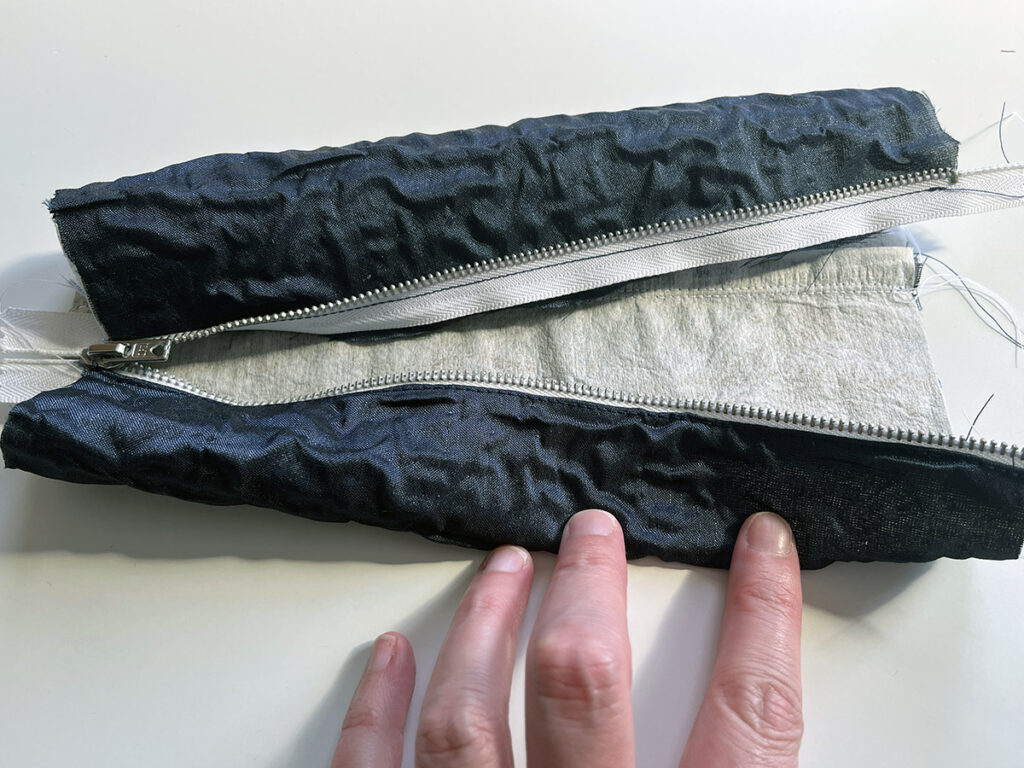
Step 5: Open up the zipper before you sew anything else! This is really important, otherwise you’ll sew your pencil case closed! Decide where you want the location of the zipper to be.
I’ve made my zipper centered, so that I can fit a gouache palette inside, but you can have the zipper at the top as is traditional or wherever you prefer.
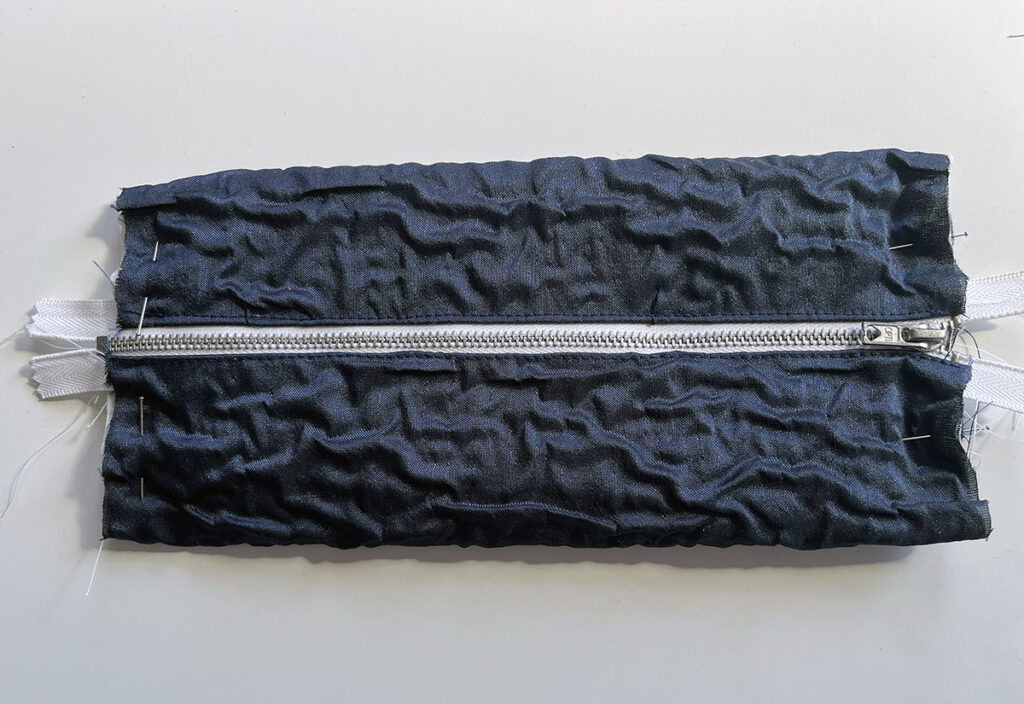
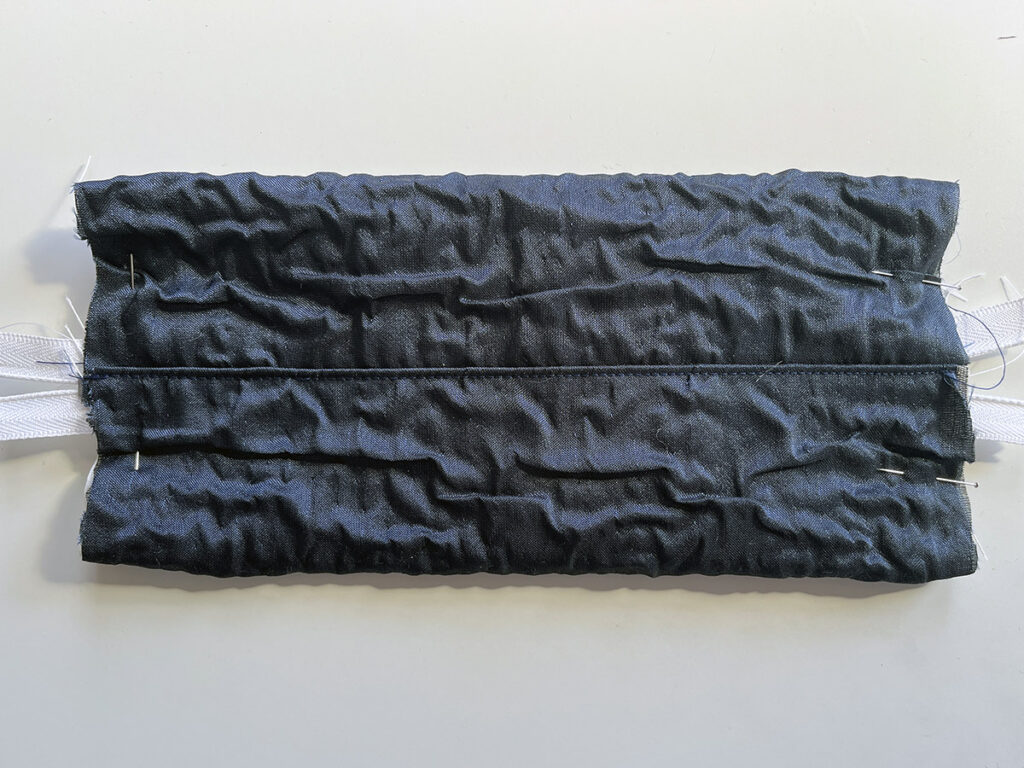
Step 6: Once you have decided where you want the zipper opening to be, open the zipper half way, turn the DIY pencil case inside out, and reposition the pins.
You could baste the short ends together if you prefer.
If you overlooked the raw edges, you can now sew one of the short edges of your pencil case closed. If you decided to have bound seams you can now enclose it with the bias tape to hide the raw edges.
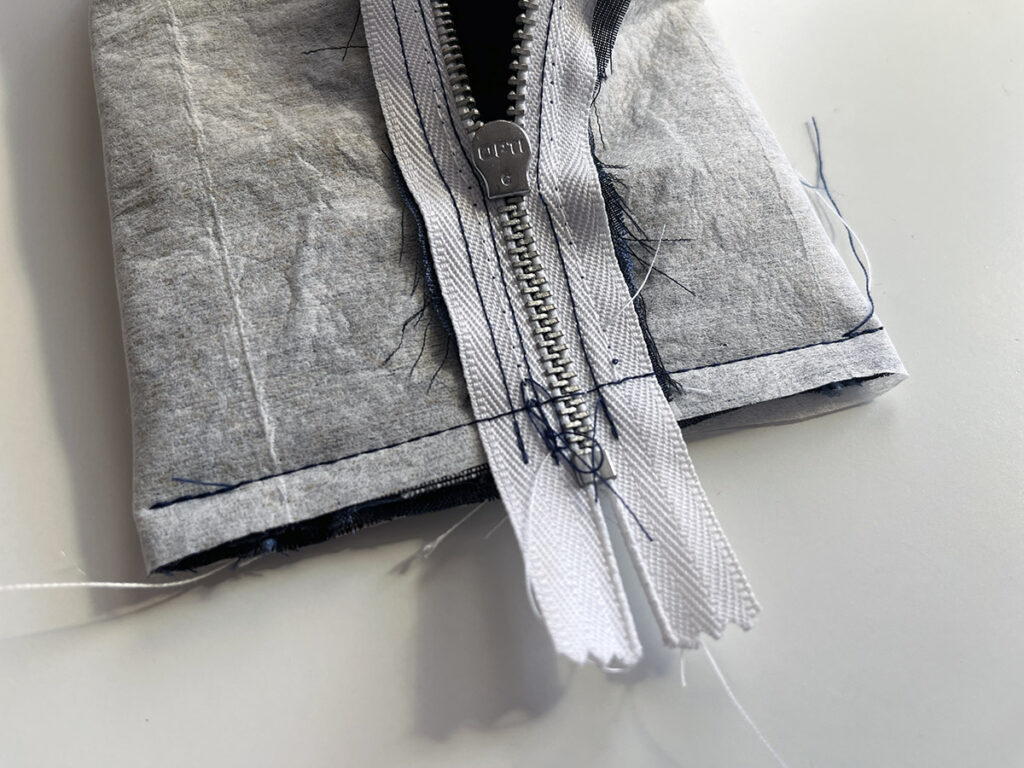
Repeat for the second short edge, but make sure the zipper is open before you sew!
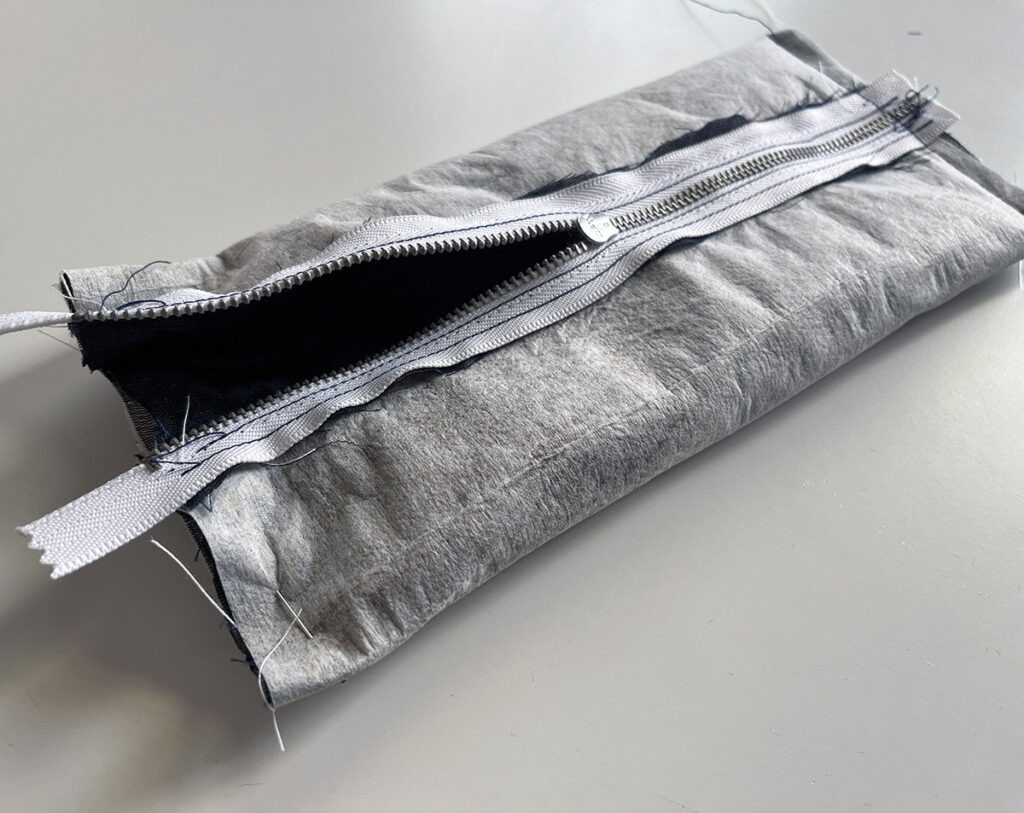
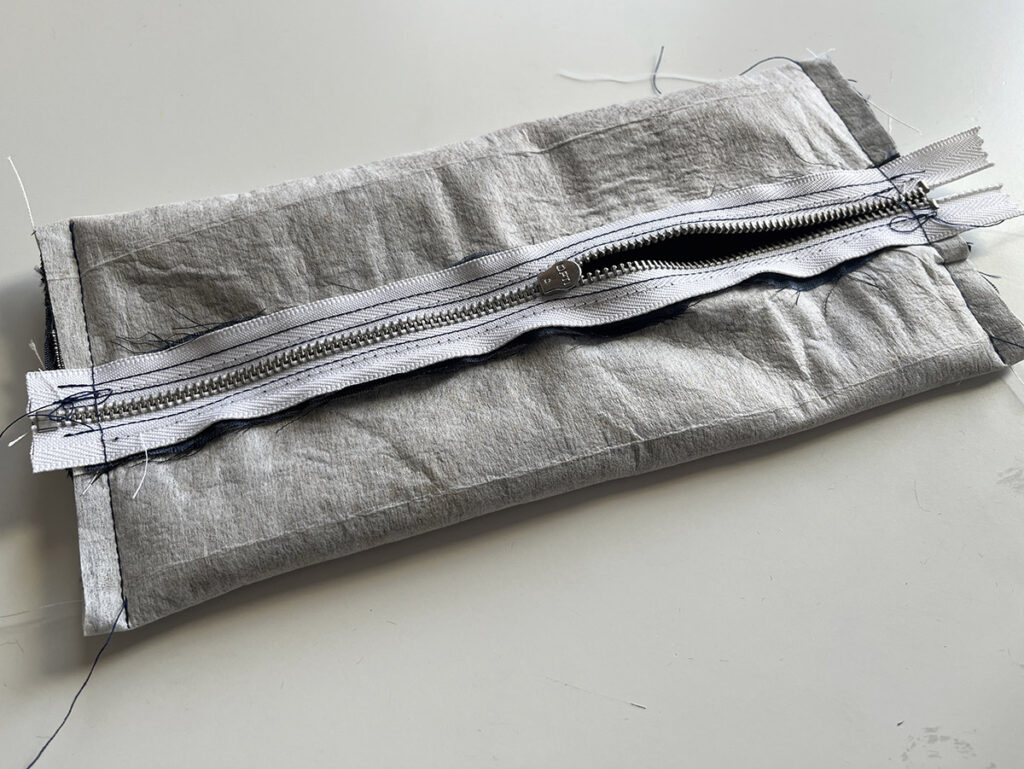
Step 7: I like to turn the corners back neatly before turning the whole pencil case through, though for less bulk you can clip them.
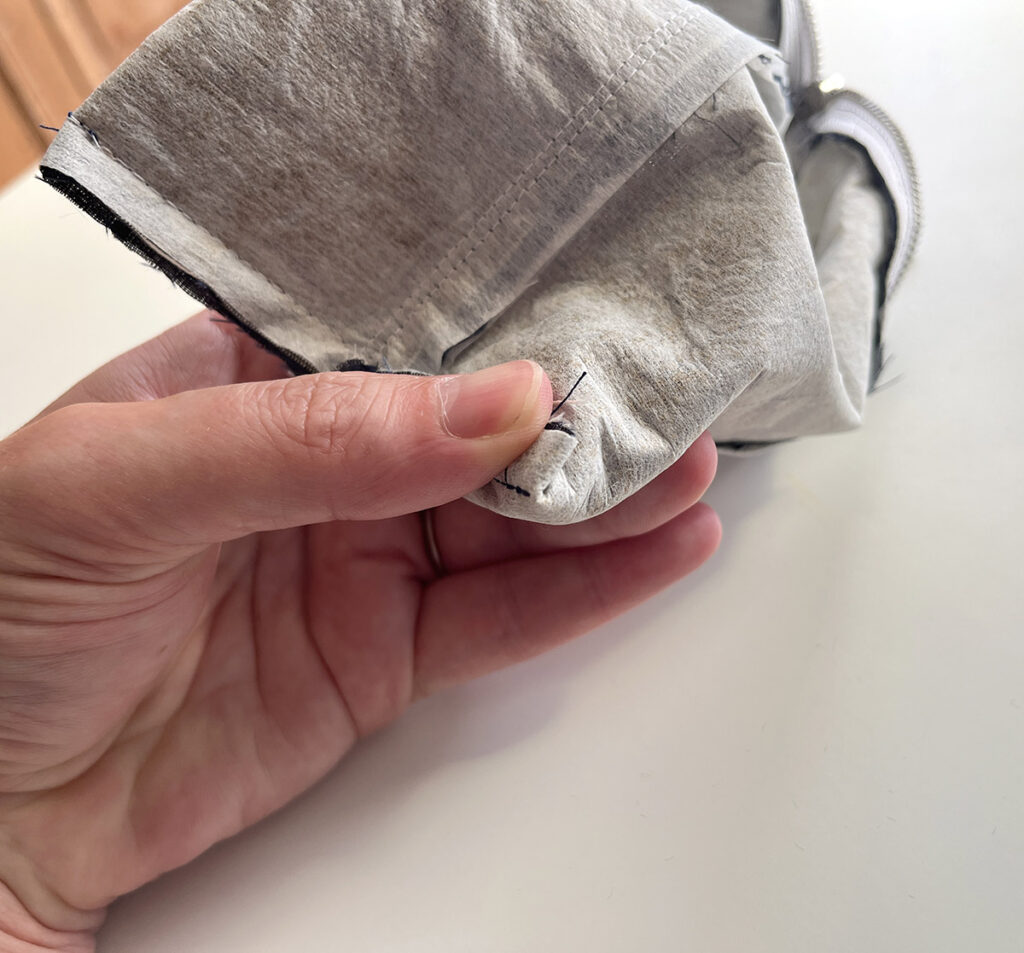
Now you can turn your DIY pencil case through and admire your handiwork!
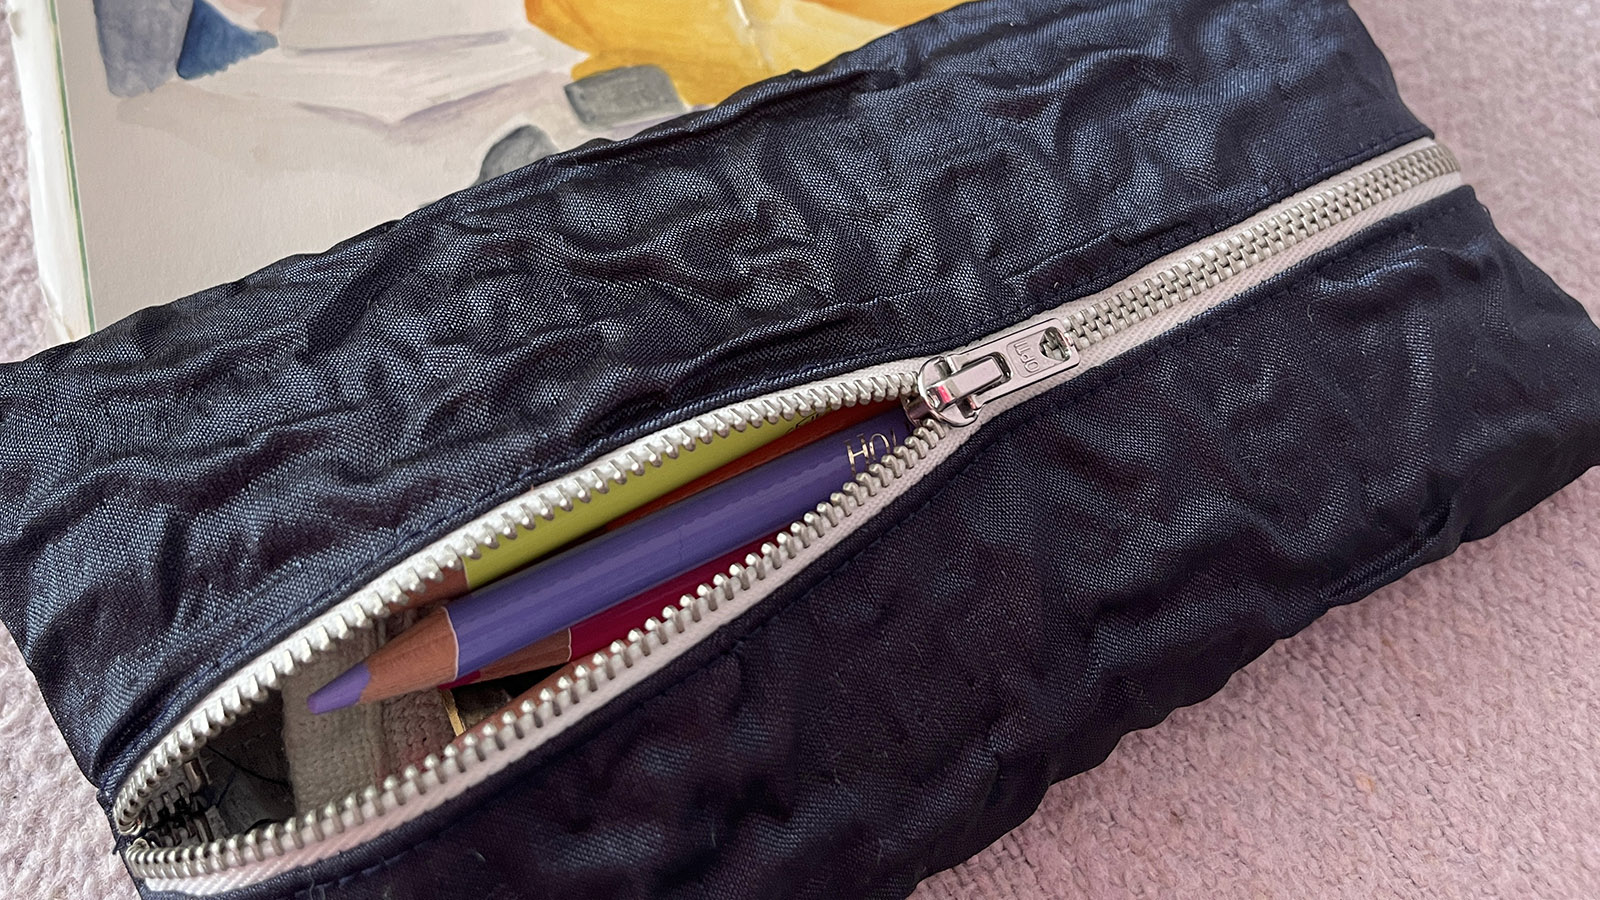
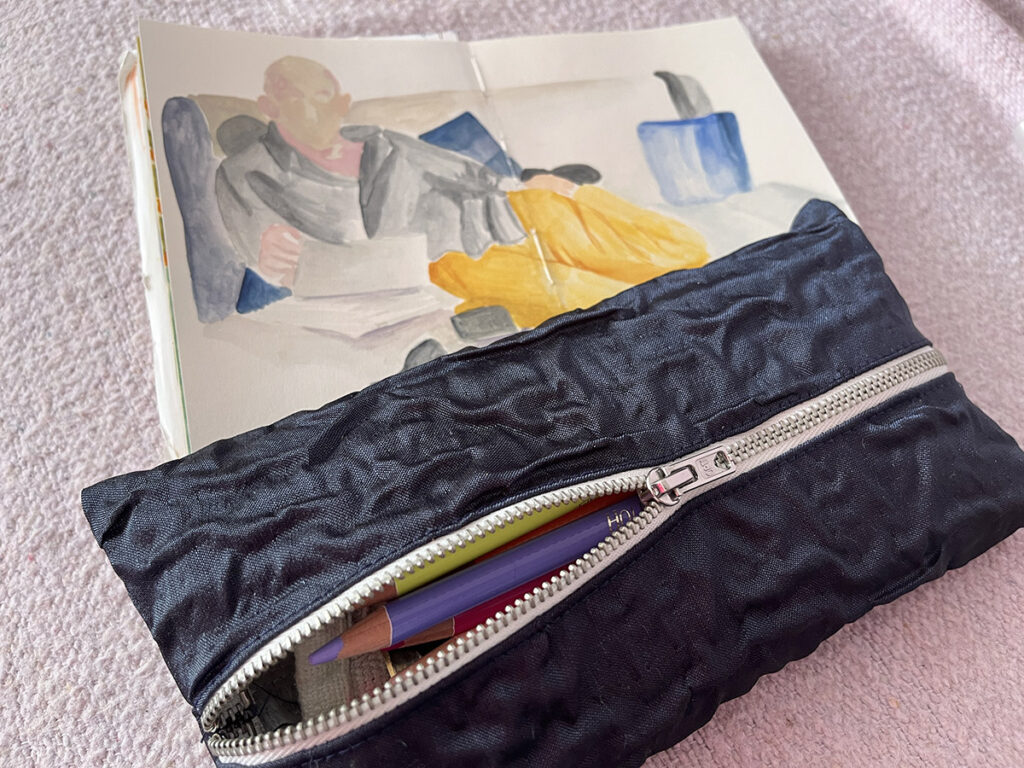
My DIY Pencil Case
I love the DIY pencil case I made. I wasn’t expecting to love it, as it was just a quick project, but I can see myself making many for various uses.
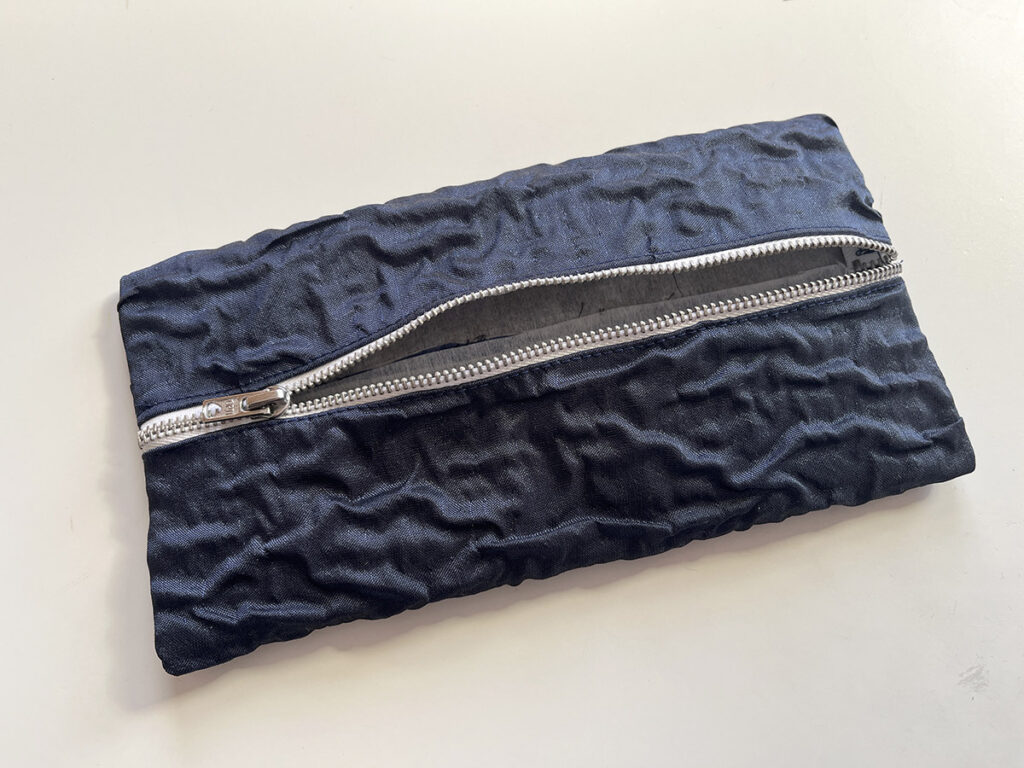
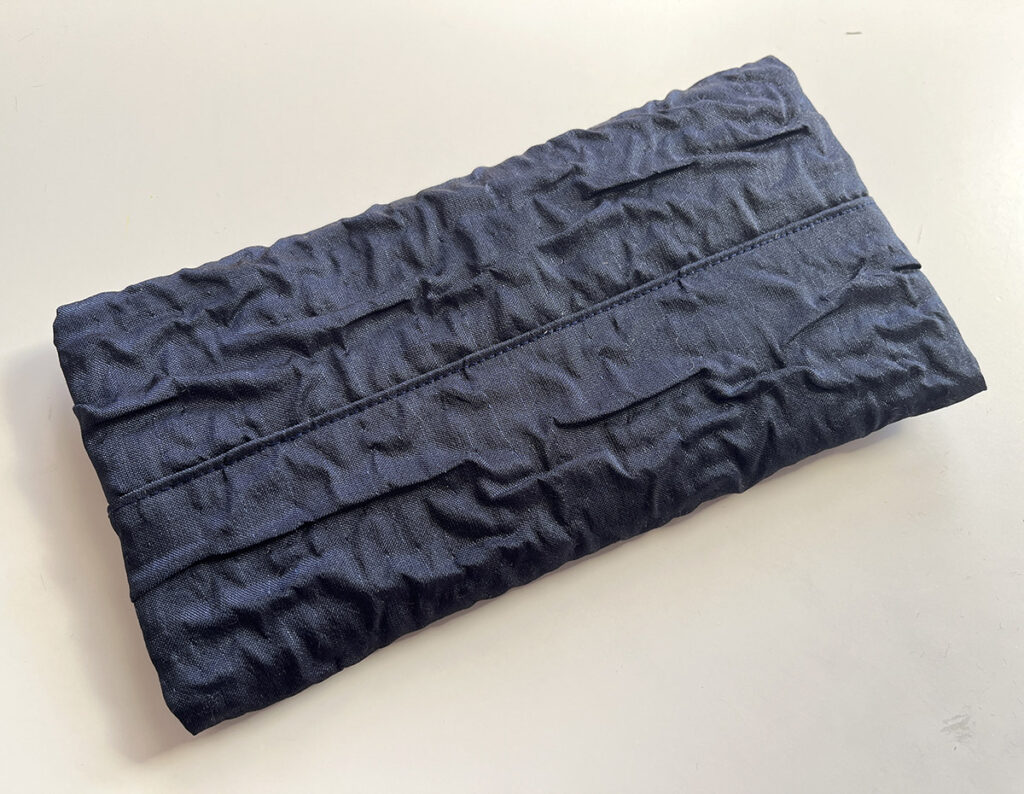
I used it plenty when travelling to and from the UK to collect my niece and nephew recently, and it worked so well for taking a limited number of art materials.
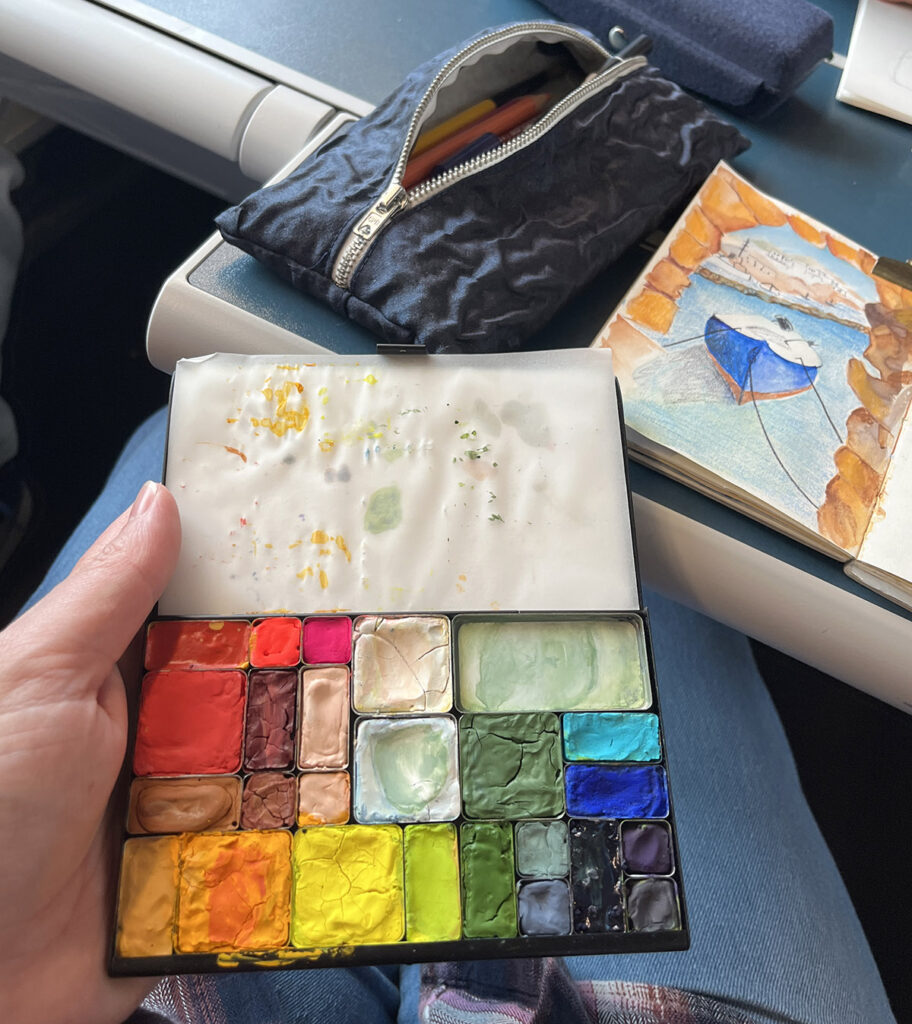
They also make perfect small sewing projects for gifts, and I will be sewing a few up to give as gifts this coming Christmas.
Now that I’ve shown you how to make a pencil case, you can take it further! Perhaps make one less wide, and use it for a pack of tissues, or to keep loose change.
Will you be making one for yourself or others? And what fabric will you be choosing? Let me know in the comments!
In the meantime, take a look at the other sewing projects I’ve shared if you’re looking for more inspiration!