How To ‘Stitch In The Ditch’
Today we’re looking at what stitch in the ditch is, and how to do it, because it’s a great technique to use when sewing your own clothing.
As well as being used for garment sewing, stitching in the ditch is also used for quilting, whether machine quilting or hand quilting.
What Stitch In The Ditch Is…
So, what do I mean when I say stitch in the ditch? It’s a way of sewing a seam that is invisible on one side while securing fabric in place on the underside.
I’ve used the technique to finish waistbands when I don’t want any visible stitching on right side of the finished piece, and it works really well to secure facings too!
The Presser Foot Needed To Stitch In The Ditch

Stitching in the ditch can be done with a standard sewing machine presser foot, but for those less confident, there is a dedicated stitch in the ditch presser foot available for sewing machines, and a walking foot works well too if you have one.
Standard Presser Foot
This is the best option if you’re sewing clothing and want to ditch stitch. You already own a standard presser foot, so can get started right away, and it works, as long as you sew slow and steady.
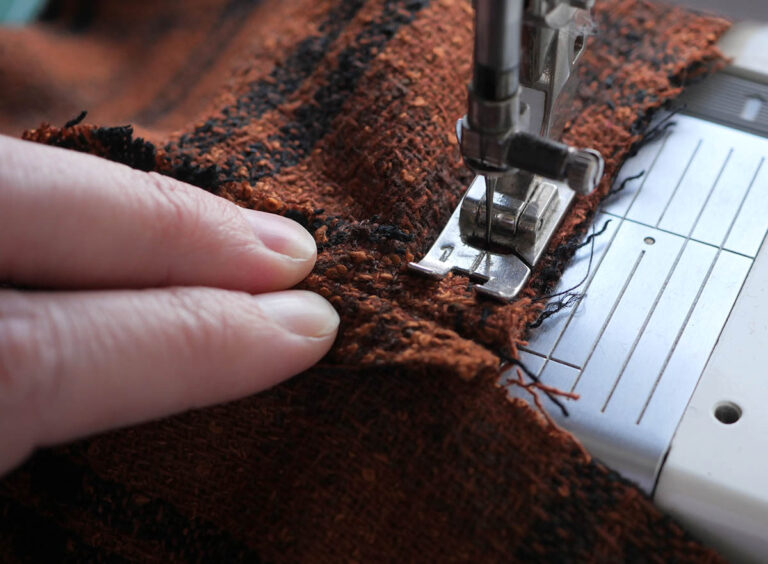
Use the middle line as a guide and place the original seam in line with this so your stitched land in the ditch.
Edge Joining Foot
The foot has a wide opening to accommodate the swing of a needle in zigzag mode, and there is a guide which you use to line the edge of the fabric against so that the stitch line falls into the existing seam line.
To be honest, I find that the presser foot is more suited to sewing lapped seams, appliqué and edge stitching.
Walking Foot
The other option is to use a walking foot. This is the foot that moves while you sew. It’s used mainly by quilters for ditch quilting.
I’ve used it many times for sewing garments made of leather and non-grain ‘sticky’ materials, but I do think it is unnecessary for sewing ditch stitch in garments.
Where To Stitch In The Ditch

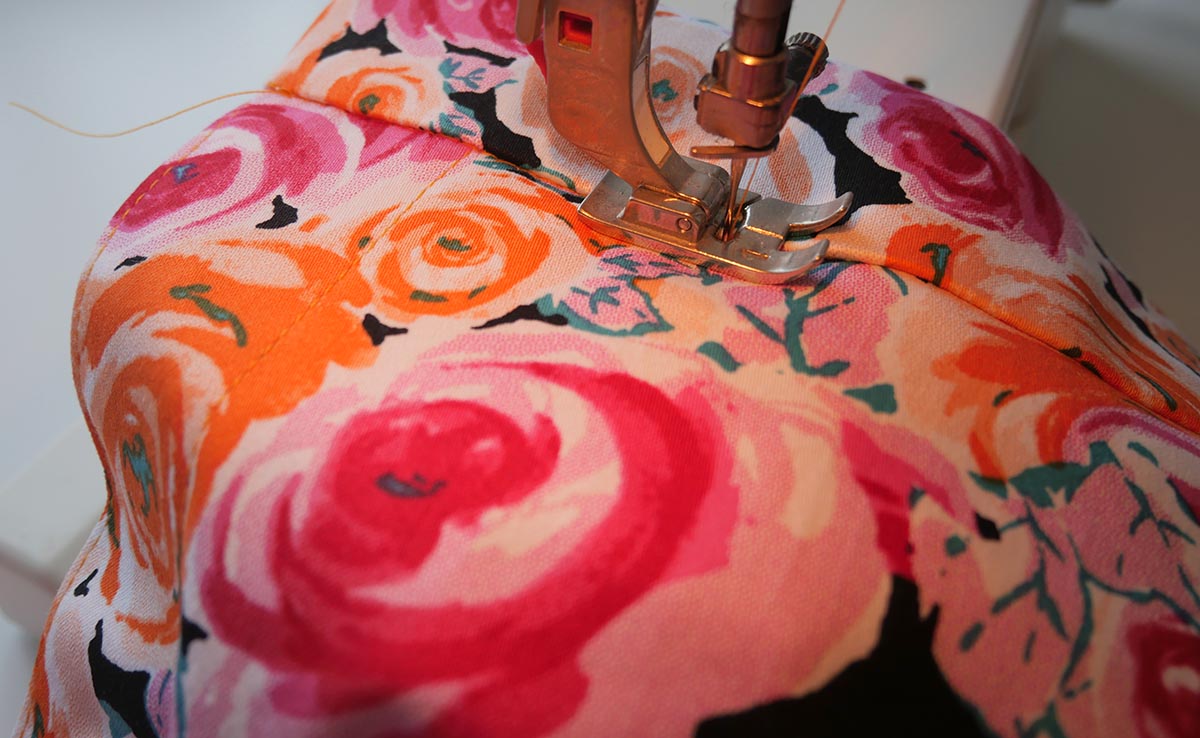
When we ditch stitch, we sew along an existing stitched line, from the right side of the fabric, to secure the under-fabric edge in place. The back or ‘wrong’ side needs to be prepped beforehand, so make sure you’ve pressed everything for the neatest possible finish.

Once sewn, the upper thread is not visible because we are sewing in the ditch created by an existing seam while the lower bobbin thread remains visible on the wrong side of the fabric.
Deciding On A Stitch Length
If you’re sewing garments, then your usual stitch length is fine for ditch stitching. I usually use between a 2.5 and 3.5 on my Bernina sewing machine.
If you’re using it as a quilting technique, then a shorter stitch length will be good for really securing the different layers together and preventing them from shifting.
How To Accurately Stitch In The Ditch
Now that you understand what stitching in the ditch is and why you should use it, here’s a tutorial to help you stitch in the ditch more often!
Step 1: Pin The Seam

Start by placing pins along the ditch line so that you both layers of fabric are secured into position.

Check the wrong side of the garment to make sure that when your stitched ditch is sewn, you catch in all the fabric needed.
Step 2: Line Up Your Needle

Place the project under the needle, with the right side of the fabric facing up at you. Lower your needle into the ditch using the handwheel so that it is perfectly positioned.
Step 3: Sew The Ditch

Start with a two-stitch back tack, and then slowly and steadily sew a straight line along the existing ditch to create a line of stitching, as far as you need to or as directed by the sewing pattern instructions.
You can sew as slowly as you like to get the stitches in the right place, and don’t be afraid to use the handwheel if needed!
Step 4: Press The Ditch

Finally, once you have back tacked and cut your thread, grab the iron and give the finished seam a nice press.
You should only see the stitched line from the wrong side!

3 Tips For Stitching In The Ditch
Let’s finish with some tips so that you get it right every time you ditch stitch!
1. Use The Right Thread
This sounds like common sense, right? You’ll be surprised how many times I go to ditch stitch and realize too later that the thread is the wrong color!
The easiest way to make sure your stitching is invisible is to use a clear invisible thread, but that doesn’t look so great on garments, so I opt for a thread which is the same color as the right side of the fabric.
2. Use Your Fingers!
The reason I can sew a beautiful, stitched ditch is because I put my fingers to work. Yes, this is one of those things that gets easier when you’ve done it a few times, so start practicing it right away.
Simply ease the ditch apart with the fingers of both hands and sew in the space created. Release the fabric and the ditch will close right back up hiding those stitches.
3. Use The Right Presser Foot
I wrote above about the different presser foot options, but the right one is really the foot which will keep you lined up with the ‘ditch’ and I find the standard presser foot with the center guide to be the best for the job.
And that’s it my sewing friends! If you’re still not sure how to stitch in the ditch I’ll be adding a lesson to my online course Learn to Sew… so do check that out right here if you still think of yourself as a sewing beginner!