How To Make A Sewing Pattern: Using Woven Garments
Knowing how to make a sewing pattern is something many people (who sew) start thinking about once they get the ‘making their own clothes’ bug. Yes, that’s a thing, trust me!
One of the five ways I use to create patterns is to use existing garments that fit me well, that I know and love. And not surprisingly, it’s actually a trick that is often used in the fashion industry!
Many a time I’ve been sent a garment by a designer and asked to make a sewing pattern from it, which they then further adapt for their own collection.
It’s also a technique used a lot by fashion students who do not know how to make sewing patterns, but have found something in a vintage shop that they’d like to replicate as part of their graduate collection.
So today, we’re looking at how to make a sewing pattern using existing woven garments.
Now, to note – there are differences in how you would use a piece of clothing made from woven and knit fabrics, as the two fabrics are created in different ways and so react in different ways too.
That said, as long as you are aware of this – the stretch ratios for knit fabrics in particular – it is possible to create sewing patterns from knit clothes too.

Some of the links in this article are affiliate links. This means that I may receive a fee at no extra cost to you if you purchase a recommended product.
Why Use Existing Woven Clothes?
A great reason for using an existing piece of clothing to make your own sewing pattern is because you know that it fits you, and if you’re strategic and accurate in cloning the garment, you should maintain that fit easily in the new version.
With sewing patterns, there can be a lot of measuring and altering, only to end up disappointed when the final piece doesn’t come out as you expected.
Making a sewing pattern using this cloning technique means that you’ll have a basic technique to work with for any clothes that you’d like to make again.
Selecting A Garment To Copy
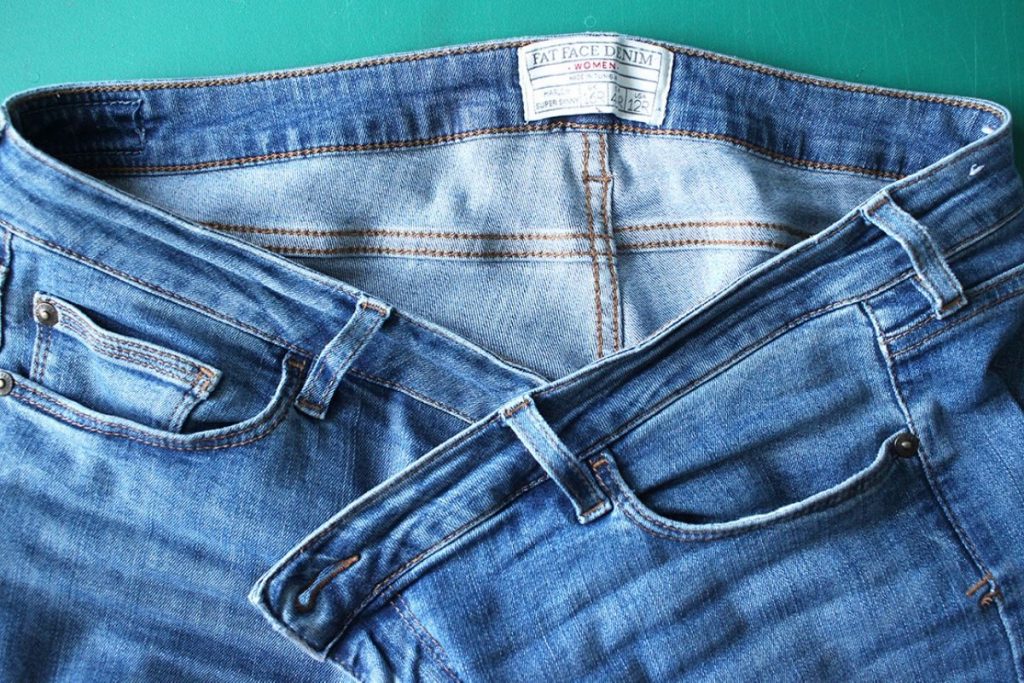
When learning how to make a sewing pattern from a woven garment, you’ll want to start by choosing something suitable. This could be a shirt, a pair of jeans, shorts or even a skirt.
The technique I’ll cover here for cloning clothes that you love is for items that still have wear in them – we’ll be using a tracing wheel and not unpicking. I’ll cover another version of this technique using an unpicker later on.
Let’s choose a pair of jeans that you LOVE wearing, and ideally they have minimal stretch to the denim. I’m using my favourite Fat Face skinny jeans.
Fibre Content Of Your Garment
First up, you need to consider the fibre content.
Some woven fabrics are woven tight and have no stretch, while others have some lycra or elastane aded, which can make the denim very stretchy – and you will need to factor this in when taking the pattern.
For super stretch skinny jeans, the amount of added lycra means that the pattern possibly has an element of negative ease.
Tools To Make Woven Sewing Patterns
When learning how to make a sewing pattern, you’ll want to have certain tools by your side. For this technique we will want:
- Pattern making paper
- Hard pencil
- Coloured pencils
- Pattern master or fashion ruler
- Paper scissors
- Tape measure
- Masking tape (the non-tacky option)
- Glue stick
- Pins
- Tracing wheel
- Awl
- Cutting mat
Making A Sewing Pattern By Cloning Your Clothes
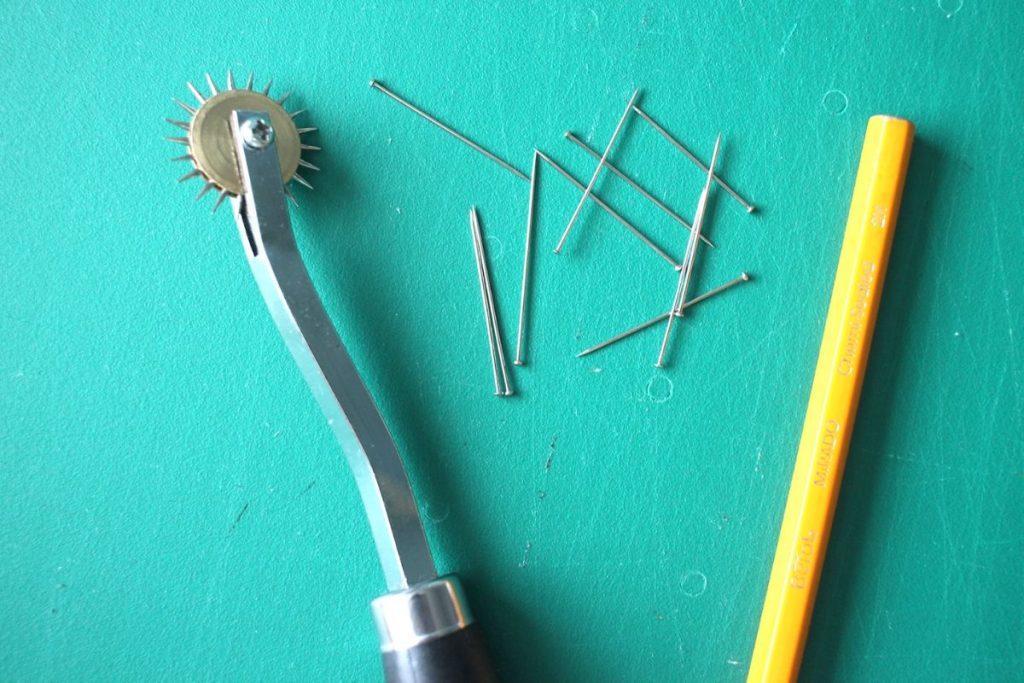
Now that you have your tools you’re all set to make a woven sewing pattern from clothes.
Start by setting up your sewing room workspace. Having the right space from the start of the process means you can get crackin’ on creating the pattern in one go.
This means having only what you need near to you. I usually have a pot with my tools in, the tape measure around my neck and then I’m set!
For now, you’ll want to lay the cutting mat on your table so that it is in prime position.
Keep pins, weights, tracing wheel, notebook and pencil close to hand – everything else if for the later stage.
Step 1: Analysing The Clothing
Start by looking at the piece of clothing you have chosen to clone.
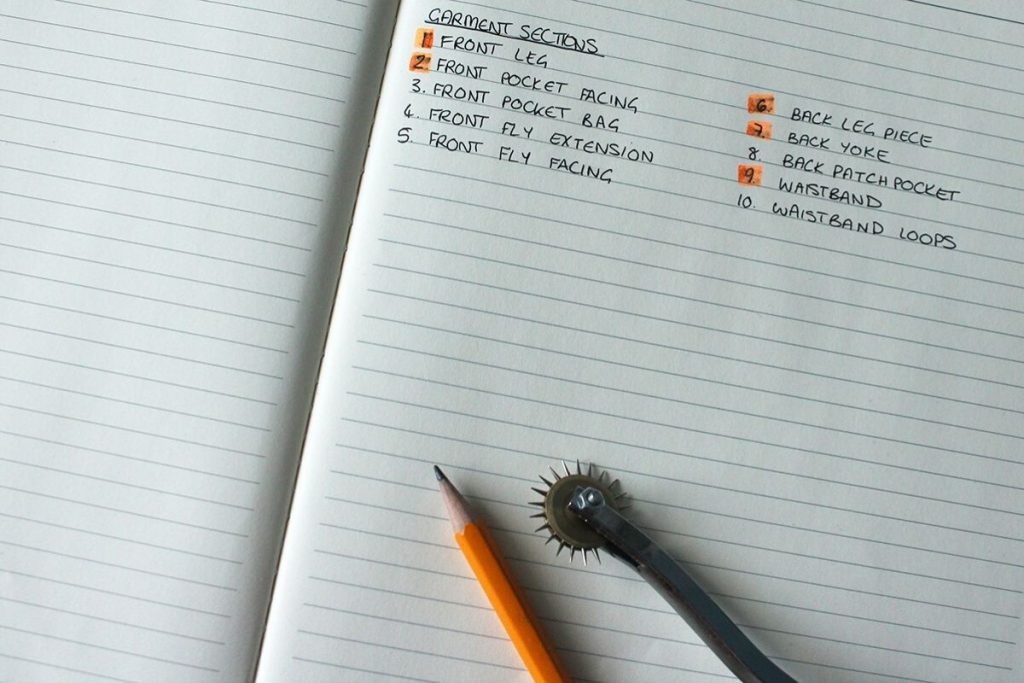
I’ve selected a pair of jeans, and there are quite a few sections I need to replicate for my sewing pattern:
- Front leg piece
- Front pocket facing
- Front fly extension
- Front fly facing
- Pocket bag
- Back leg piece
- Back yoke
- Back patch pocket
- Waistband
- Waistband loops
Not all of these sections need to be traced – some are simple enough to measure and draft the patterns for.
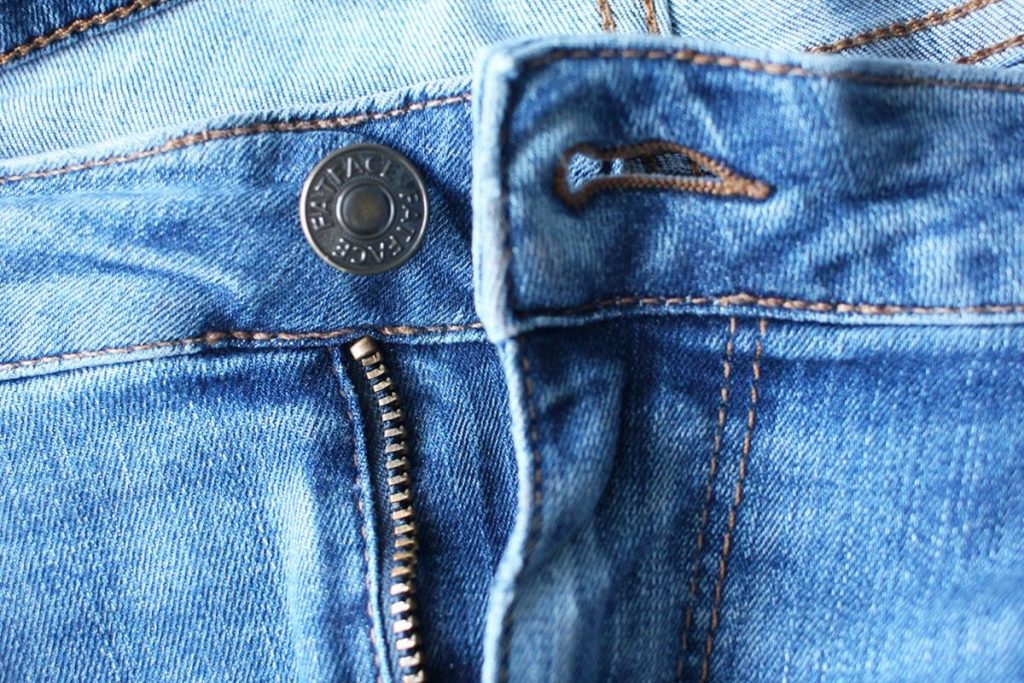
The front waistband is something I usually measure manually with a tape measure for a more accurate pattern piece.
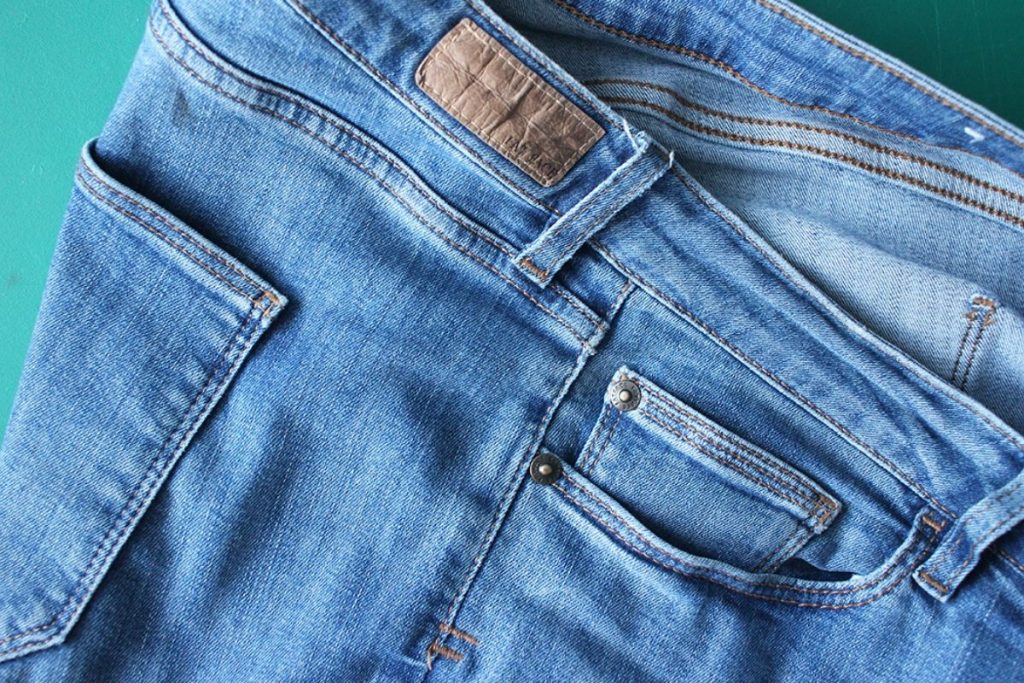
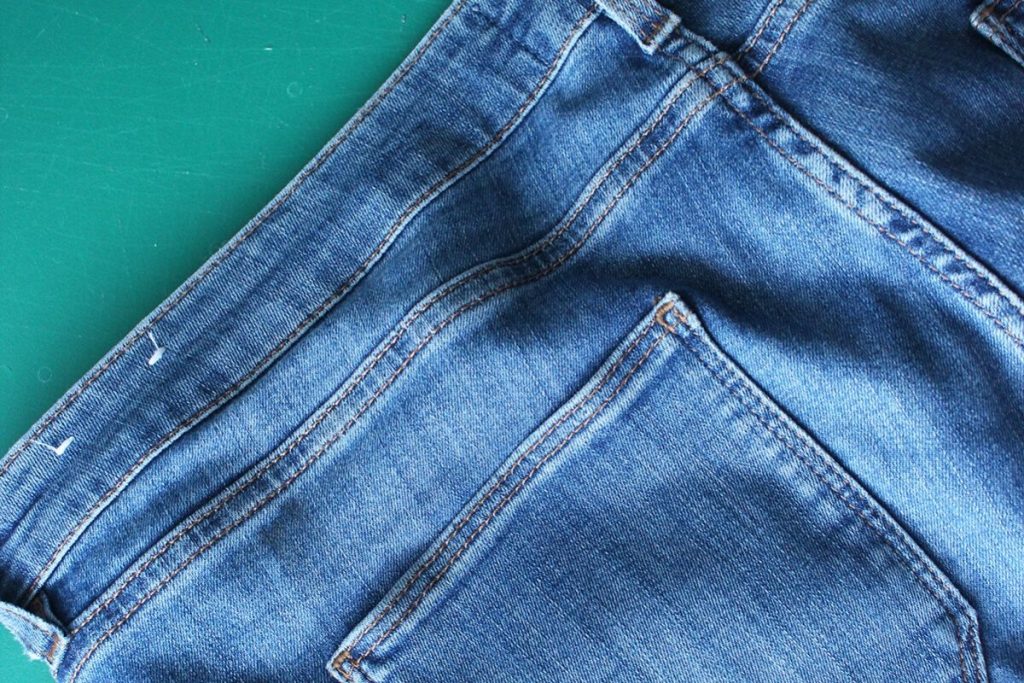
Pay attention to details that you might not ordinarily notice – the tiny amount of bak yoke on this side seam is a great example.
Small enough to almost be missed!
Action Task: Note down all the pieces that make up the garment you want to copy for a sewing pattern in your notebook, and highlight or pop stars next to the ones you have to trace.
Step 2: Preparing The Garment
Start by cutting a piece of pattern paper slightly bigger than your first garment section.
I try to trace the sections onto separate pieces of paper as it makes it easier to true them up.
Place the pattern paper on your work space, over the cutting mat. It is important that you use a surface that can be ‘damaged’ because the tracing wheel will prick small holes through the fabric and into the paper.
Then, start by turning your clothing item inside out as I have done for these denim jeans.
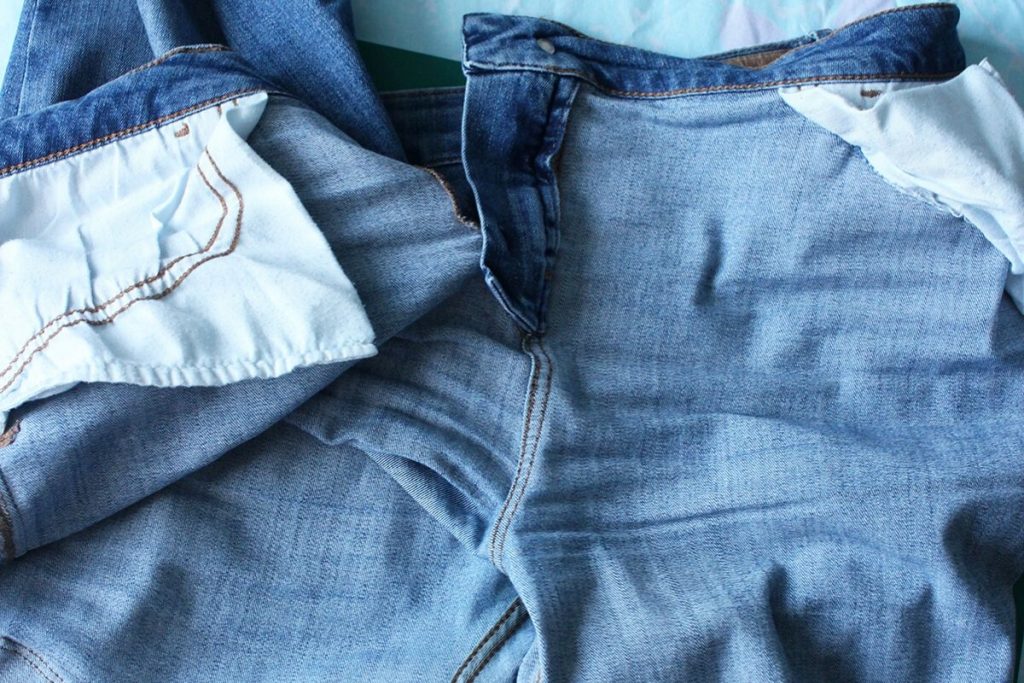
When tracing trousers – notorious for being tricky! – I turn them through, so that one leg is nestled inside the other.
This makes it so much easier to copy the shape of the crotch curve.
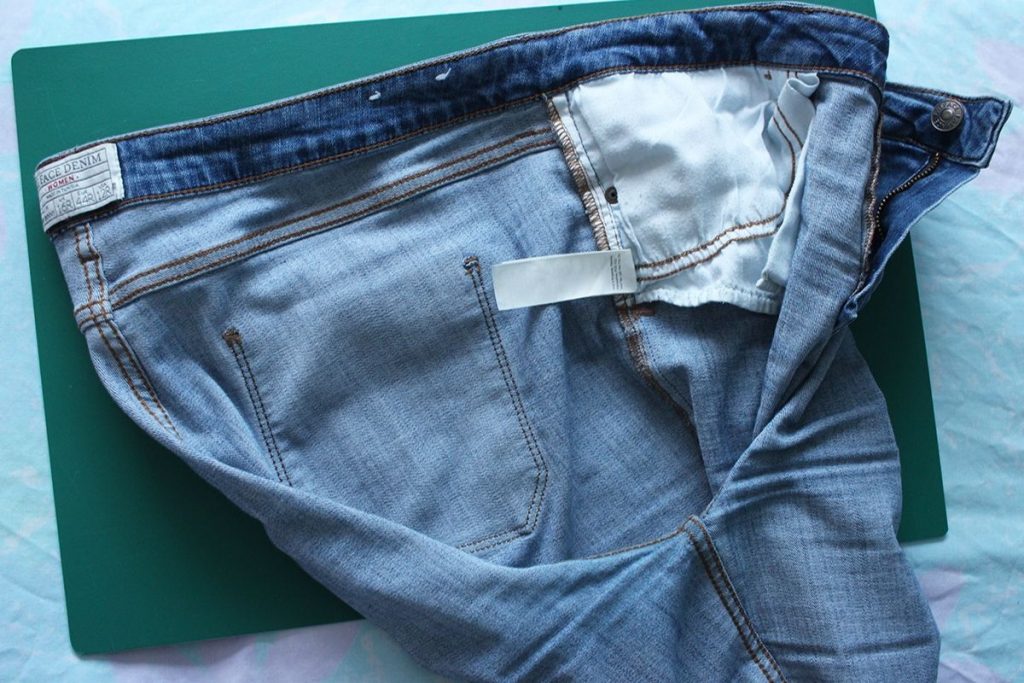
Match up points that should be aligned. These are the ones I focused on:
- Inside leg point
- Inside leg hem
- Pocket top on outside leg
Use pins to hold the sections together at these points.

You can also use pins to hold sections together to prevent movement!

Step 3: Tracing The Front Leg
You’ve now prepped your garment for tracing, and are ready to get started.
Take your tracing wheel and H2 (or even H4!) pencil and start to work your way around the main front section of your chosen garment.

Make sure that any pins you used to secure that section to the pattern paper stay in place.

And then carefully, using your tracing wheel, trace the stitch lines on this sections.
If you don’t yet have (or know how to use) a tracing wheel, do check out this guide to using a tracing wheel!
I’m tracing along the top of the front left where it joins the waistband, around the pocket opening, a short way down the side seam, along the front fly and part of the inside leg too.

I love my tracing wheels because they allow me to get into all the nooks and crannies of a garment – it helps me be more precise when tracing off clothes into patterns!

You really don’t want to mess with this tracing wheel when I’m on a roll!

Try to trace accurately when using a tracing wheel.
Here you can see that I am tracing off the actual stitch line for this pair of jeans.

Step 4: Marking In The Lines
Once the stitch lines have been carefully traced, you’ll need to take up the pencil and work over them.
I do this freehand to start with and then go over them more carefully with my pattern master / fashion ruler later.


Step 5: Copying The Remaining Sections
Continue in the same way, until you have copied all the sections needed to make your own sewing pattern from the garment.
Below, I traced the back yoke, and then the back leg section before ‘truing up’ the various pieces.

Looking at the photo above and comparing it to the photo below, we can see that I have an accurate tracing of the back yoke section of this pair of denim jeans.

I’ve even marked in the notch for the yoke point on the front pocket facing tracing too.

Don’t be afraid of turning garments inside out to get into all the nooks and crannies!

Finally…
When making your own sewing patterns from clothes, you may think that things look a little ‘odd’.
When I finished tracing this pair of jeans from Fat Face, my fist thought was ‘oh crap’ because the back section is so much greater than the front.

But looking at the actual jeans, and the pattern pieces side by side, it’s quite clear that actually, the sewing pattern created by cloning these jeans is pretty accurate.
Now that I have a cloned copy of these fab jeans, I can set to work truing them up to make sure the seams are accurate, notches are in the right places and then knock up a pair to test.
Then, Bob’s my uncle – I can crack on with making a few pairs in different fabric for myself.
If you enjoyed this, do check out more of my free pattern making tutorials!
And if you need a little more guidance on the cloning process, do have a look at Clone Your Clothes, the latest book from my friend Claire-Louise Hardie. She teaches several more methods for cloning your favorite clothes!


I want to join your free email course on Pattern Making Basics, please. Thank you for sharing!
Hi Glenda! Thanks for popping by. Due to so much spam over the last year, I have now changed the course from free to £5, as this then stops the spam registrations, which have been taking me some time to weed through, and often ended up with my emails to others being marked as spam. I hope you understand. If you’d like to join for £5, you can here: https://www.thecreativecurator.com/pattern-making-basics/ – and scroll to the lower part of the page. Joining will open a new text lesson each day, and you’ll have access to my help in the private comments area should you need it. Again, thank you for taking the time to reach out!
Best, Eve
I would like to join to make pattern making.
Hi Audrey! You can find my Pattern Making Basics course here: https://creative-curator.teachable.com/p/pattern-making-basics
Any questions, do let me know!
What do you do with bust darts?