How to Sew Hair Scrunchies (For Beginners)
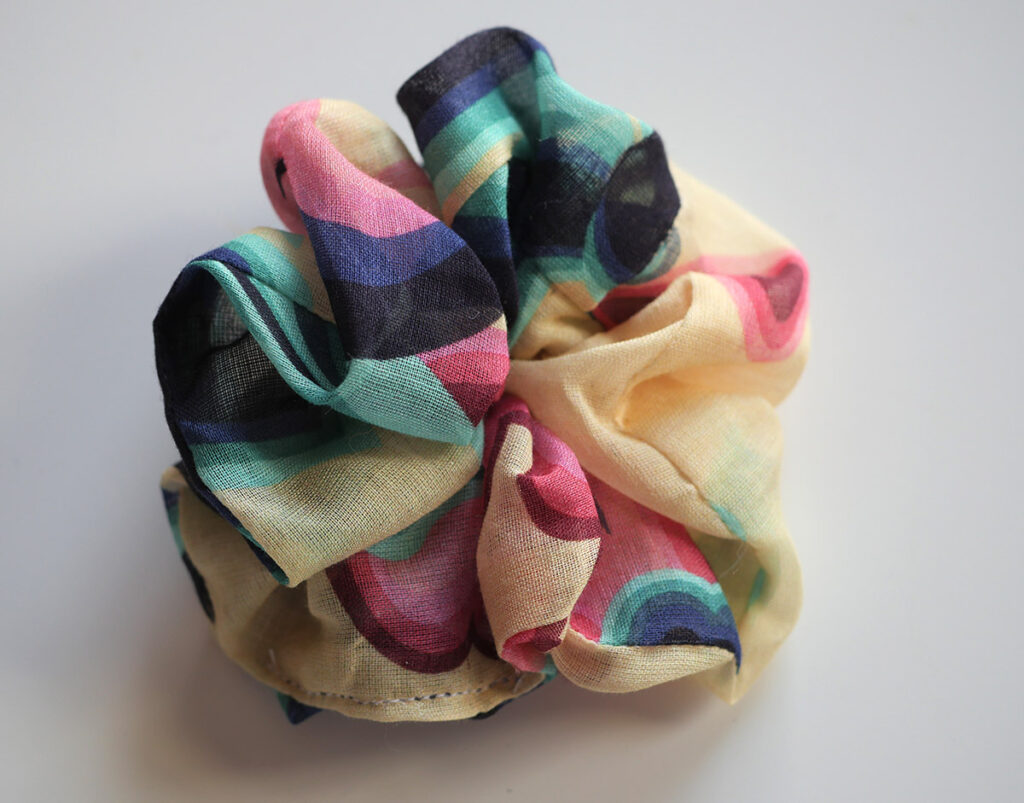
One of the easiest sewing projects for beginners is a hair scrunchie. It’s why they’re a popular product for those who do markets as well as being so quick to make.
Some people will teach you to make these with hair ties, but I find that these are fiddlier to sew, and don’t look as nice as the ones I make.
I use the “burrito” method to make mine, and can easily sew fifty scrunchies in a day. Sell each of those for $6 and that’s $300 for a day’s work.
But if you’re a sewing beginner, you’re not thinking about things you can sew and sell, you’re here for a quick and easy sewing project, and this is just what you need, so let me teach you how to sew hair scrunchies too!
Some of the links in this article are affiliate links. This means that I may receive a fee at no extra cost to you if you purchase a recommended product.
Things You Need To Sew DIY Hair Scrunchies
Let’s start with what you’ll be needing when you start sewing hair scrunchies, and I’ll add links to the things I use to make it easier for you!
You can’t make a scrunchie without fabric, so this is the first thing to gather. I’m going to share the different dimensions further down, so you’ll be able to know how much fabric you’ll need further down.
The next obvious thing is a way to sew. I use a domestic sewing machine, and this is the one I have been using for almost two years. It’s way less than $200, and I was even able to sew my own wedding dress on it.
If you don’t have a sewing machine (seriously consider the one I just mentioned!) then you can also use a hand sewing needle and thread, but it’ll take you longer. And that’s also ok, I love me some hand sewing!
Other essentials for making a DIY scrunchie are:
- Thread: I use an all purpose polyester thread as it’s strong and does the job.
- Elastic: for finer hair I use this narrow elastic and for thicker hair I use this wider elastic.
- Bodkin: this is how I feed the elastic through the tube of fabric. You can use a safety pin like all the influencers suggest, but it will get caught, it will open part way and you will end up sticking it in your finger. This bodkin is faster and easier.
- Scissors: I am a scissors girl and use these ones for general sewing. And they will work perfectly fine if you only plan to make a small number of hair scrunchies, but…
- Rotary cutter: this is a much faster solution for making hair scrunchies, if you’ll be making many. You can cut the strips of fabric much faster with this and a ruler.
- Ruler: I use any straight edge I have close to hand. It could be a standard metal ruler, a pattern master or my graders ruler. Use what you have!
- Cutting mat: only necessary if you do go with a rotary cutter, because you need to protect the work surface. This is one that I use. It’s big, but it means I do not need to shift it midway through cutting fabrics.
- Pins or clips: not essential, but they do help to stop the fabric shifting. You can use any pins, but these glass head pins mean that they won’t melt if you need to use an iron on future sewing projects. Otherwise, I also use these red sewing clips as needed too.
How To Make A Scrunchie
Now you have the tools needed we can decide on the size of the scrunchie you want to make.
Most scrunchies come in three sizes:
- Normal: this is a standard scrunchie size that you’ll find everywhere.
- XL: this is a bigger, more pouffy scrunchie.
- Mini: a smaller version, great for children and those with finer hair.
I also like to make a chunky scrunchie. It’s normal in size, but the fabric is cut wider and I use a wider elastic too.
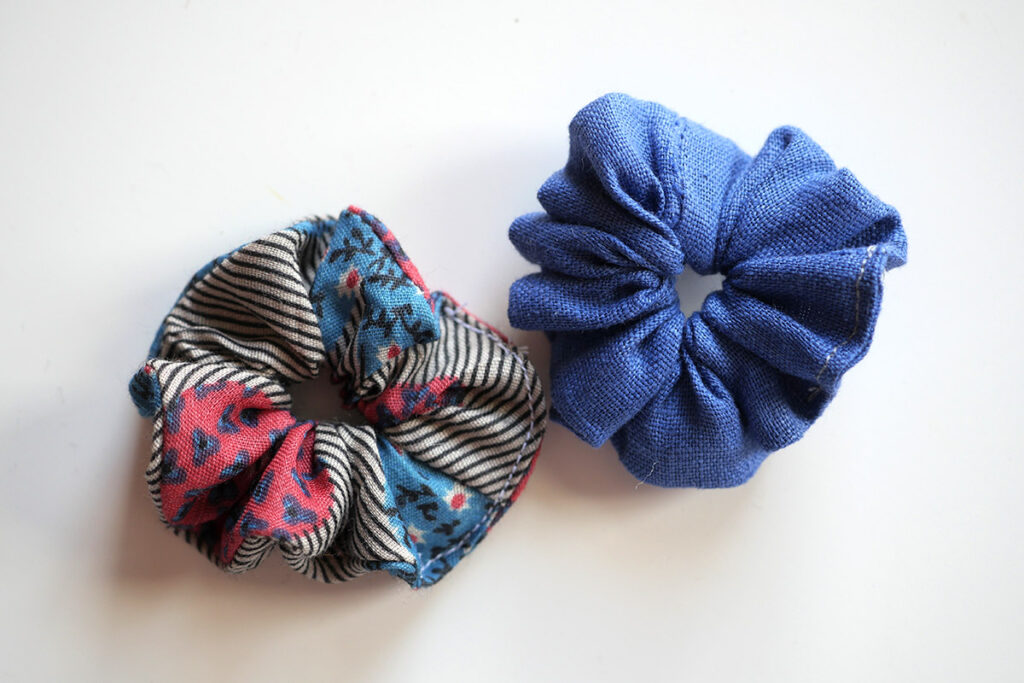
And sometimes I make teeny tiny scrunchies, which are handy for when I wear a plait. How cute are these two?
Cutting Your Fabric
Now that you know what type of scrunchie you want to make, these are the fabric dimensions needed for each type.
Mini Scrunchie: 8cm x 26cm
Normal Scrunchie: 14cm x 60cm
Chunky Scrunchie: 16cm x 70cm
XL Scrunchie: 16cm x 100cm
We’ll leave cutting the elastic until later.
Sewing Your Scrunchie
If your fabric is one that will fray lots, I recommend finishing the raw edges with a zigzag stitch on your sewing machine, or serging them with an overlocker before we start sewing.
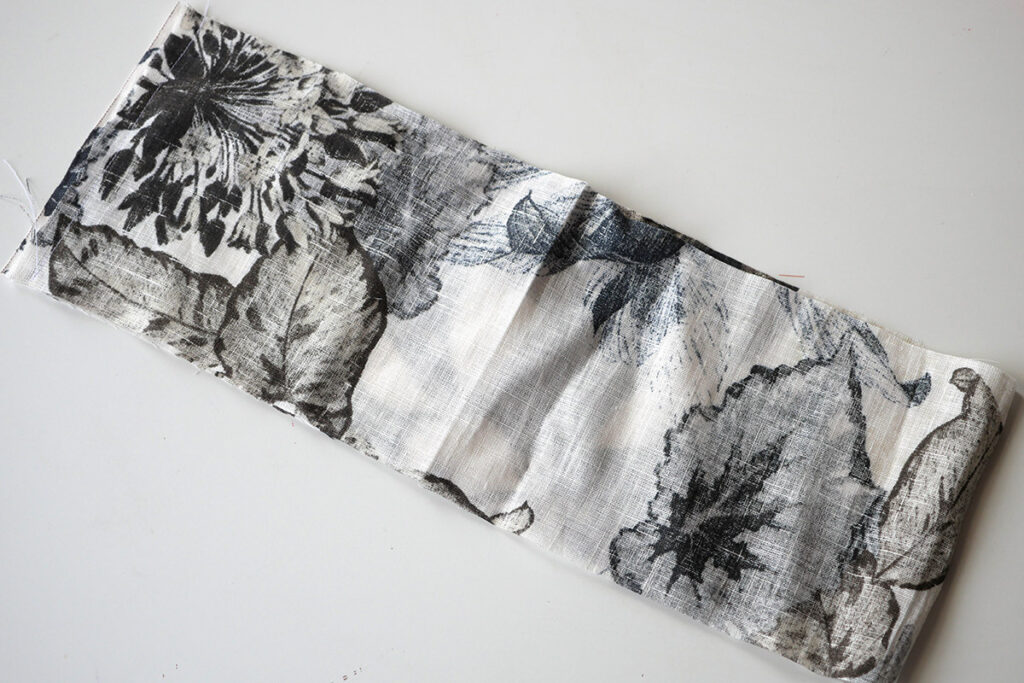
Step 1: Place the fabric right sides facing and sew the shorter edges together – the left of the photo below shows my seam.
Step 2: Keeping the fabric right sides together, move the seam you just sewed to the middle.
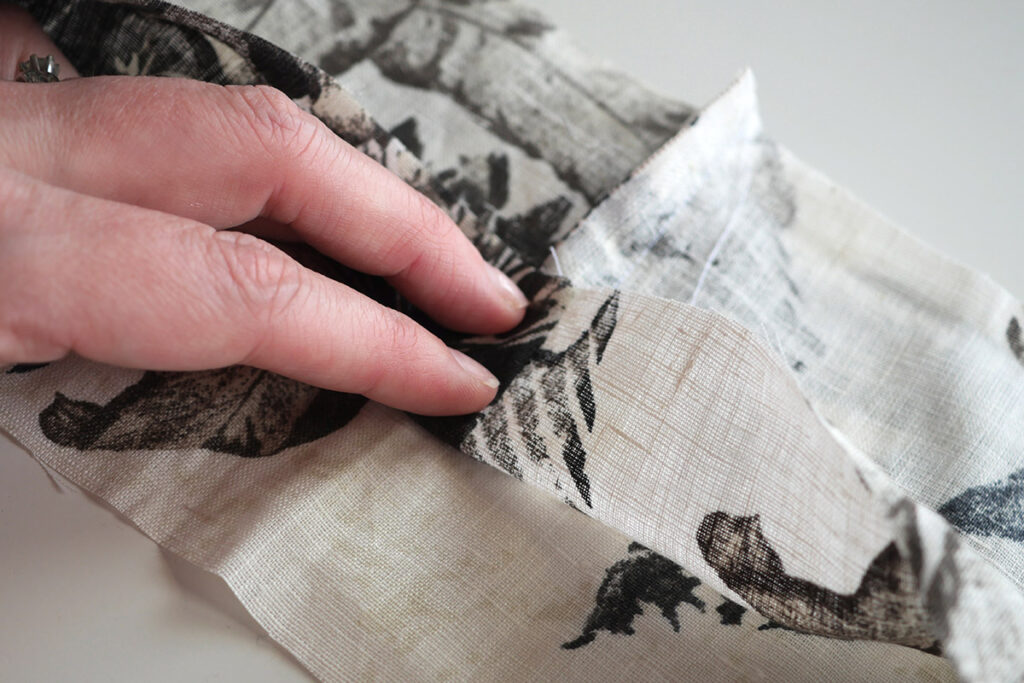
Step 3: Fold the top layer into three so that it sits neatly in the centre.
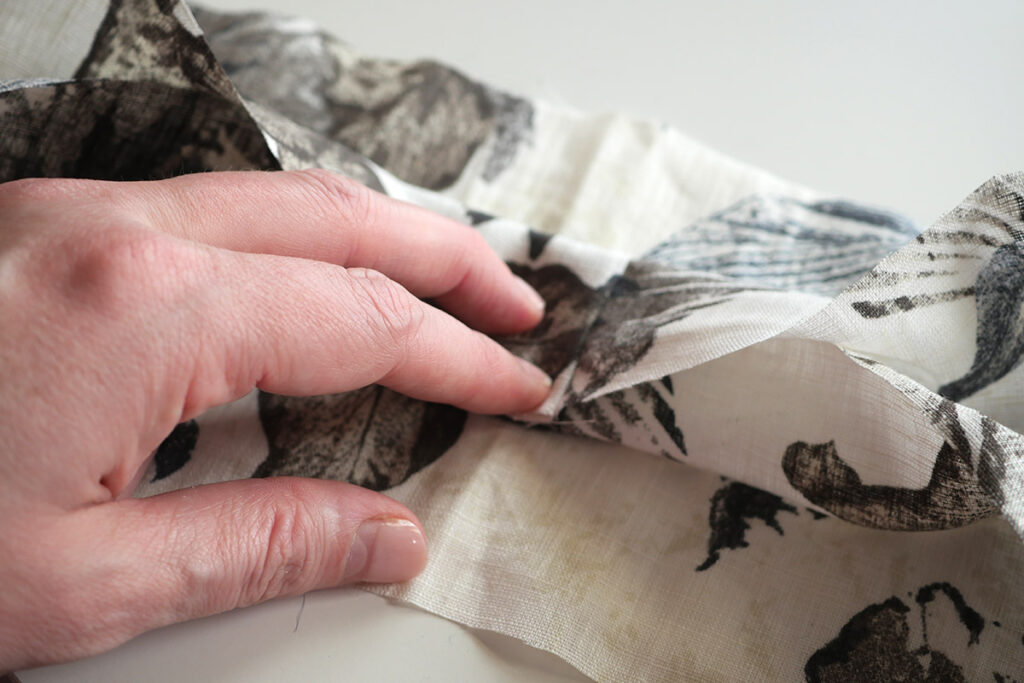
Step 4: Then bring the long edge at the bottom up to meet the long edge at the top, enclosing the folded layer in the middle.
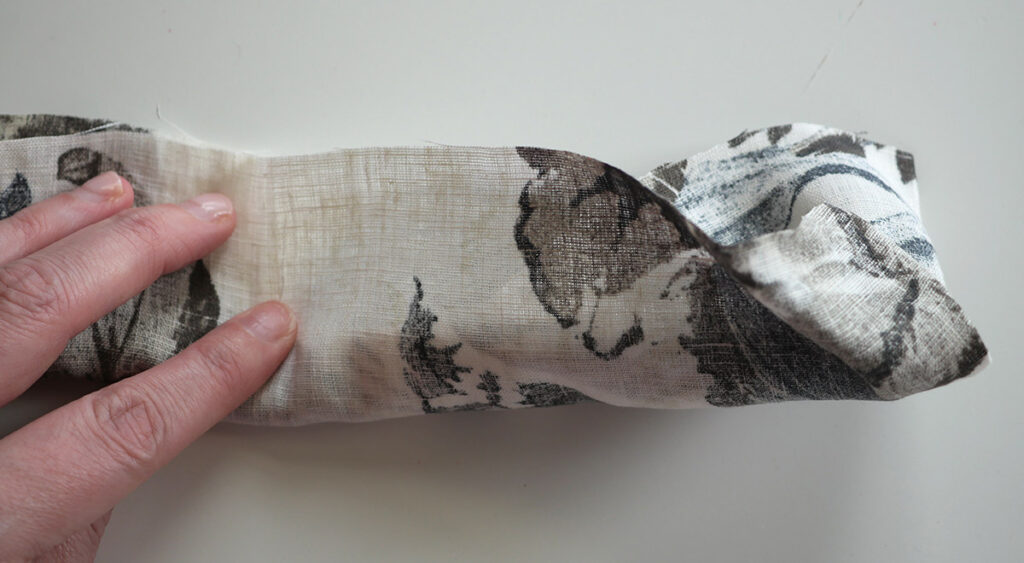
I like to place a couple pins of clips along this edge to stop the fabric from shifting before I get to sewing it.
Step 5: Sew along the raw edge with your preferred seam allowance. I use ⅜” (1cm) but others use ⅝” (1.5cm). Go with what works for you as a sewing beginner.
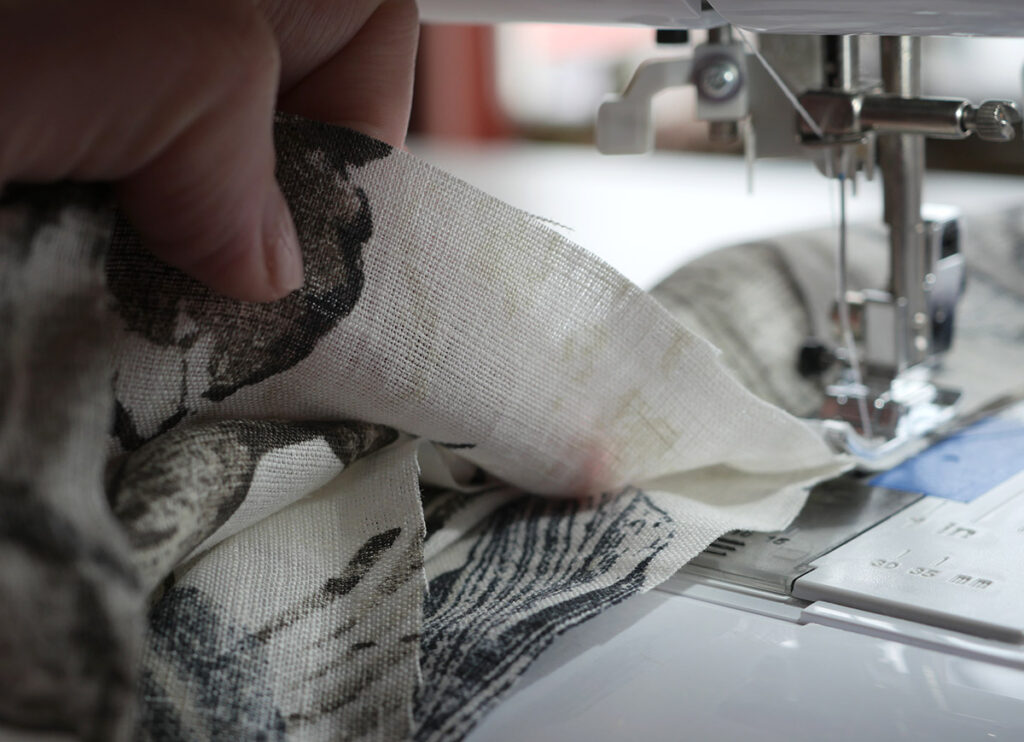
As you reach the end of the fabric tube, you need to reach your fingers in and gently pull the fabric you folded into thirds towards you. You need to be careful so that it doesn’t slip under the sewing machine presser foot and get sewn in, but as you pull it towards you, you’ll see that the bit you already sewed is being “sucked” into the tube – this is what we call the “burrito” method, and makes for a cleaner finish.
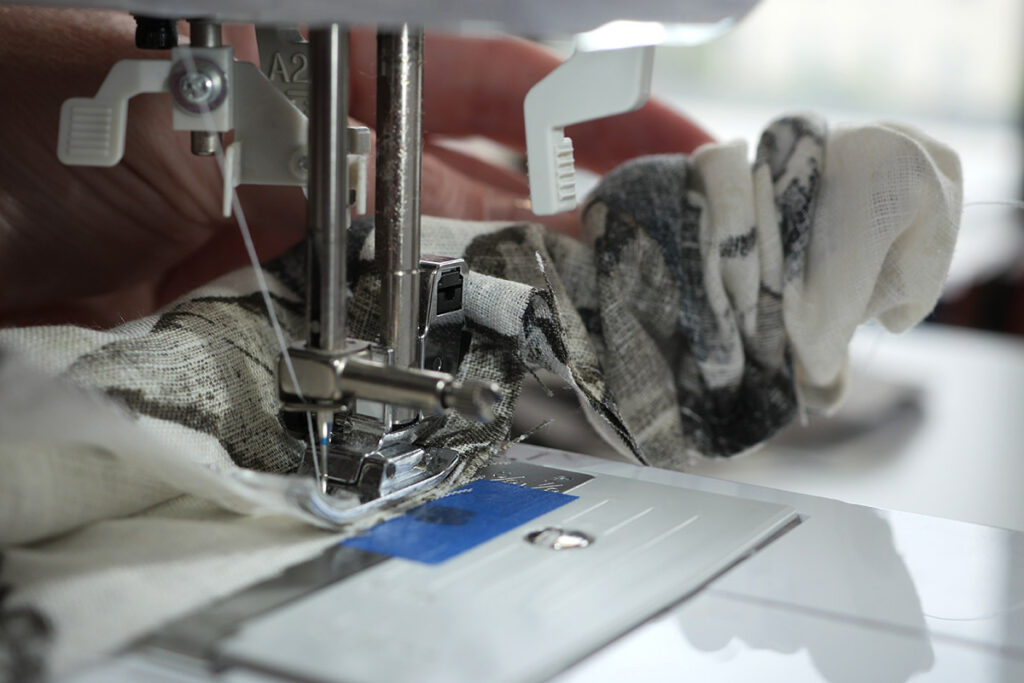
Step 6: Continue sewing the long edge, until you’re 1.5″ (4cm) away from where you started. Backstitch to secure your stitched line, and trim. You now have a tube!
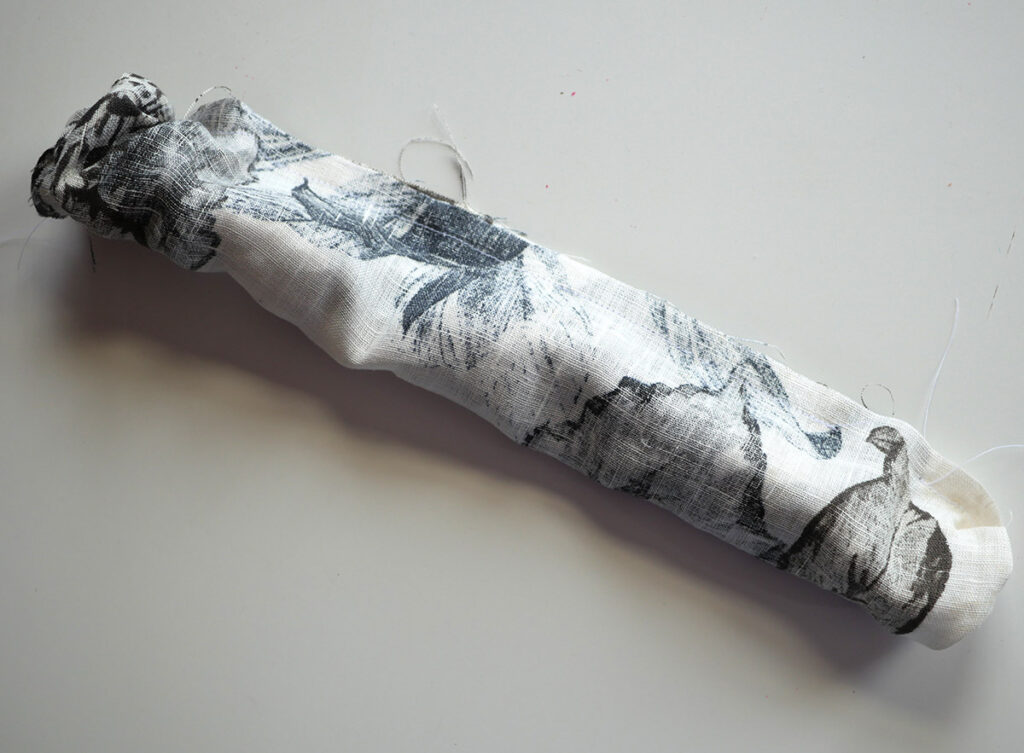
Step 7: Carefully reach into the tube with your fingers and pull the inside of the scrunchie out through the 1.5″ (4cm) gap you left. You can give this tube of fabric a press with an iron if you’d like, but I don’t tend to.
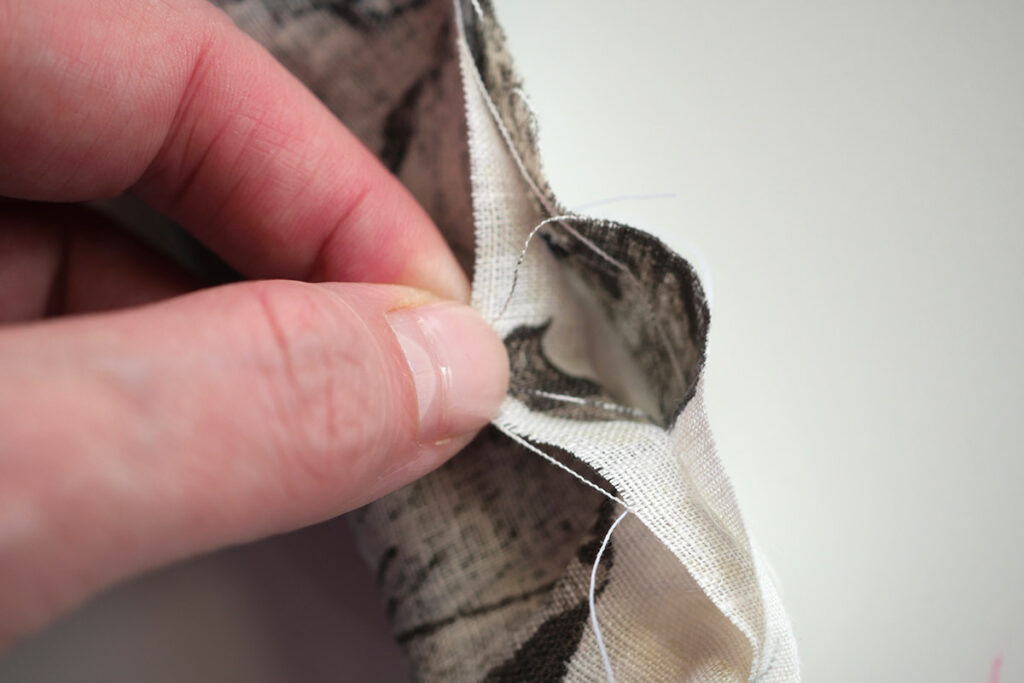
Step 8: Cut a piece of elastic the required length for the scrunchie size you’re sewing.
Mini Scrunchie: 10cm of 6mm wide elastic
Normal Scrunchie: 20cm of 1cm wide elastic
Chunky Scrunchie: 18cm of 2cm wide elastic
XL Scrunchie: 25cm of 6mm or 1cm wide elastic
But you can play with the length of elastic to get your preferred amount of scrunch!
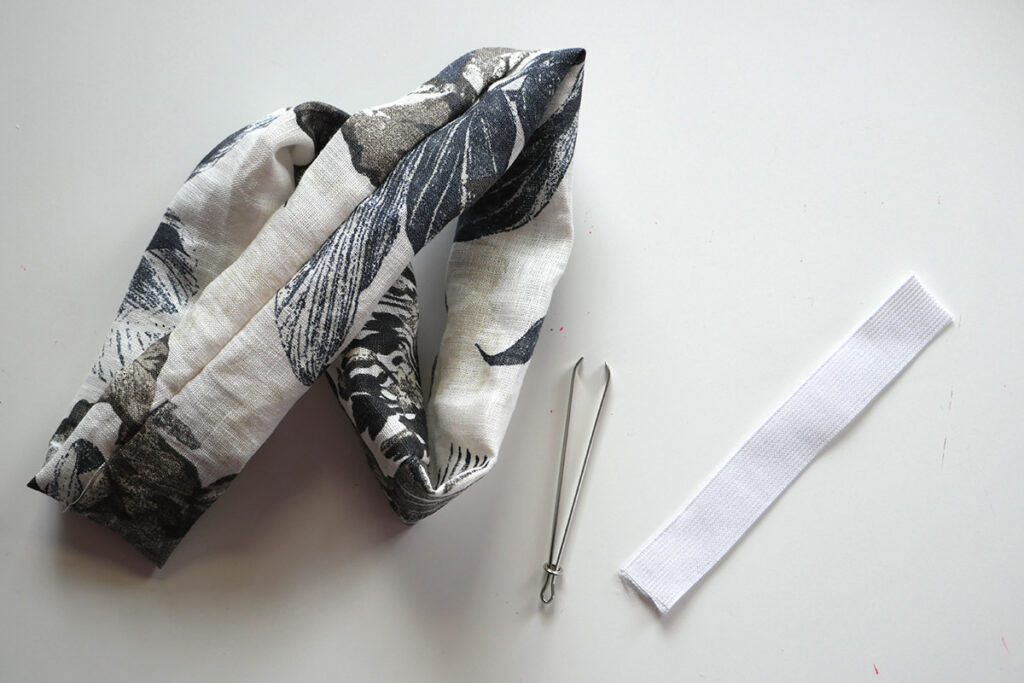
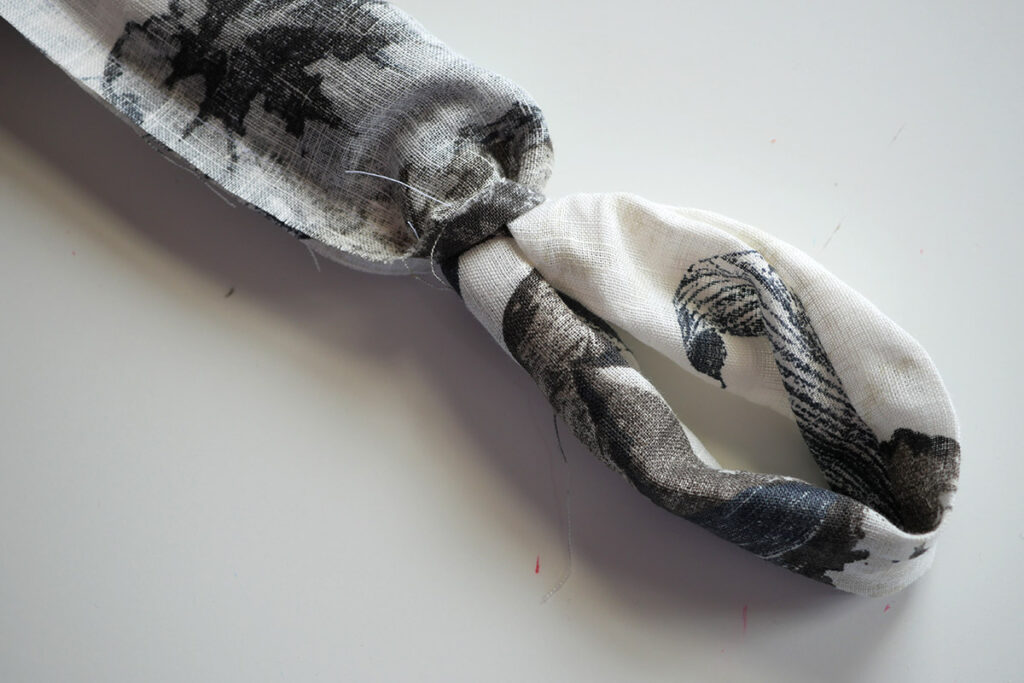
Step 9: Attach one end of the elastic to the bodkin, and holding the other end in your opposite hand, feed the bodkin through the gap in the fabric, around the full tube and back out of the gap.
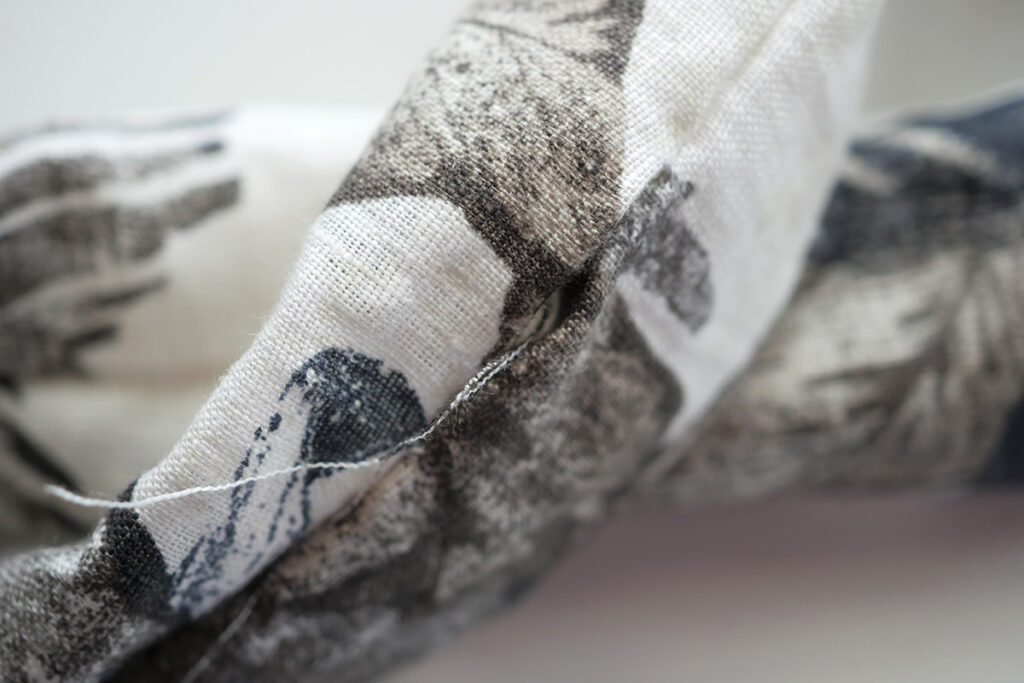
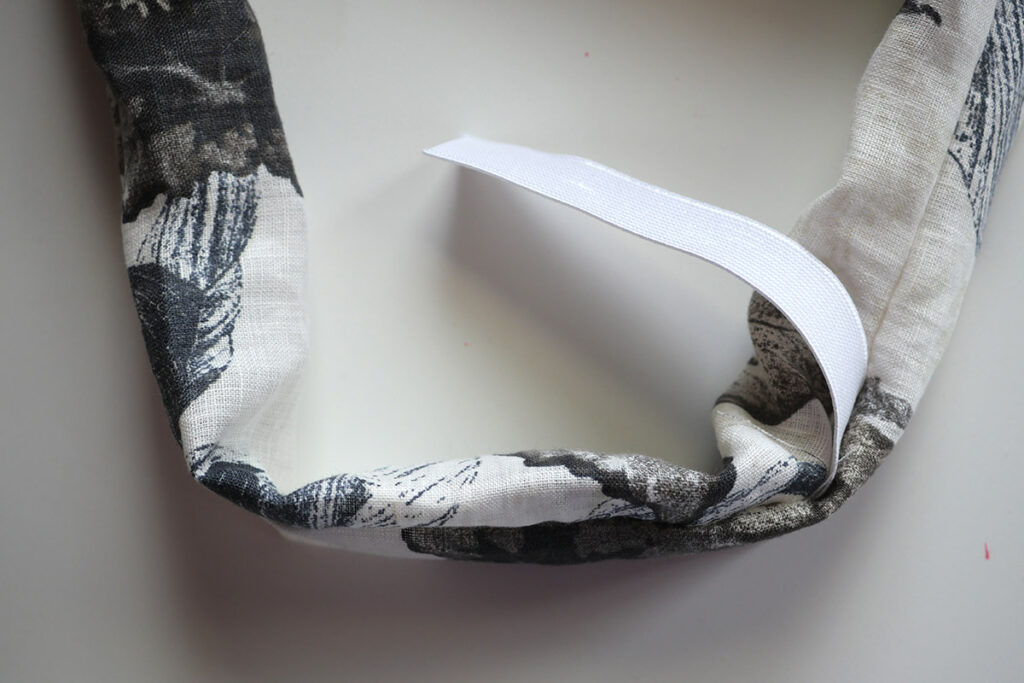
If you’re using wider elastic, just be mindful that it doesn’t twist on the inside as you feed it through.
Step 10: You can tie a simple knot in narrow elastic, but for wider elastic you will need to sew the two shorter ends together.
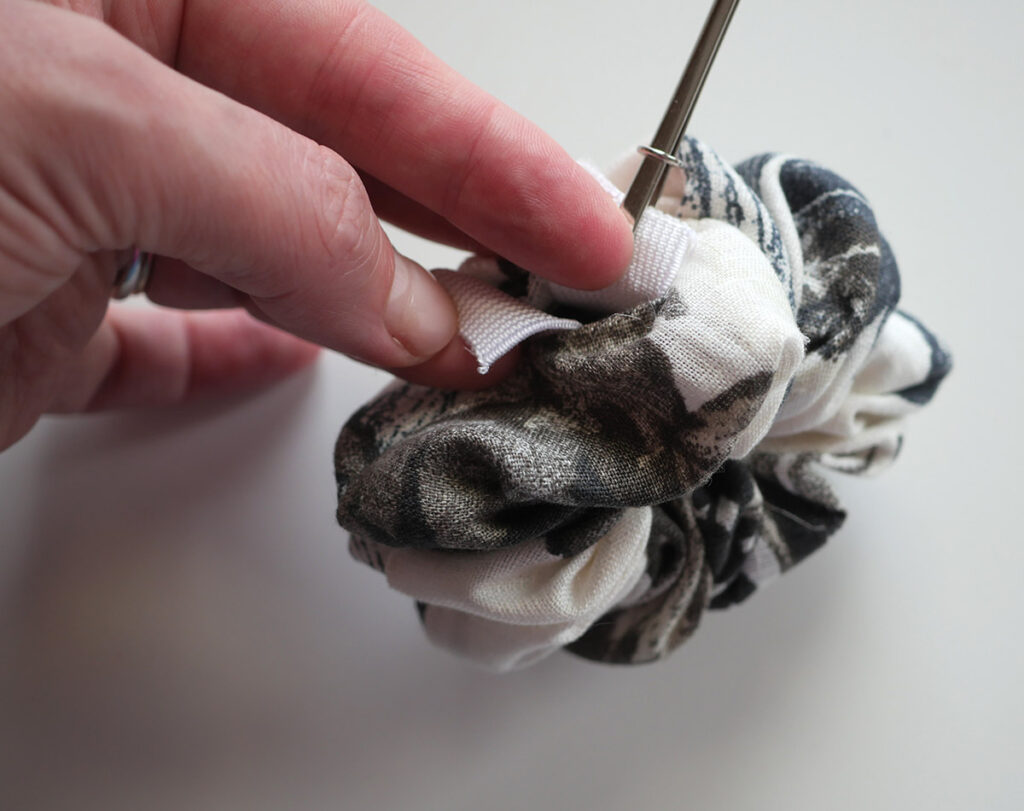
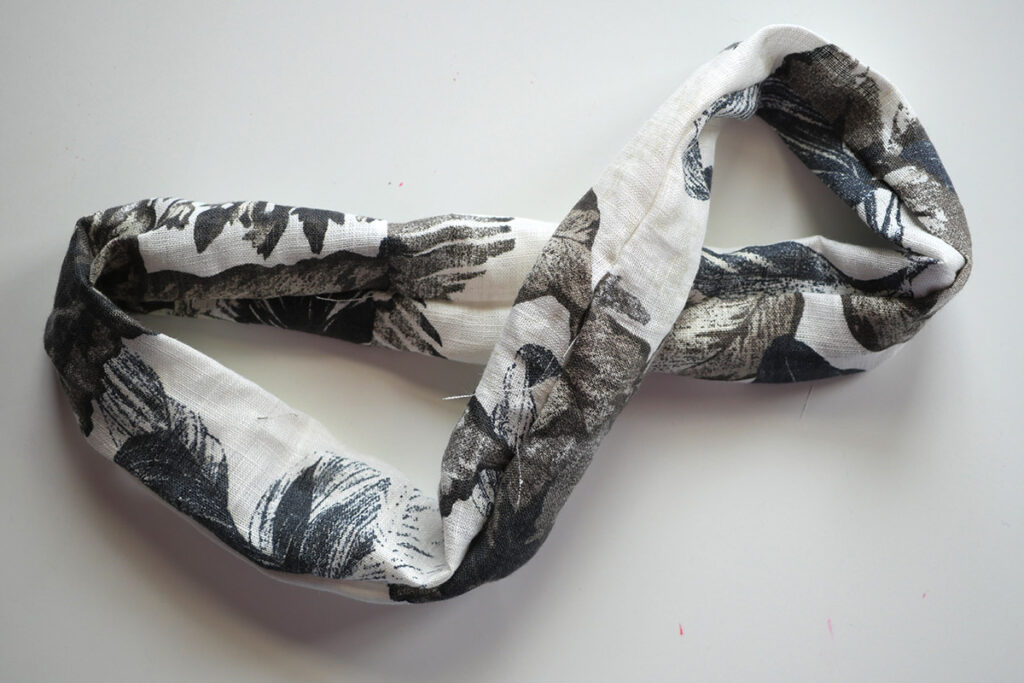
Step 11: The final step is to sew the gap you left closed. I use a thread that matches the fabric, but white thread works just fine for lighter colour fabrics and black or dark grey is great for darker fabrics.
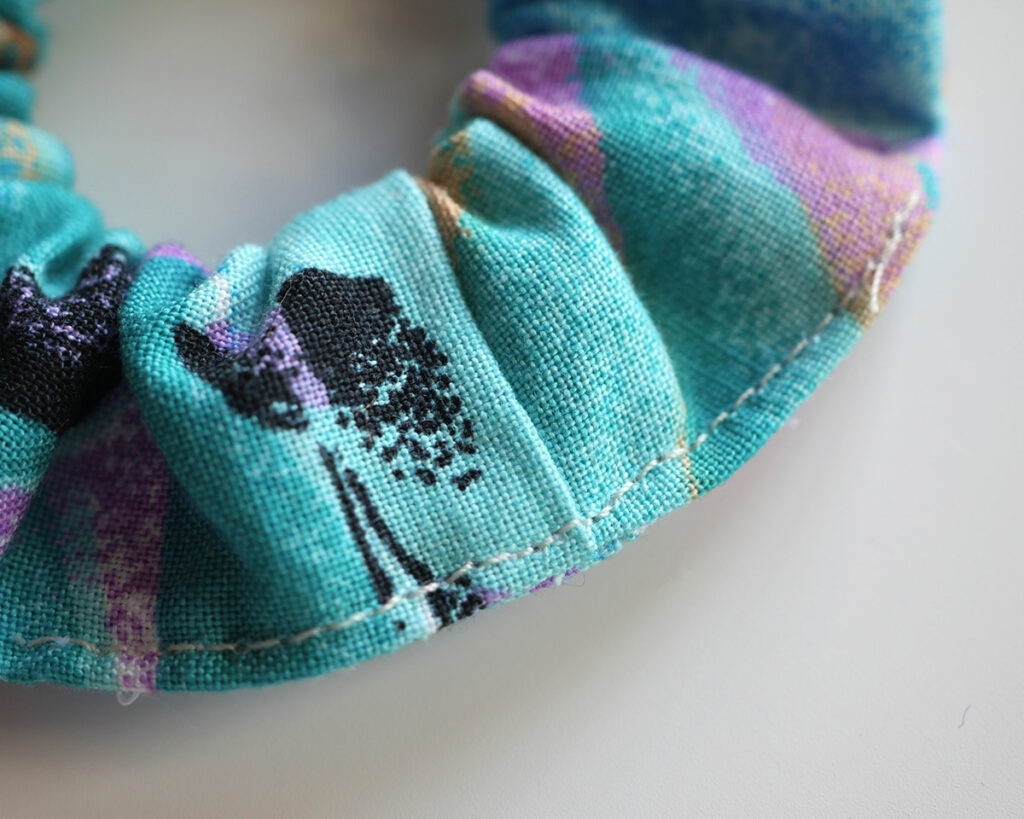
Just make sure to sew with a smaller stitch length so that it’s less visible, and don’t forget to back stitch at the start and end!
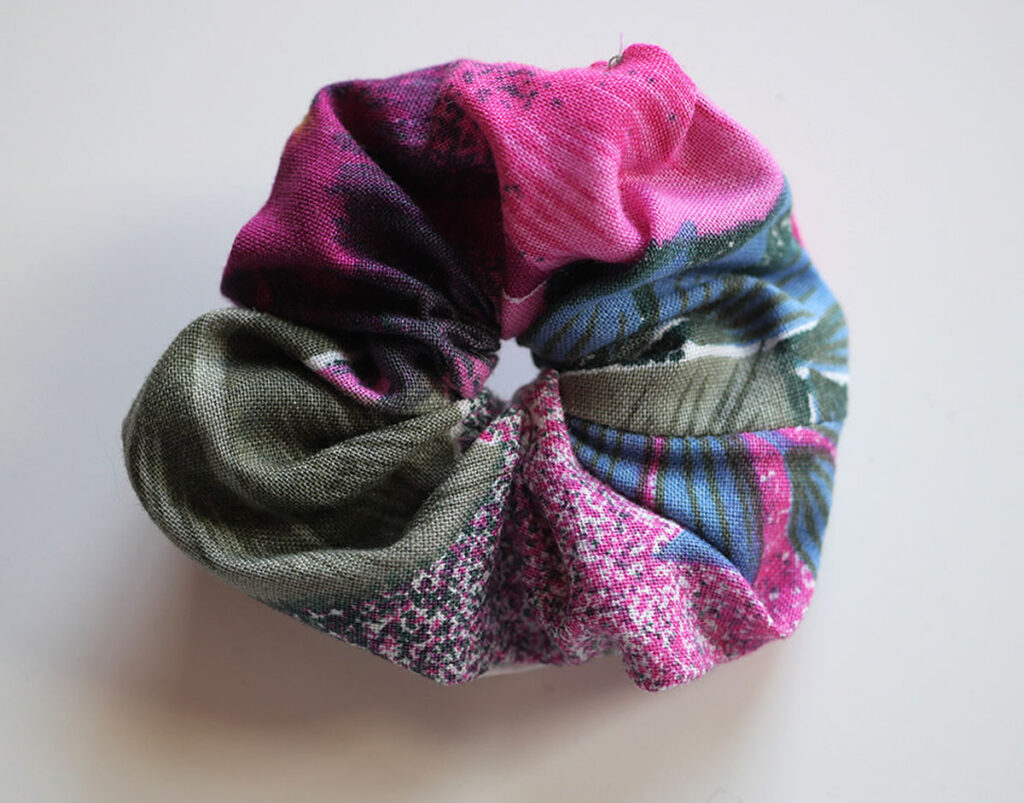
And that dear reader is that! You now have a gorgeous DIY scrunchie of your own that you can show off to family and friends. Or maybe make a bunch and give them to family and friends during the next holiday season?
As I said these DIY scrunchies are super simple to make using the burrito method and they’ll be a better quality than the cheap ones available in stores. So enjoy your new creation!
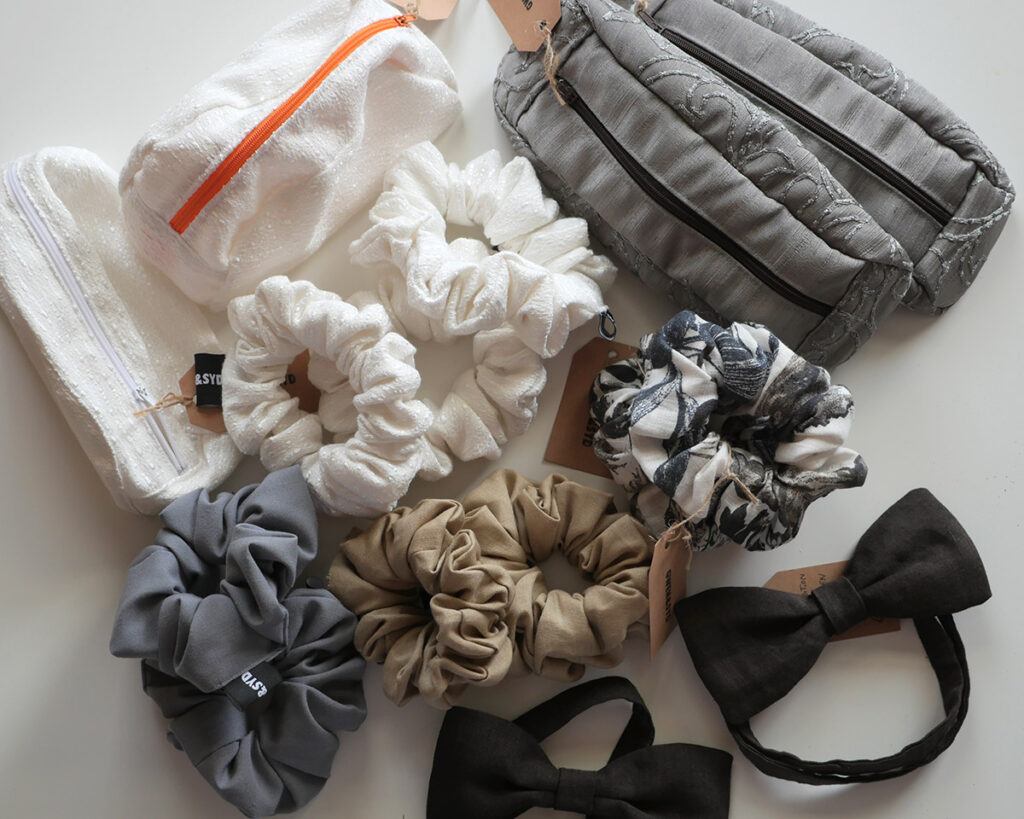
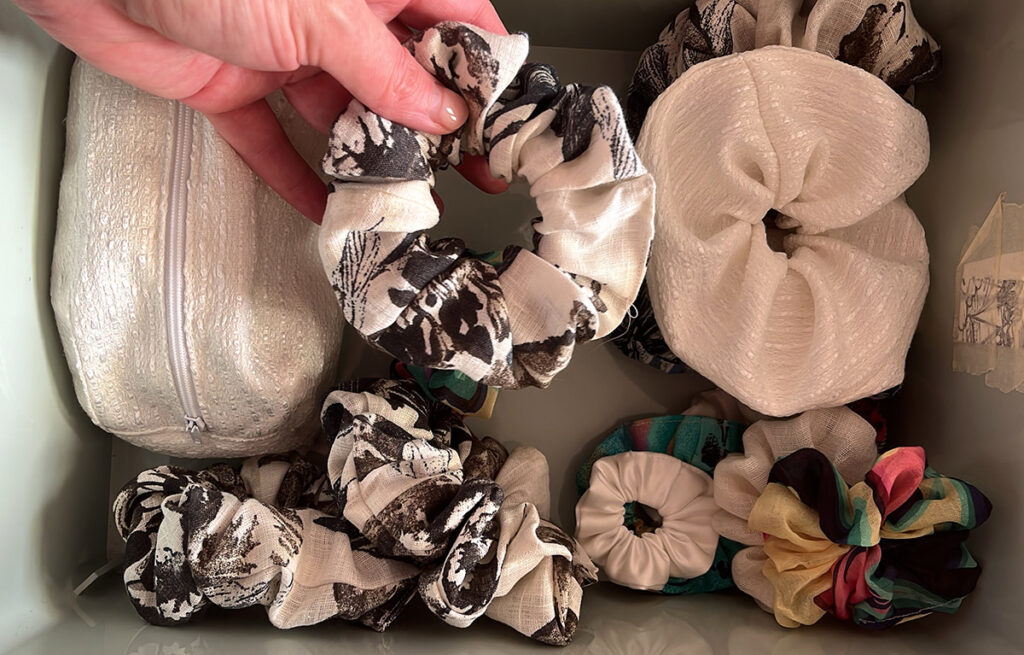
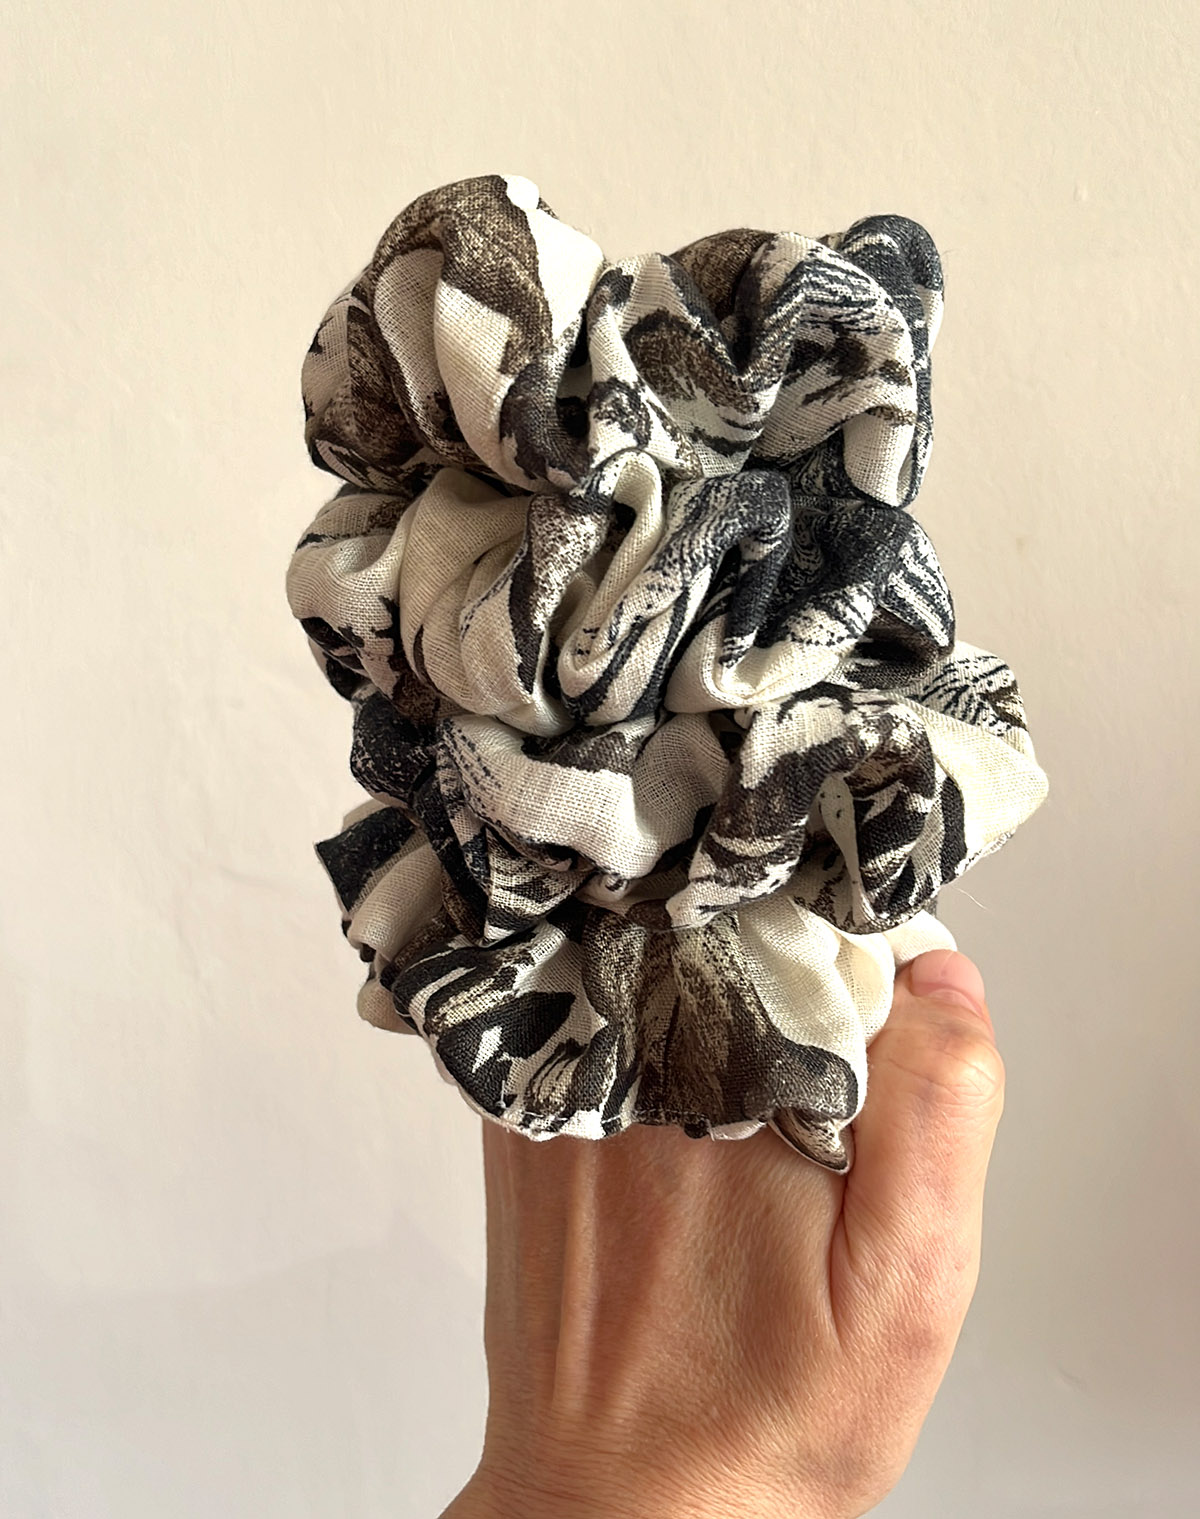
Some Scrunchies I Made Recently
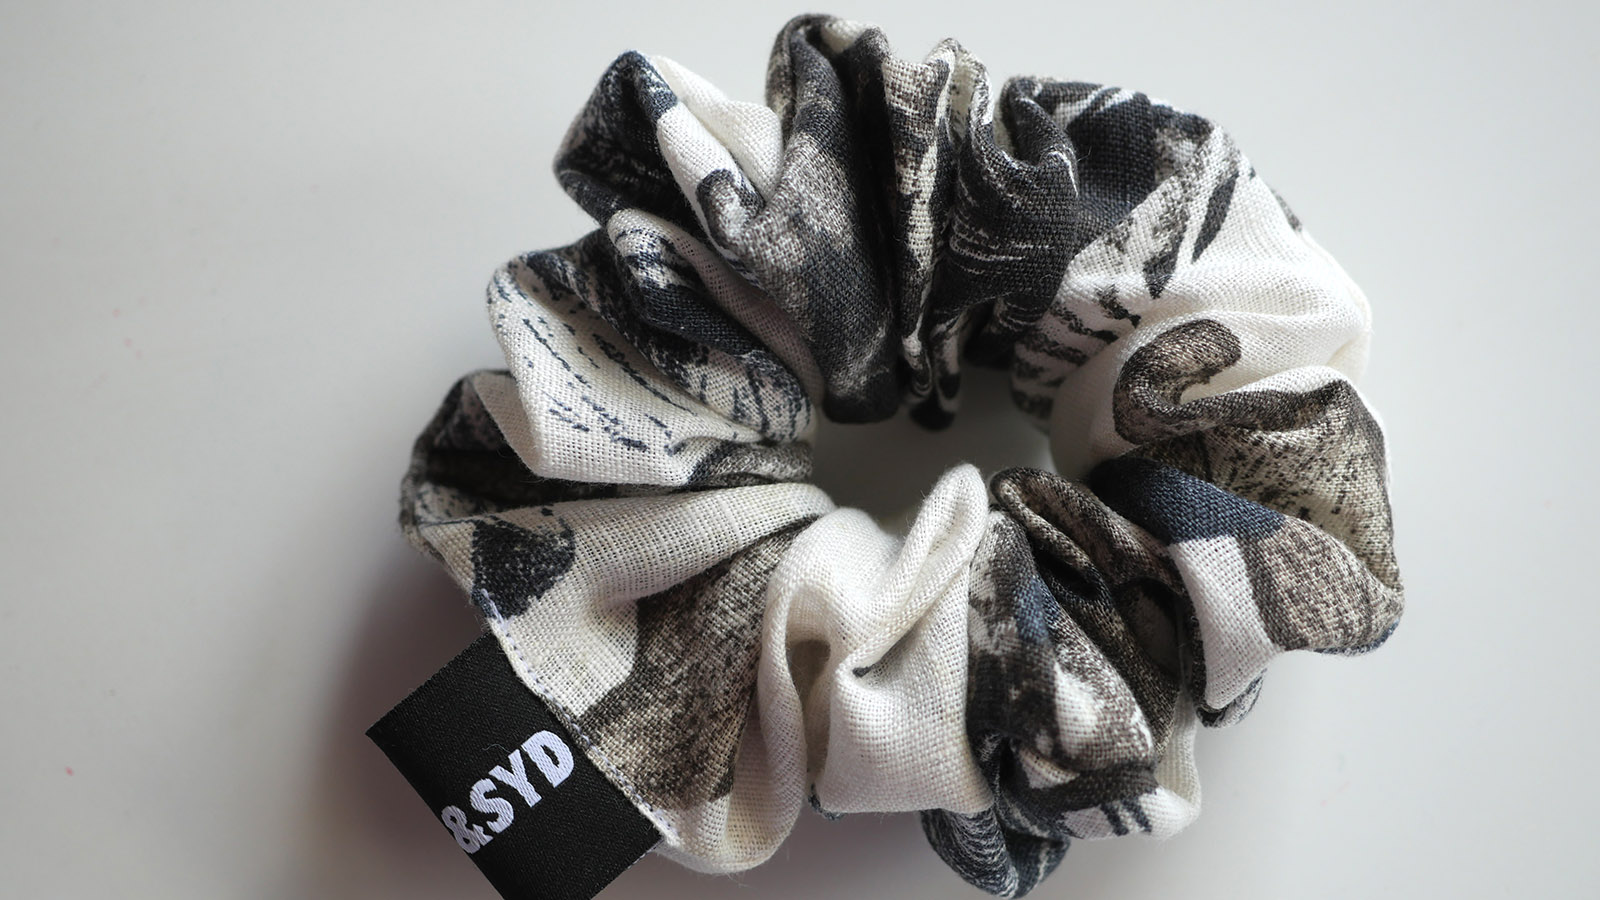
If you’re looking for inspiration, here are some scrunchies that I made recently for my GWEN&SYD brand.