Easy Wallet Tutorial (FREE DIY Pattern!)
It’s that time of year, and with it comes the need to buy gifts for people. Or does it? What if this year we focused on DIY gifts, those handmade beautiful items that we make from what’s in our stash and gift them to loved ones in lieu of splashing cash on things few people need or want?
Yes, some will argue that nobody needs or wants our handmade gifts, but this series will focus on the DIY gift ideas that people do love and need; the functional, the useful and the gorgeous.
Kicking off the series is my easy wallet tutorial, and yes, I’ve provided a pattern for free as well. You can download further down in this tutorial. It comes in two ‘views’:
- View A has a seam allowance of 1 cm included (though you could add your preferred amount before cutting it out) and is intended to be a lined version to keep the interior clean
- View B is the one I made for this tutorial, and is the EASY PEASY version – it has 1 cm seam allowance included on the main seams, and then 0.5 cm on the outer edges
It’s also available in A4 or US Letter sizing for easy printing.
I’ve also added the video tutorial at the bottom of this post so that you can watch along if you prefer. Let’s get started!

Suitable Fabrics For This Wallet
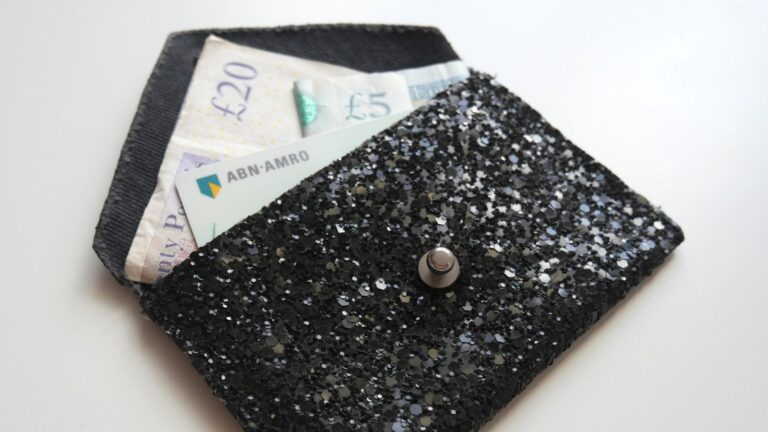
You’ll see that I am using remnants of a heavy weight denim which has been encrusted with a glitter and sequin type finish. This means I can get away with not lining it. Other fabrics that would work well for this easy wallet pattern include:
- Canvas
- Cotton
- Denim
- Leather
- Suede
- Upholstery fabrics (these are often more tightly woven and structured)
The emphasis is on heavier weight fabrics, but you can also create that structure by applying a heavy weight interfacing or quilting with a layer of batting. In both cases you’ll want to include a lining, so make sure to use View A rather than View B!
What You’ll Need
There are a few things you’ll need to make this easy wallet:
- Wallet pattern (A4 available here / US Letter available here)
- Main fabric
- Lining fabric (for View A)
- Fabric scissors or rotary cutter
- Tailors chalk or fabric marker
- Clips or pins
- Interfacing (optional)
- Batting (optional)
- Fastening
- Awl (optional)
- Hole punch (optional)
I’ve included a few optional items – and these would only be required if you decided to make a more structured wallet (interfacing), a quilted wallet (batting) or were using a stud type fastening like me (holepunch). Once you’ve printed the pattern and gathered your supplies, we’re ready to get started!
Step 1: Cutting Out The Pieces
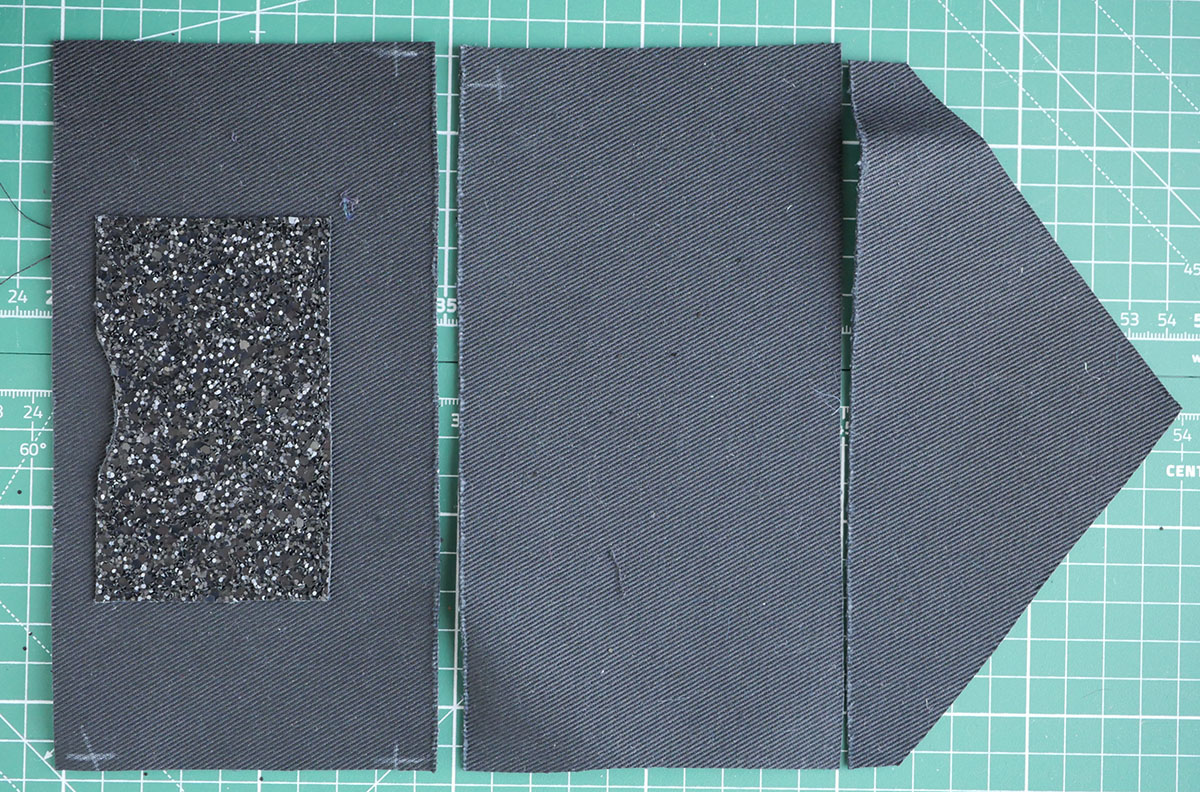
Start by cutting out the different pieces in your main fabric – and lining pieces too if making view A. Mark in the things to note using a tailor’s chalk or fabric marker. This includes the location of the interior card pocket (if adding) and fastening on the front piece of the wallet and the opening location on the front flap piece.
Note that the above step is really important so that you don’t end up messing up the construction process like I did in my video tutorial!
Step 2: Prepare The fastening
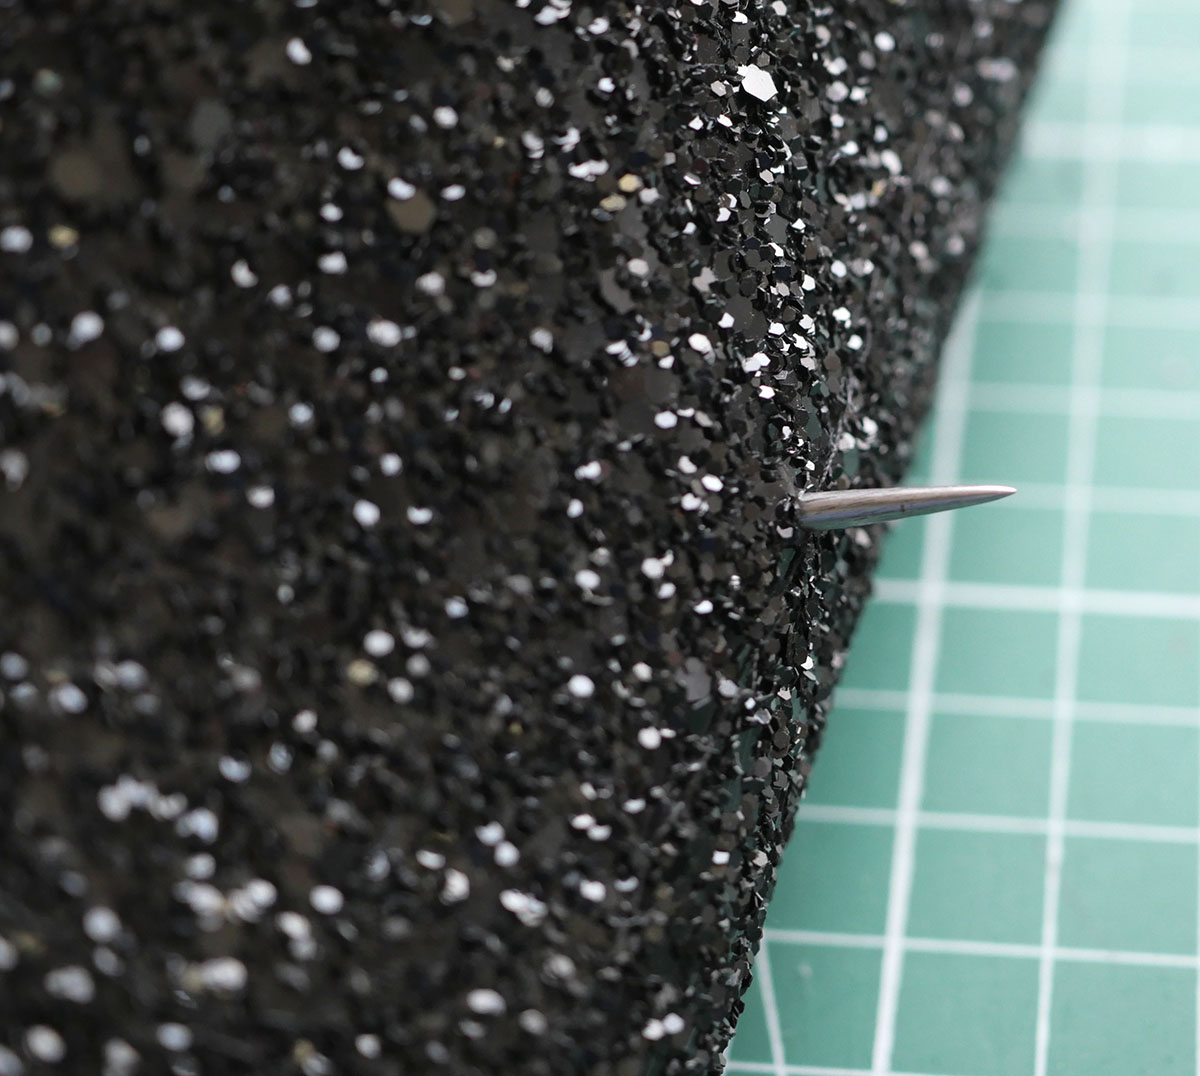
If you watched the video tutorial, you’ll know that this is an important next step – don’t wing it like I did and find you have a tricky situation at the end!
If you’re using a stud type fastening like I am, you’ll want to punch the holes into place now, especially on the front wallet piece where the inside pocket is located. Trust me, you’ll thank me later!
If you’re planning on adding a button or popper fastening, then you may be safe leaving it till the end, but you may also want to consider at least prepping the area for a button fastening, because once the pocket piece is in position, it becomes a lot harder to get in there and sew on a button!
Step 3: Sew The Pocket Into Position
You’ll now want to sew the pocket piece into place. I used clips to hold it in place, and I sewed with a normal thread in my bobbin and a topstitching thread in my needle, simply because of the fabric I was using.
I sewed with a small allowance around the edge of the fabric. If you’re making View A, you’ll want to press your seam allowance under first before stitching it into place, and you’ll be making yours from the lining fabric, and attaching it to the front lining piece.
Step 4: Sewing The Front To The Back
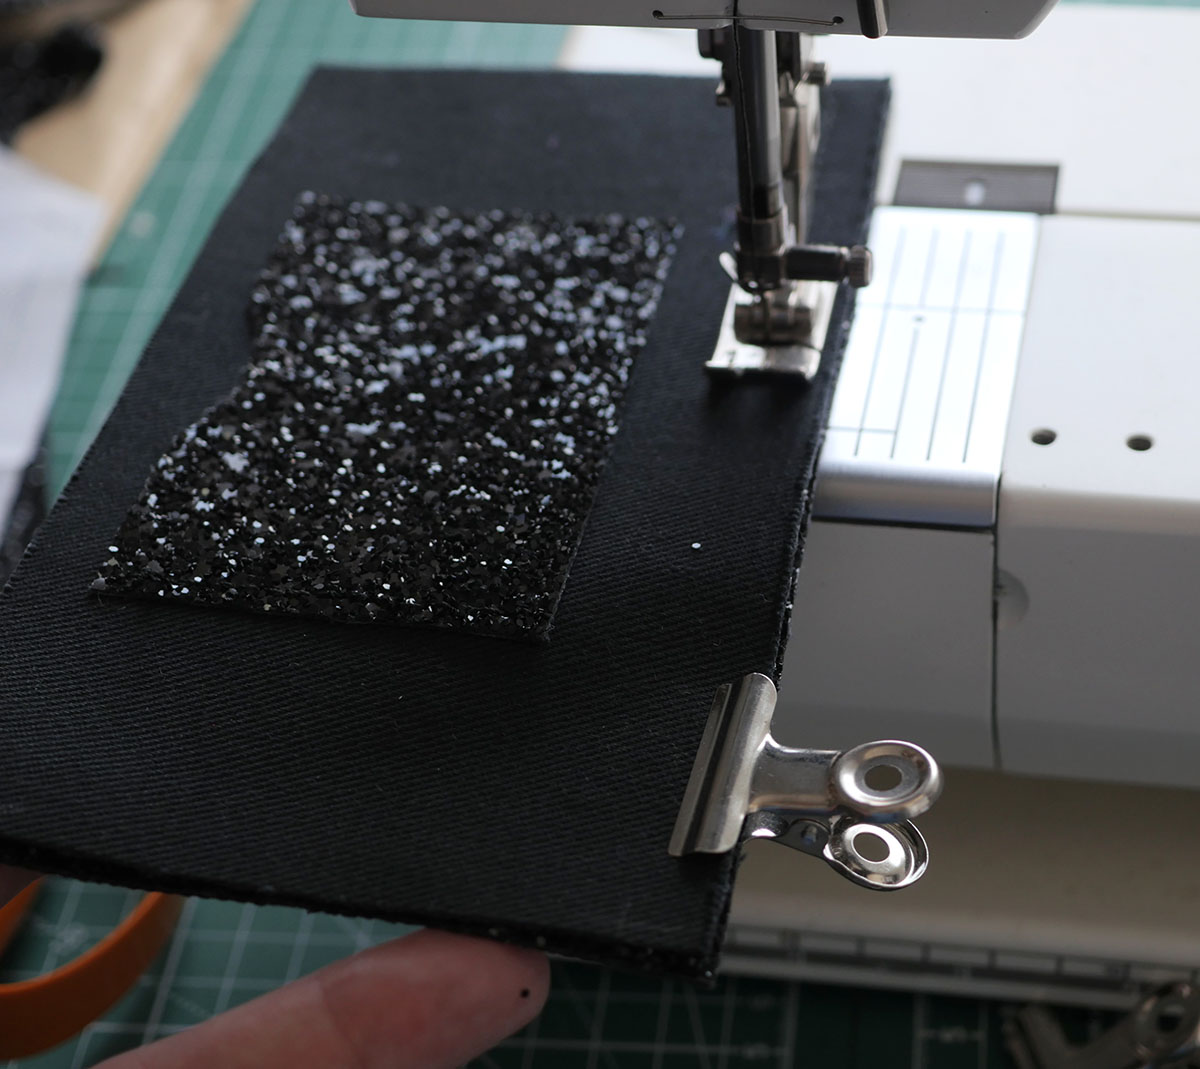
Now that we have prepared the front piece, we can attach it to the back piece. For my encrusted denim version, I sewed the right sides together along the length.
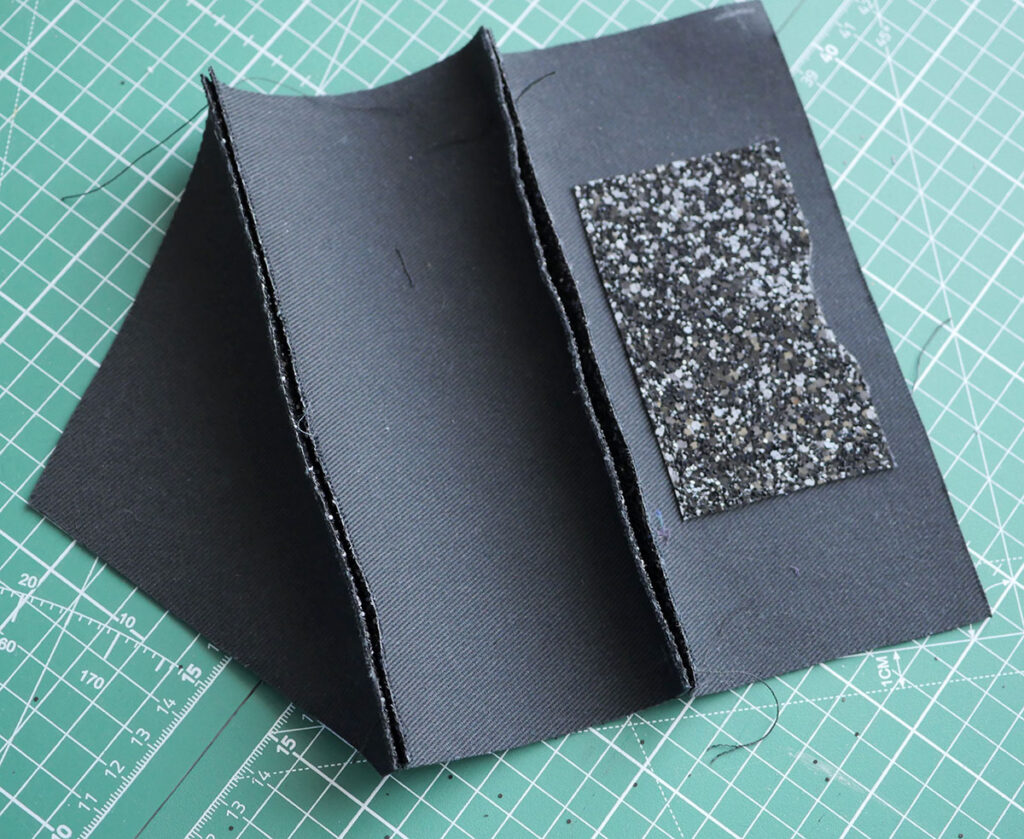
Then I trimmed away one side of the seam allowance, hammered the seam closed and stitched it into place from the wrong side so that the thinner bobbin thread would be on the right side and less visible.
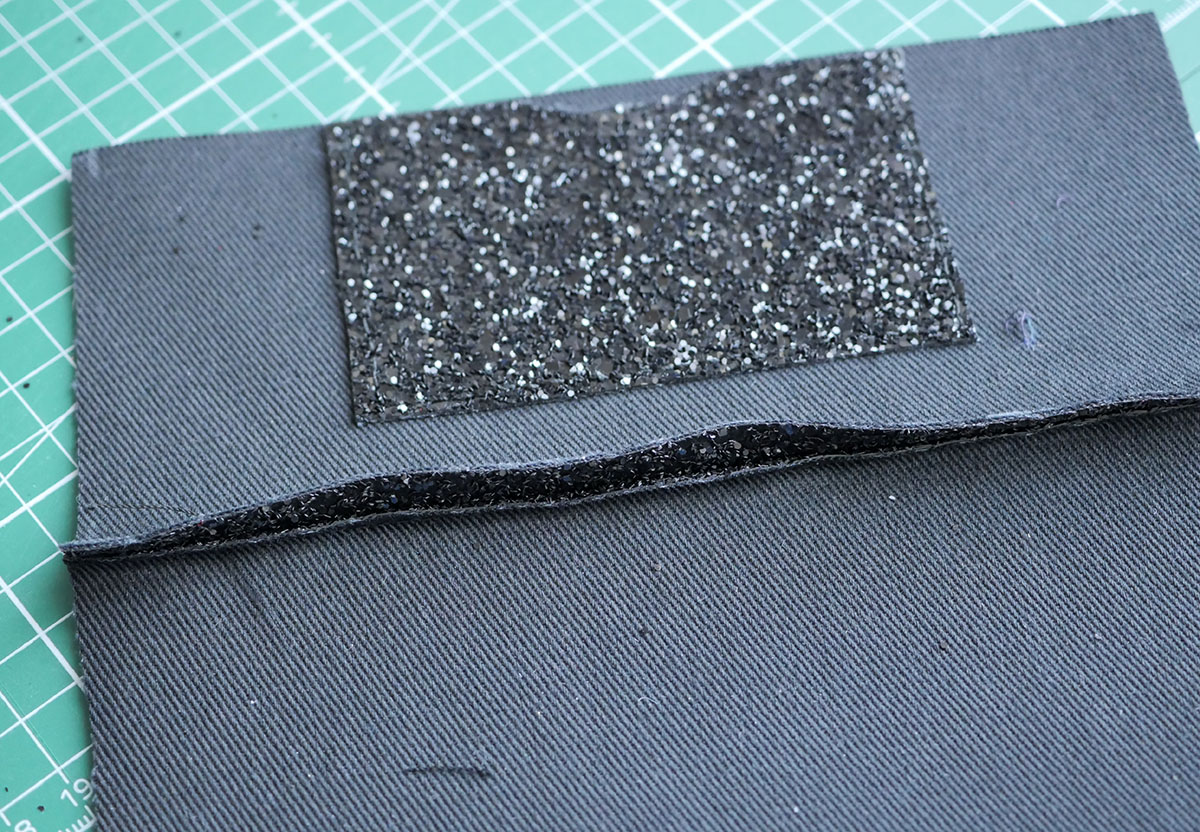
You should determine the best way for the fabric and thread you’re using.
If you’re making View A, make sure to complete this step for both the main fabric and your lining fabric!
Step 5: Sewing The Front Flap To the Back
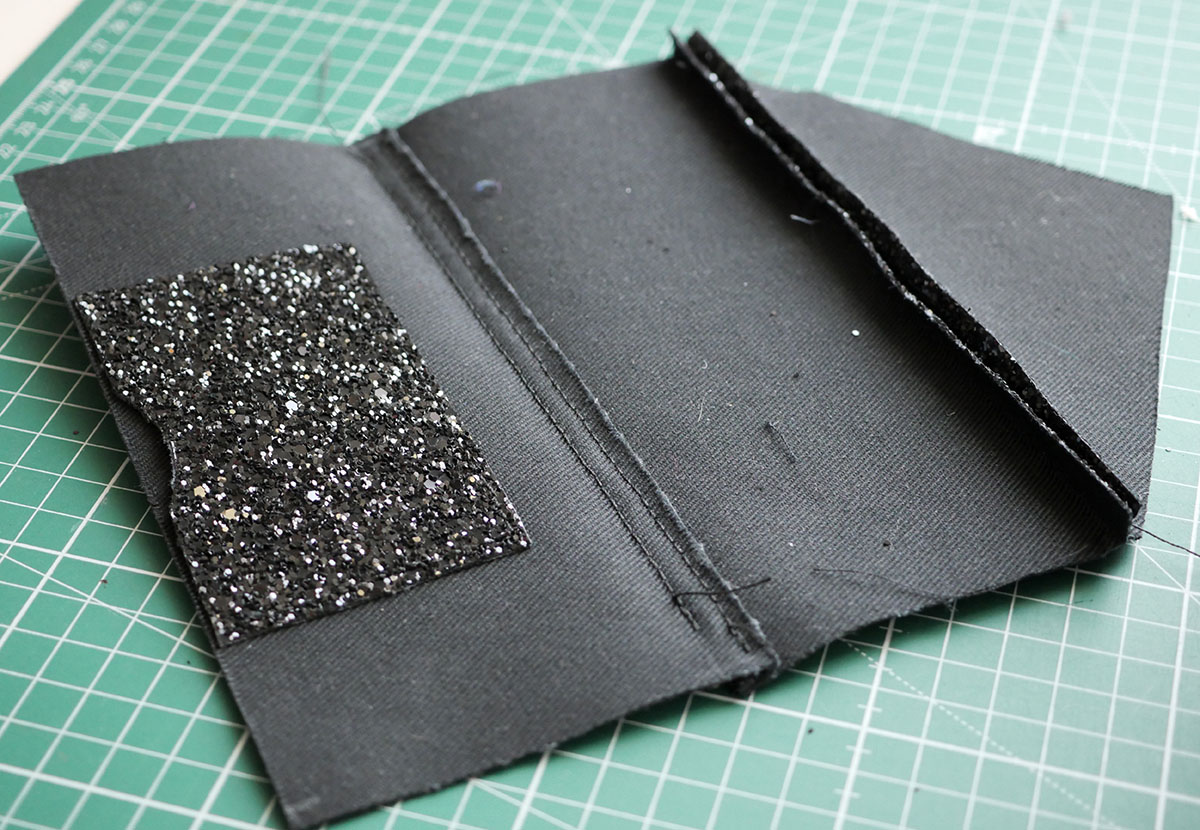
Now we can connect the front flap piece to the back section of our easy wallet. This is exactly the same process we used for step 4.
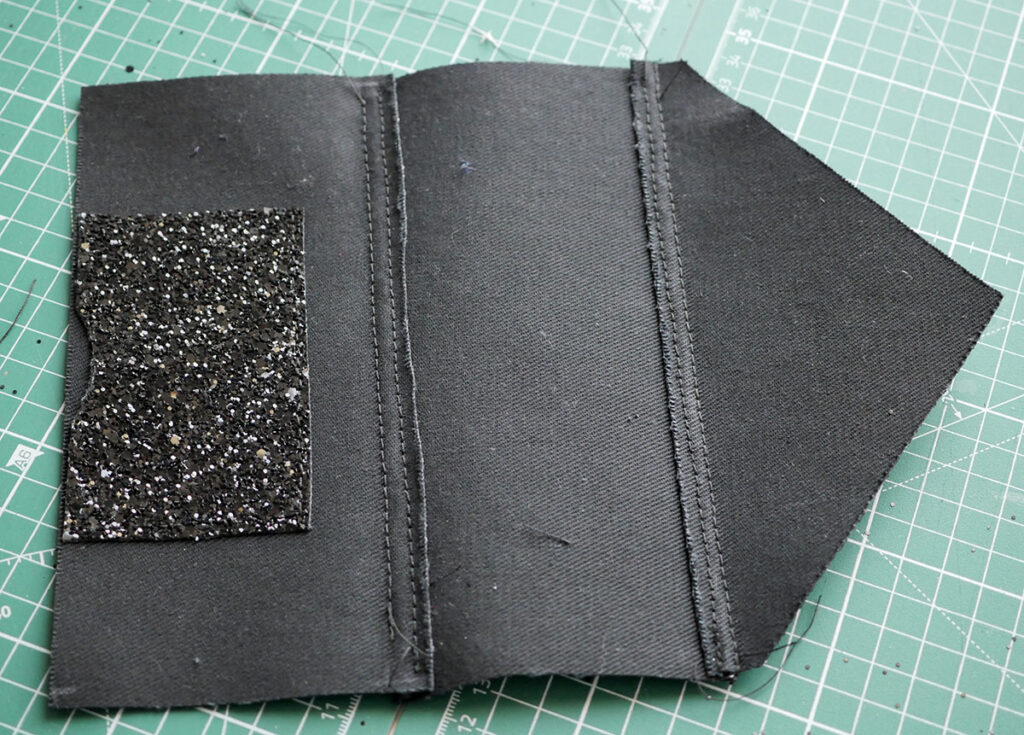
Repeat for the lining pieces if making View A!
Step 6: View A Only – Lining The Wallet
For those of you making View A, you’re going to want to place the main fabric piece wrong side down on the worktop in front of you. Then place the lining piece on top, with the right side down. You should have the right sides facing!
Using your chosen seam allowance amount (or 1 cm if you’re following the pattern exactly!) sew from the bottom (in line with the one corner of the pocket), up the one side to the point of the front flap, down the second side and stop on the bottom at the other pocket corner. This should leave a gap of about 4” / 10 cm which we will need to turn the wallet through.
If you’re using fabric that can have heat applied, now would be a good time to give everything a really good press!
Step 7: Closing The Wallet
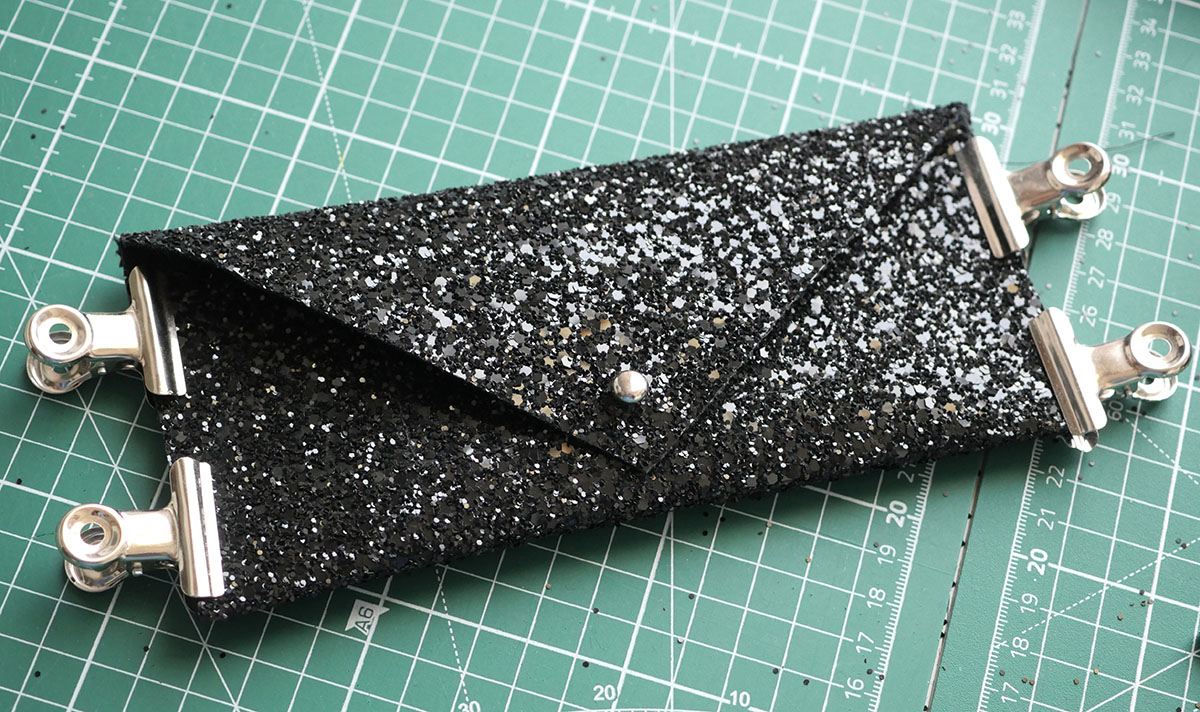
Now that the main seams have been constructed, we can close the wallet. For my View B version, I chose to topstitch mine – you’ll see two lines on the pattern on the shorter edges to indicate this – and sewed two lines, again with the thinner bobbin thread underneath and the top stitching thread on top.
Repeat for the opposite side.
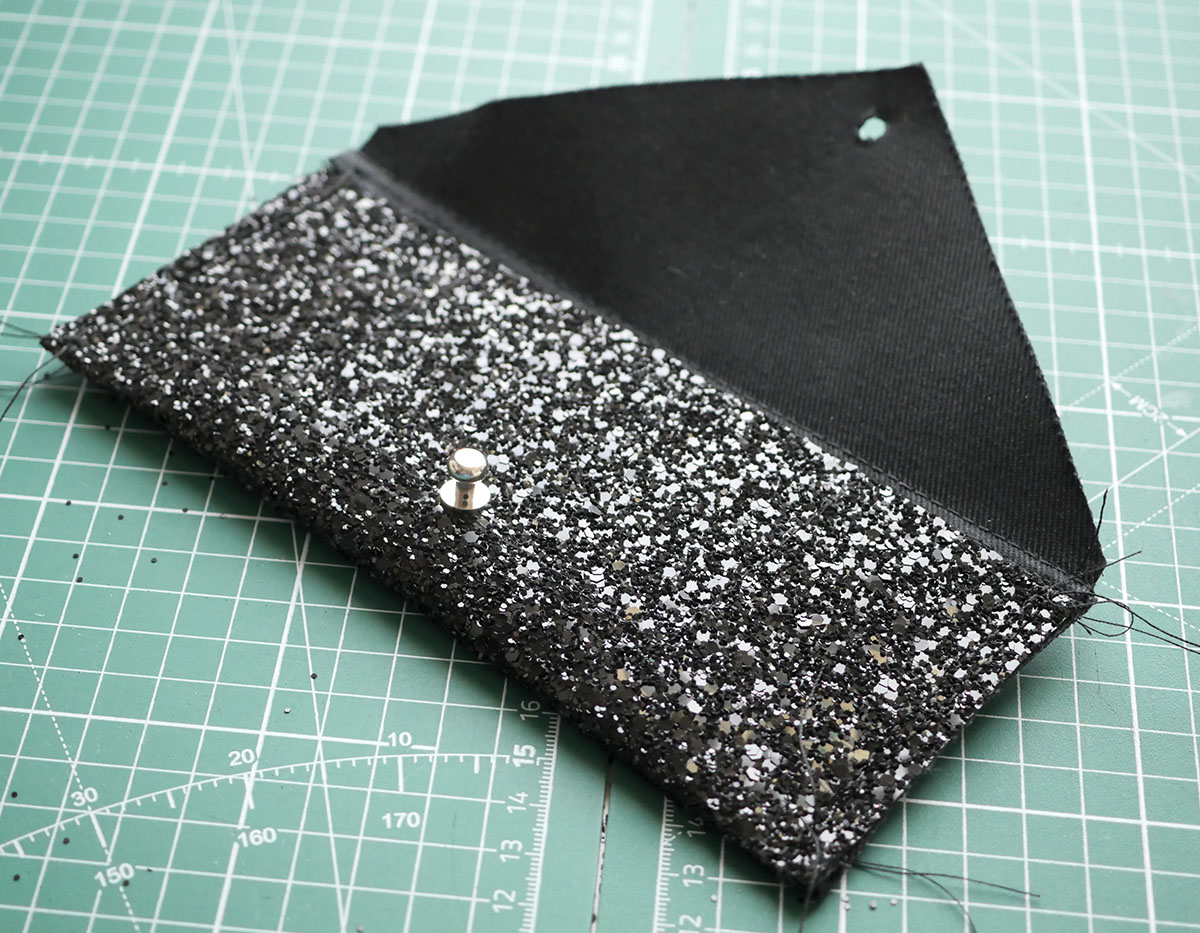
If you’re making View A, your fabric edges should be lovely and neat from having turned it through, so you could choose to apply a binding around the entire perimeter, containing the shorter ends to close the wallet, you could top stitch as I have done for View B, or you could hand sew the two edges closed.
A final option could be to add rivets up the sides and lace them closed with ribbon or cord.
All of the above are options for View B as well, I just chose to finish mine with top stitching as it was the easiest option!
Step 8: Adding The Fastening
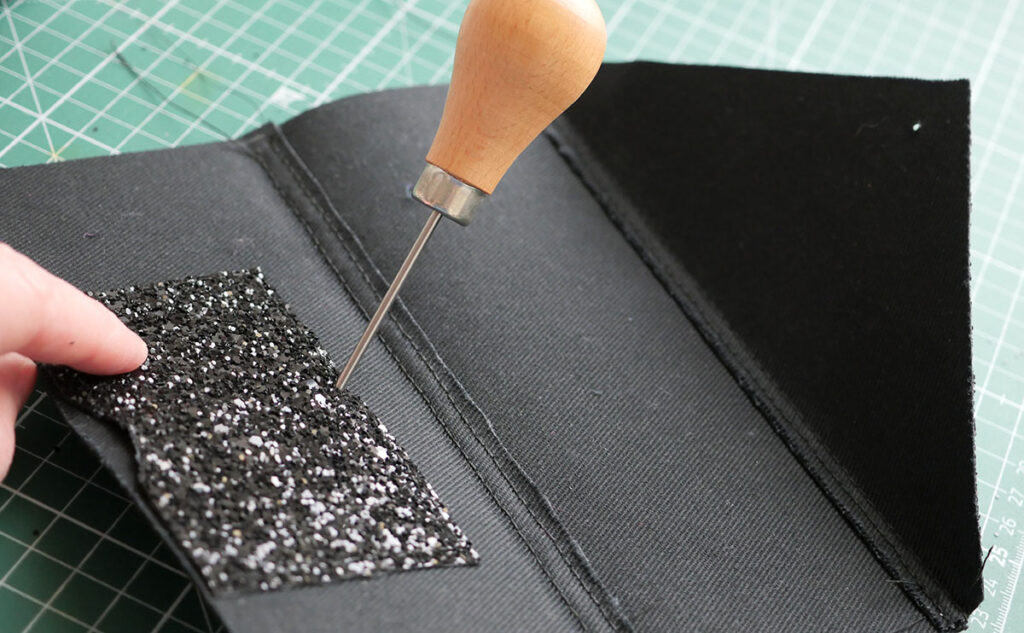
We prepped it in step 2, but now we have to finish the wallet with a fastening.
I have suggested a location on the pattern depicted with a + for where you may want the hole for your fastening to go, but you may find after sewing that yours needs adjusting.
If you punched a hole for a stud on the main front piece, now is the time to push that stud through the hole on the front piece.
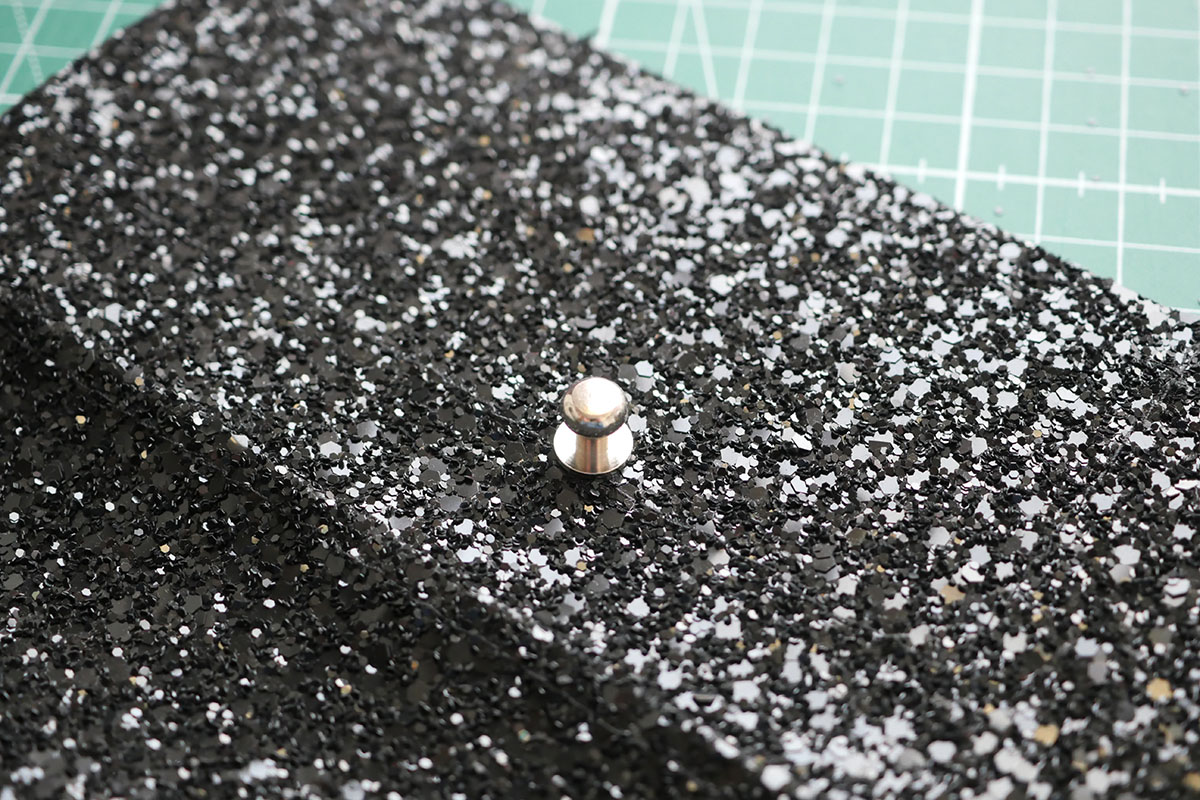
You’ll then need to make a hole in the right location on the front flap piece that lines up.
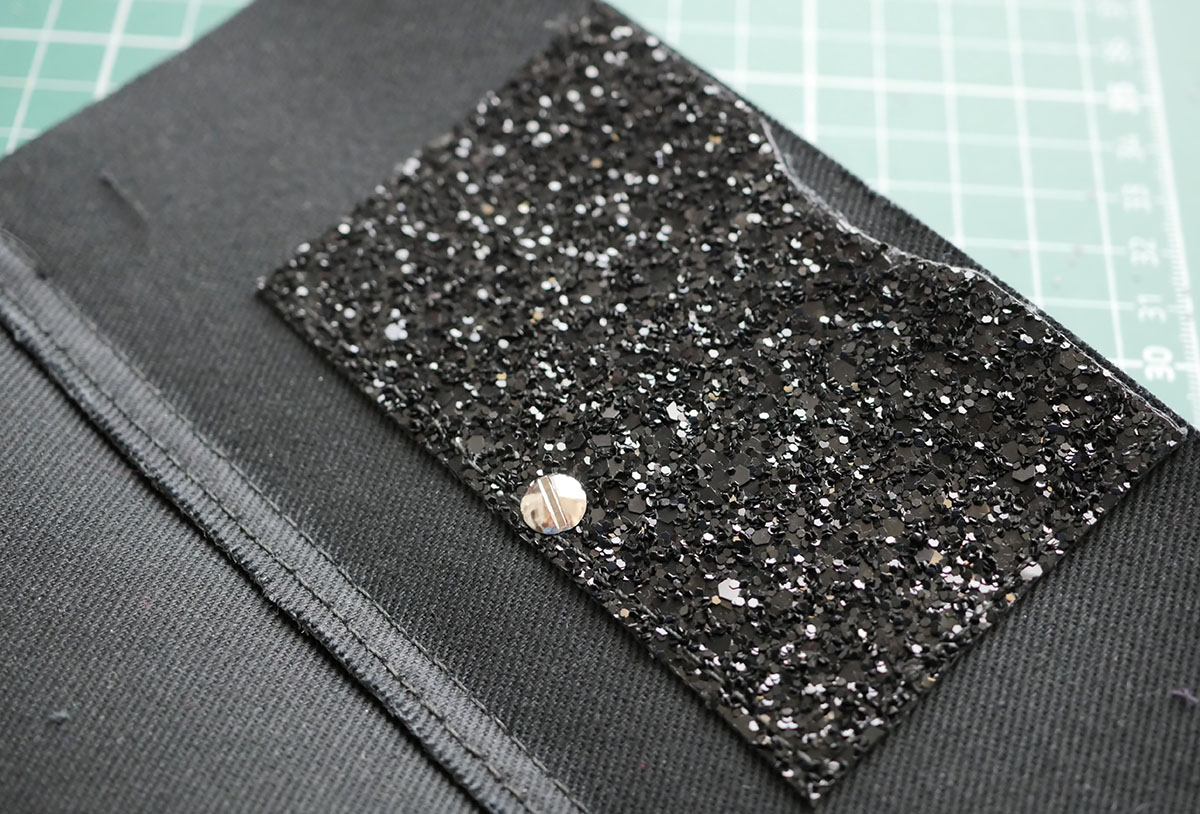
If you opted for a button and buttonhole, you can attach the button on the main front piece and then sew a buttonhole in the best location on the front flat piece – note that you need to sew this buttonhole through both the main and lining fabric which is why we left it until last.
If you choose a different fastening method, you’re on your own!
The Gorgeous Easy Wallet
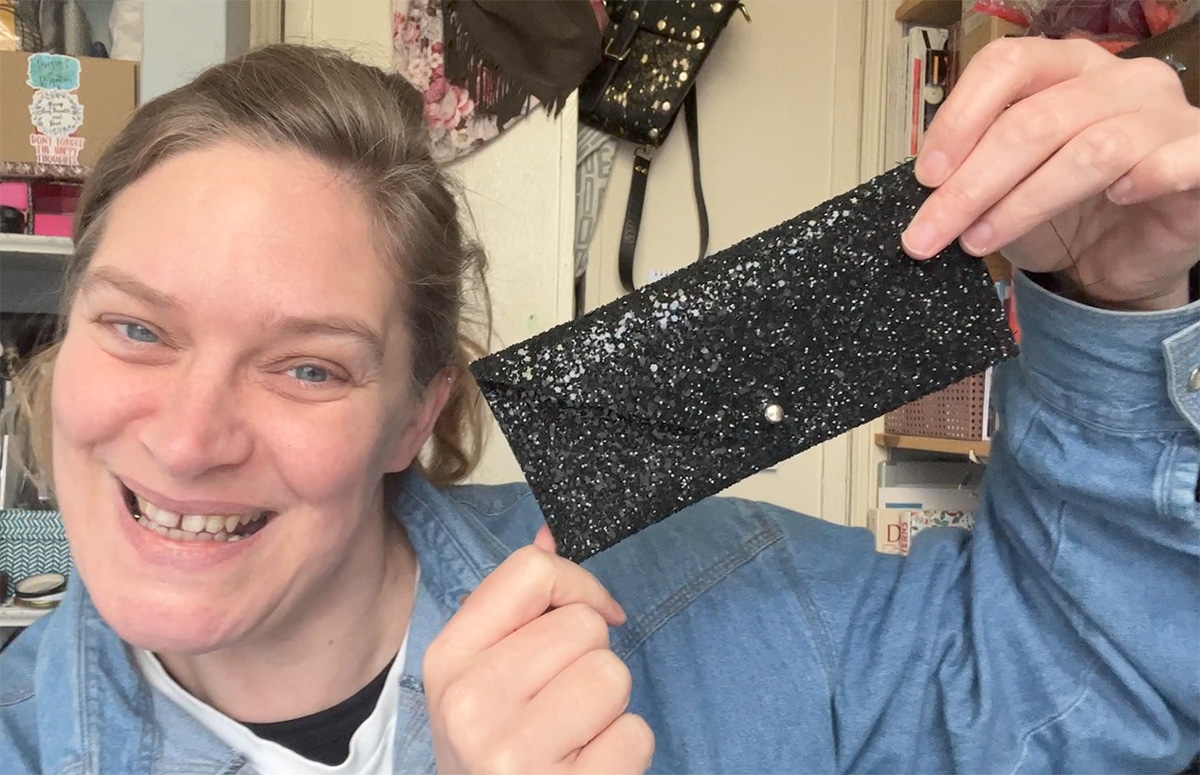
I don’t know about you, but I’m not sure I’ll be giving this gorgeous wallet away to anyone! And that’s a problem of creating DIY gifts, sometimes they’re just so lovely and gorgeous that we want to keep them for ourselves!
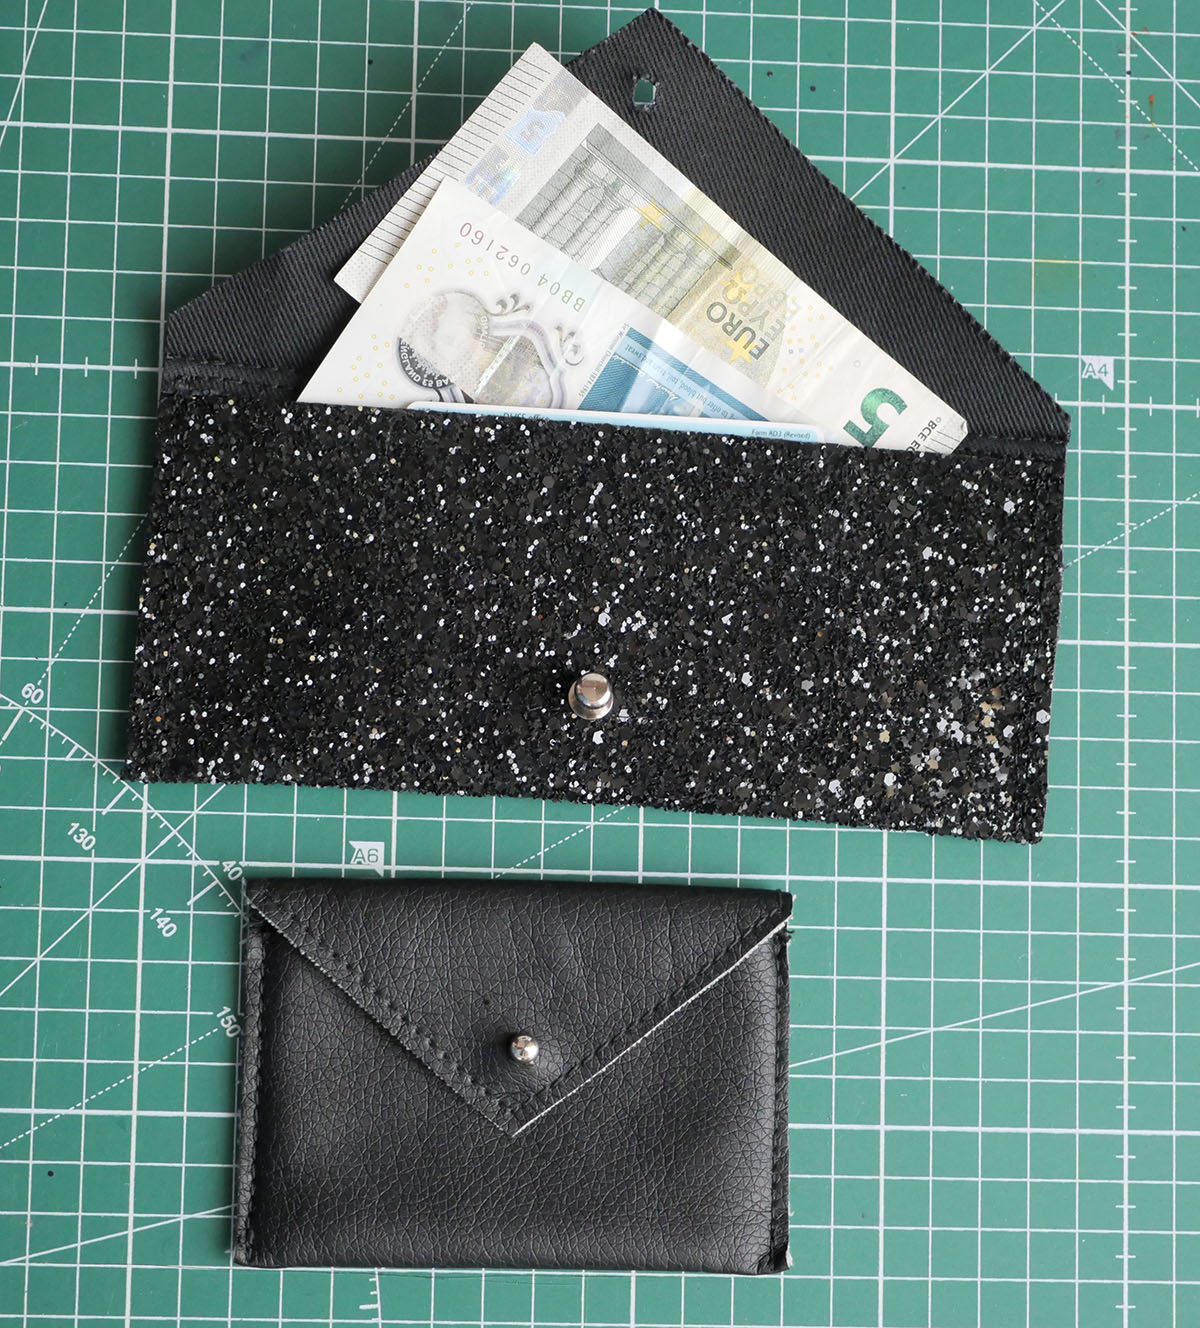
I know at least three people who would love the version I made in sparkle encrusted denim, but will I give it to any of them this holiday season? Only time will tell!
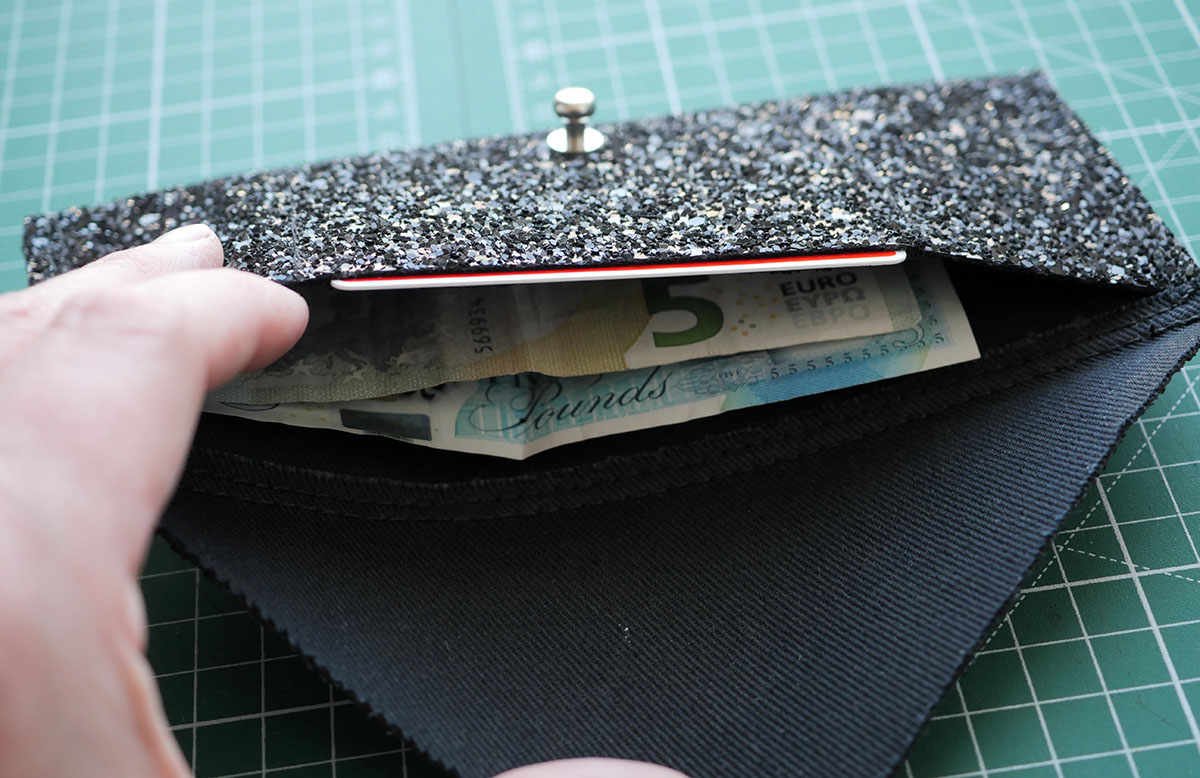
Let me know how yours turned out in the comments below. And for anyone preferring video, the easy wallet video tutorial is just below!