Super Easy Padded Glasses Case Tutorial
This padded glasses case tutorial was part of a DIY gift series I created for my YouTube channel in December 2022, and for some reason never made it to my blog.
I love the padded glasses case I made in this tutorial, and usually have it with me when I leave the house so that I can put my glasses in something when they’re not in use.
I find the general case glasses come in to be quite bulky for everyday use, so this is a good alternative that provides enough protection.
I’ve added the video below for you to watch if you prefer to follow along that way.
DIY Glasses Case: What You’ll Need
To make a glasses case like mine you’ll need the following items:
- Fabric (7 ¼ inches / 18.5cm x 17 ½ inches / 44cm)
- Wadding (slightly bigger than the fabric)
- Safety Pins
- Quilting thread (I used a somewhat contrasting color)
- Bias tape
- Sewing machine
I’m going to start by guiding you through the quilting process before we add the finishing touches.
If you do not have wadding or batting, you can use several layers of fabric – flannel works well as do other more weighty fabrics that provide a little padding for protection.
Preparing The Fabric & Wadding
I used one piece of fabric, folded in half for a clean finish on one edge when fully sewn. I made a notch in the center of this piece (on both long edges) and then sandwiched the batting in between.
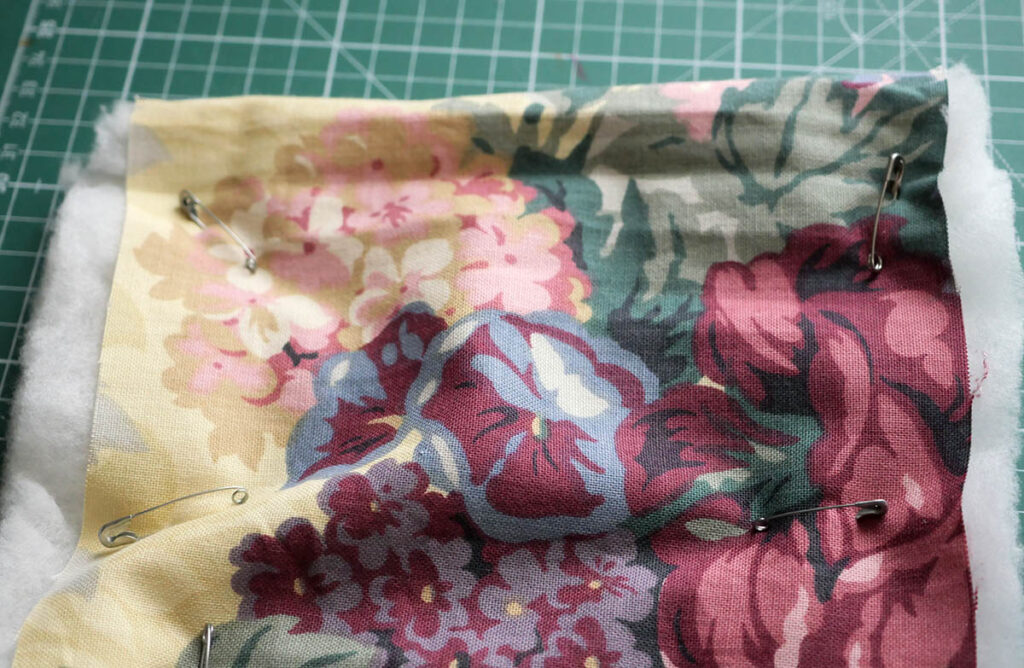
Safety pins are your friend for a project involving sandwiching of layers – this was a tip shared by many readers with quilting experience. They stop the wadding from shifting as you sew, so that there is less chance of you getting wonky lines during the quilting process.
Quilting The Padded Glasses Case
I decided to use a yellow thread on the upper and a white thread on the lower bobbin so that both sides would work well as the right side. My intention was to check the quality of both sides once the quilting step was complete before deciding on which would be the right and wrong side.
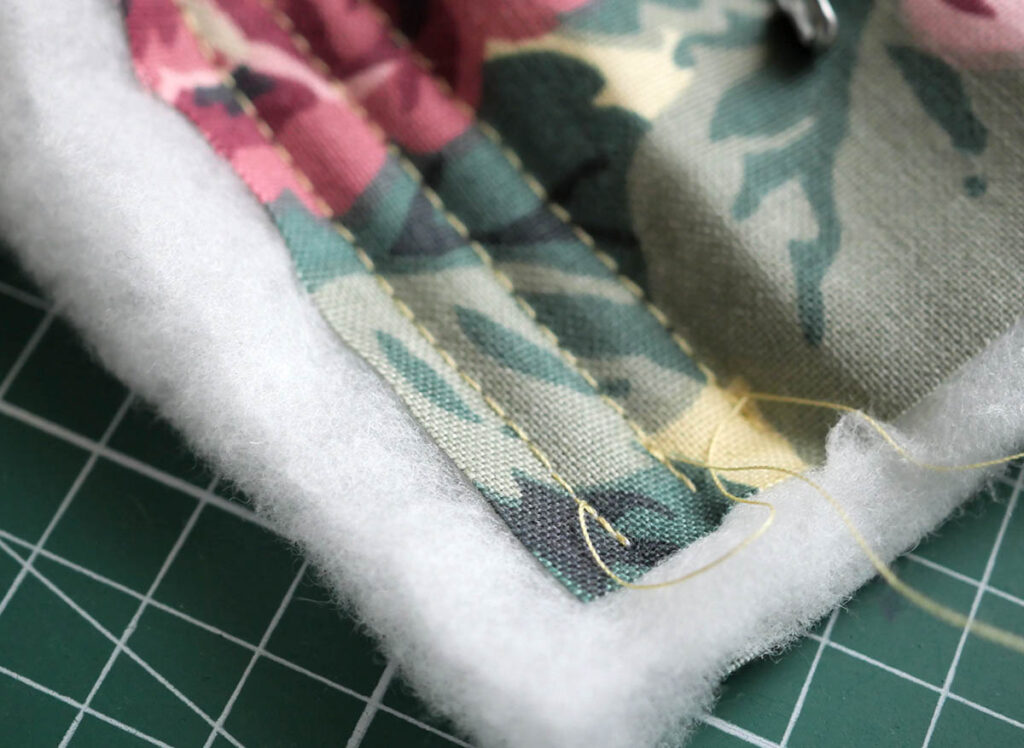
I kept my stitchlines straight, though other options include diamonds, squares or even following the outline of the printed motifs on your fabric.
I kept my stitch length on the larger side, so that I wouldn’t have an issue with tension, and used my sewing machine screwdriver to maintain pressure on the fabric as the feed dogs fed it through to prevent any ‘shifting’.
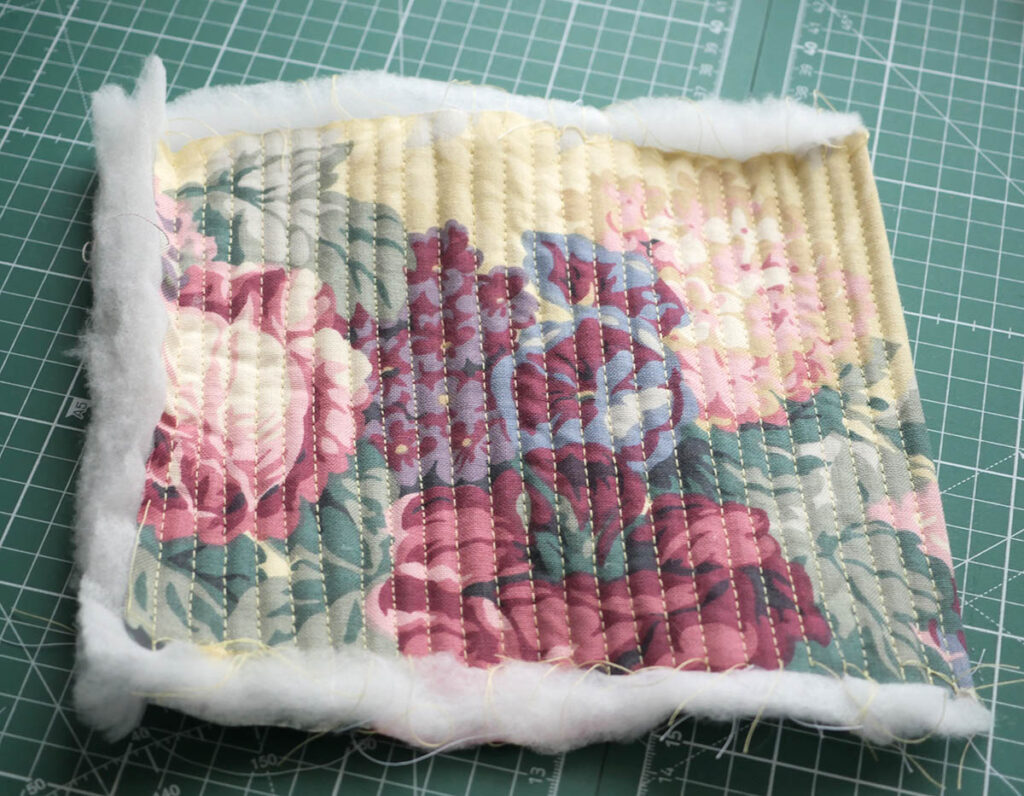
The line distance was based on the width of my presser foot, which seemed like a sensible amount to work with.
Binding The Glasses Case
Once the quilting has been done, we can trim the panel down to size, straightening up the edges. I used a rotary cutter for this step, but fabric scissors would do the job just as well.
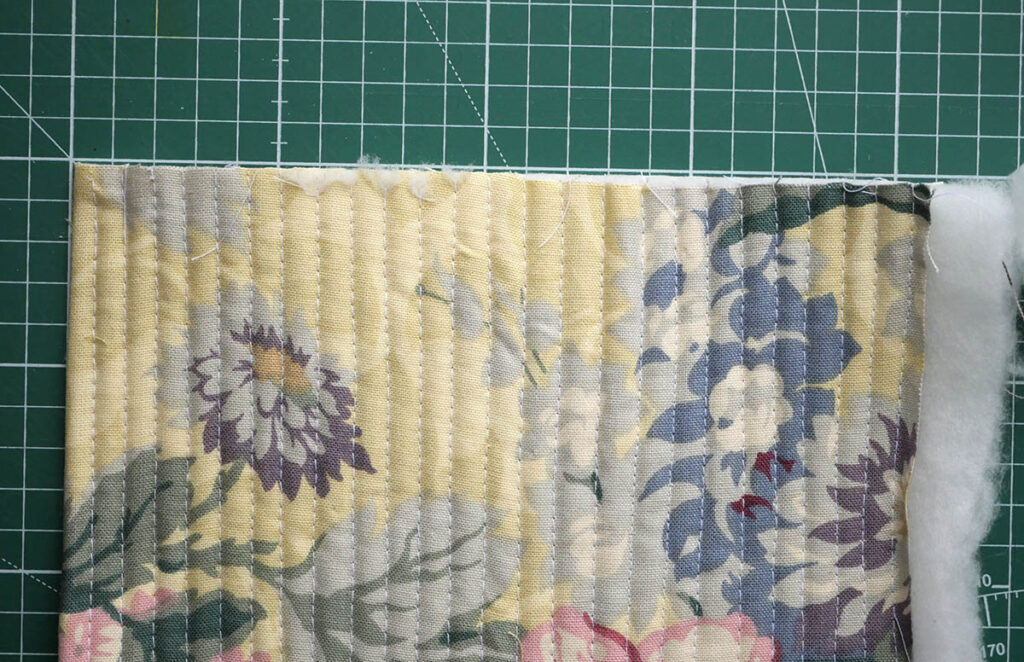
Prepare your quilted panel so that the fold of fabric is the ‘opening’. It should be as deep as you need it to be for your glasses to fit inside, as well as an overlap – like an envelope! – so that they don’t fall out.
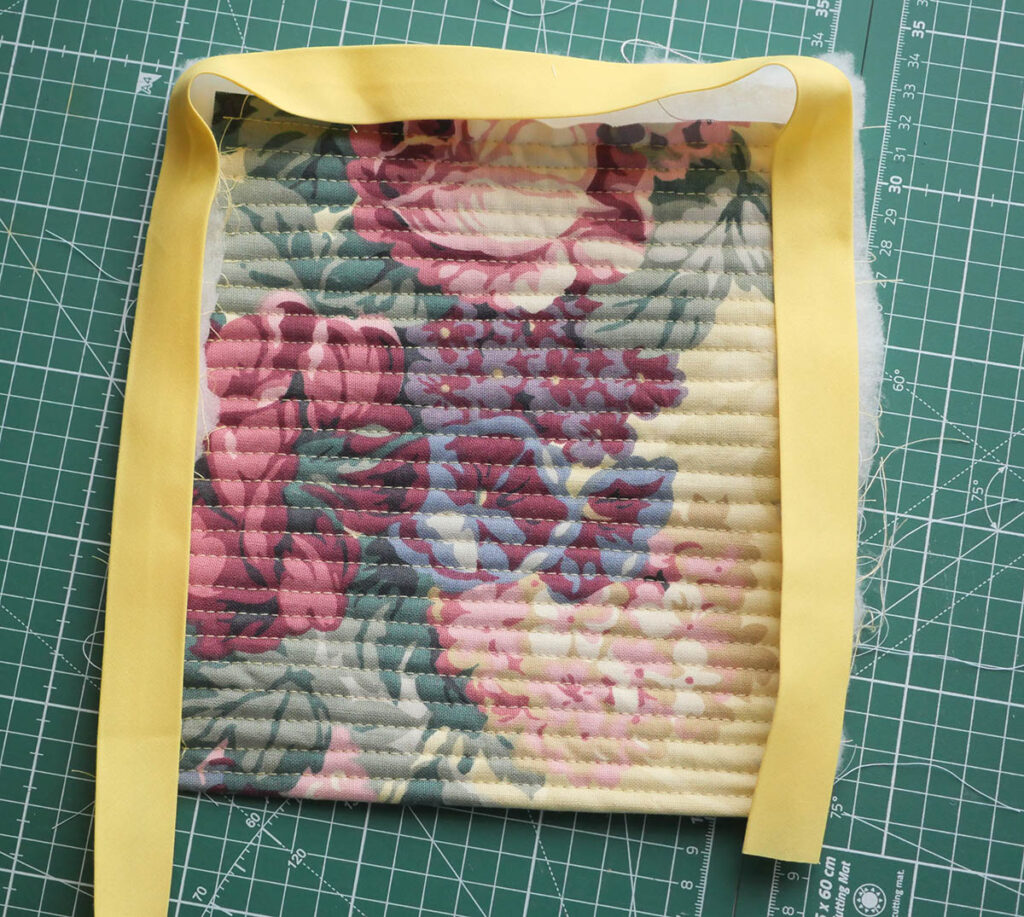

I ended up binding from one low corner up, around the top flap, and back down, using my gorgeous bright pink bias tape, which added some extra pizzazz to the project.
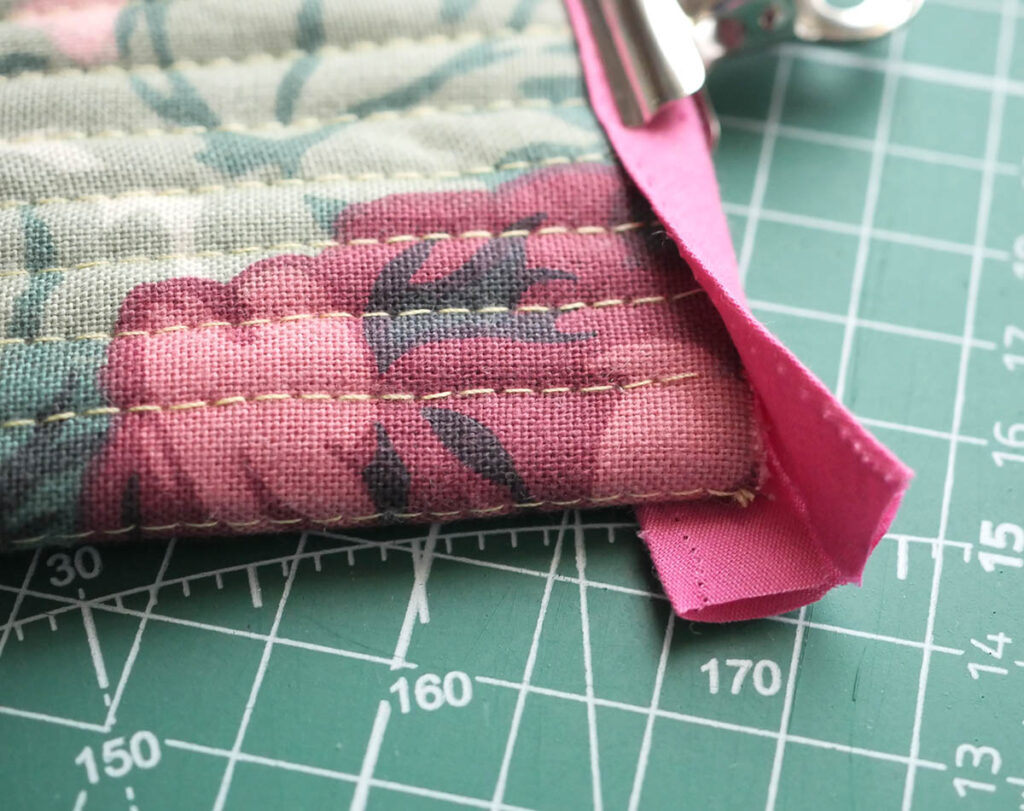
I used binder clips to hold the bias tape in place, and sewed it all in one, rather than sewing one fold and then another.
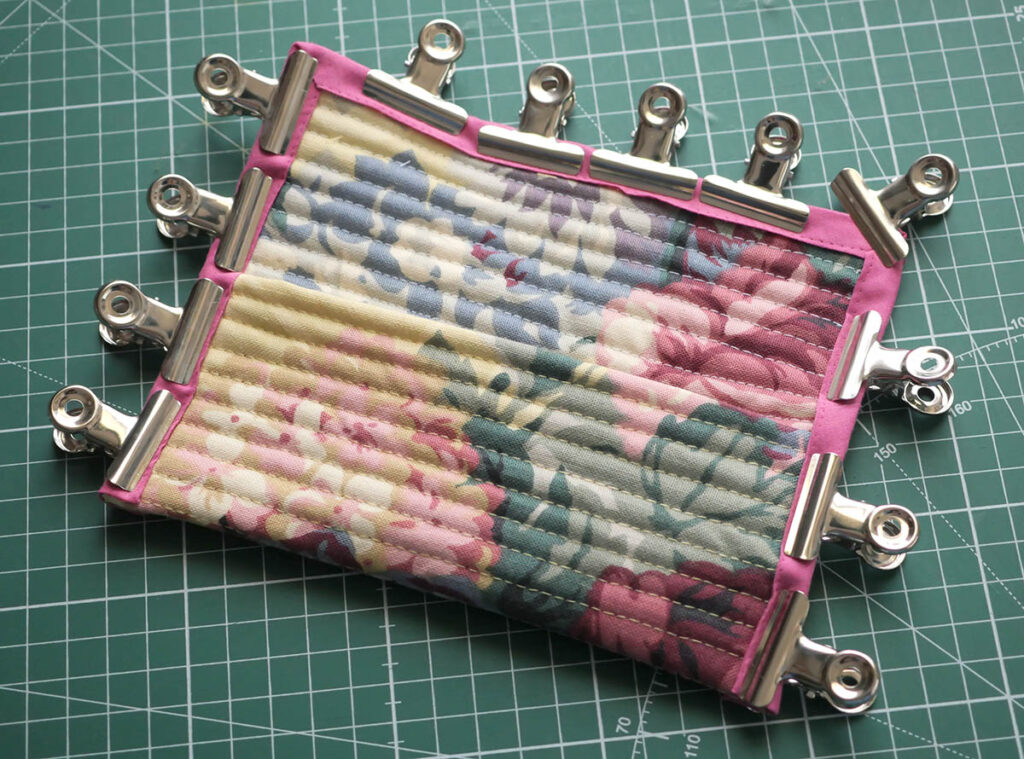
I also sewed the mitered corners to stop them coming loose.
The Fastening
For the fastening I decided against adding press studs, as I was worried they might scratch my glasses on the inside. Instead, I used another piece of bias tape and created a little strap that could be used to tie the glasses case closed.

My Favorite Glasses Case
These are by far my favorite glasses case. I love how they look, I love the small and compact size but most of all I love how they keep my glasses safe from harm when they’re not on my face.
This is a super simple project that you could sew by hand if you don’t yet have a sewing machine, and it also makes a great gift idea if you’re stuck buying a gift for someone. Have fun, and let me know how you get on with it!