
Wedding Plan Update: 146 Days to Go!
I have an app on my phone that tells me how long until something is happening. I have to put the date in and it calculates it for me. The only date in it? Our wedding day.
Turns out that I have 146 days left until the big day, and I will be honest: panic has started to set in. You may have read the post I shared on my biggest project of my life yet… that was written at the tail end of December, so it’s been a while since I posted an update…
The Original Plan
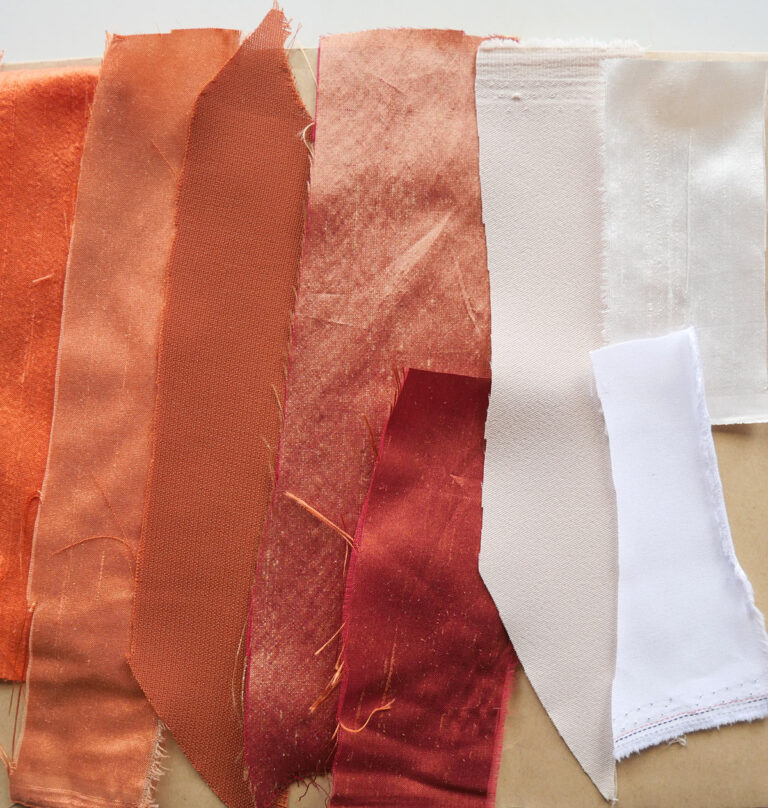
Back then I had finalised the colour palette, worked out some fabric thoughts from samples I’d gotten and tentatively decided I would be making many outfits.
The actual list I thought I’d be making was:
- 1 fully finished corset (ET)
- 1 full length skirt to match the corset (ET)
- 1 shorter length skirt to match the corset (ET)
- *1 suit jacket (DT)
- *1 suit trouser (DT)
- *1 long sleeves shirt (DT)
- *1 waistcoat (DT)
- 1 adult dress (CK)
- 1 adult dress (SA)
- 1 young adult dress (ST)
- 1 toddler dress (MW)
- 1 toddler bloomers (MW)
- 2 cravats (DA and JR)
- 2 neck ties (DT and RA)
- 3 bow ties (AT, AR and ER)
The initials are for who the items are for. Just in case you’re wondering!
Some of the links in this article are affiliate links. This means that I may receive a fee at no extra cost to you if you purchase a recommended product.
The New Plan
Of course, since that original plan a lot has happened, including family stuff, financial stuff and being somewhat time poor.
That has resulted in the following decisions…
My Ceremony Dress
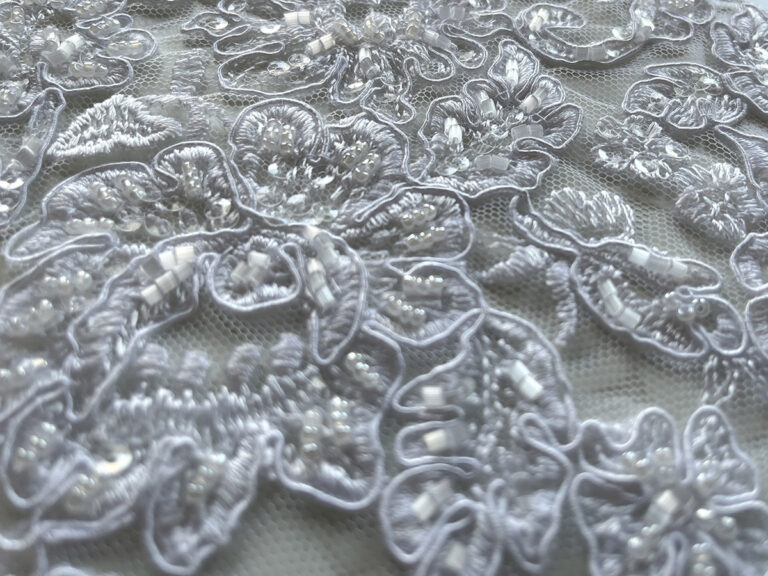
Still happening, but I have simplified the design somewhat and have found out all the beading materials from my stash to practice my beading and embroidery skills. We’ll see if I do this myself – it may be that things look up and I will buy the overlay fabric I loved last year.
At the same time I am happy to spend the time working on it over the next few months so that it is something very special. Will keep you posted!
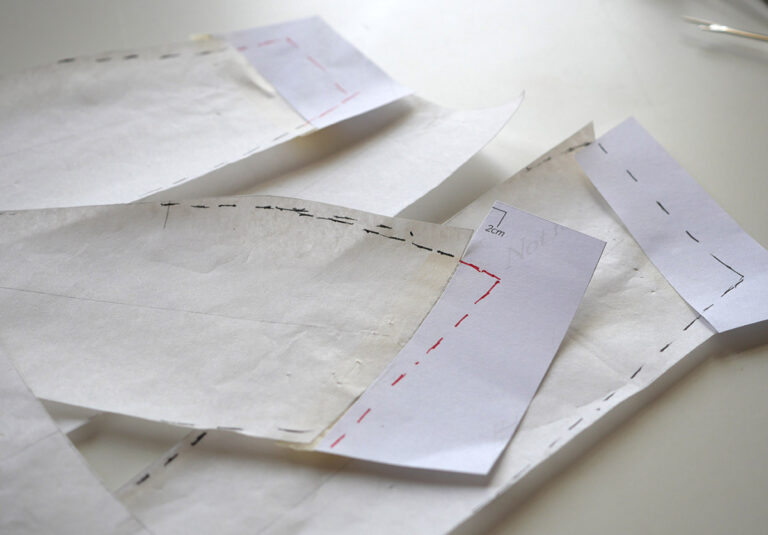
Side note: I also finished the denim ‘mock up’ version which is fabulous. I’m working on hand sewing some extra detail on it and have written up the process for you too – will share that once it’s live!
My Evening Dress
The plan has always been to have a two piece so that I can get maximum wear out of what I make. I don’t have kids, so it’s not going to become a family heirloom, and the added benefit is that I can change up the ‘look’ by making a separate skirt for the evening. Same corset, different skirt.
I’ve been playing with some design sketches and I think I know what I’m going for, but we’ll see. I’m very much in the mind of ‘get everything else sorted first’ because the evening skirt part really is a luxury rather than necessity.
The MOH and Bridesmaids
I always knew I’d be making these dresses but I had sneakily thought I’d draft each individually. This was unrealistic based on not being in the same country as any of them.
So, I spent lots of time researching existing sewing patterns that work well as evening/bridesmaid gowns – yay The Foldline website for having so many in one place! – and landed on two possibilities:
- Magnolia Dress by Closet Core Patterns
- Joline Dress by Bara Studio
Magnolia Dress – Closet Core Patterns
This is a stunning faux wrap dress, and if I hadn’t been wedded to creating my own from scratch, this would have been a contender. It’s a beautiful design and I know my MOH and bridesmaids will look stunning in this.
Joline Dress – Bara Studio
An actual wrap dress and so similar to a Louis Vuitton wrap dress that I ‘knocked off’ for myself a couple years ago. If I choose this design I’ll buy the pattern, because my MIL and bridesmaids have a smaller cup than me and I do not fancy trying to grade my pattern to all their sizes.
Spoiler: I have decided and bought the pattern I decided on, and have been tweaking design details since.
Suits and Shirts
I had thought about making my dad his own suit and shirt but again, I have a time and location issue. He’s also been ill, so I am loathe to work on something that fits him now, when a few months from now it may not fit well at all.
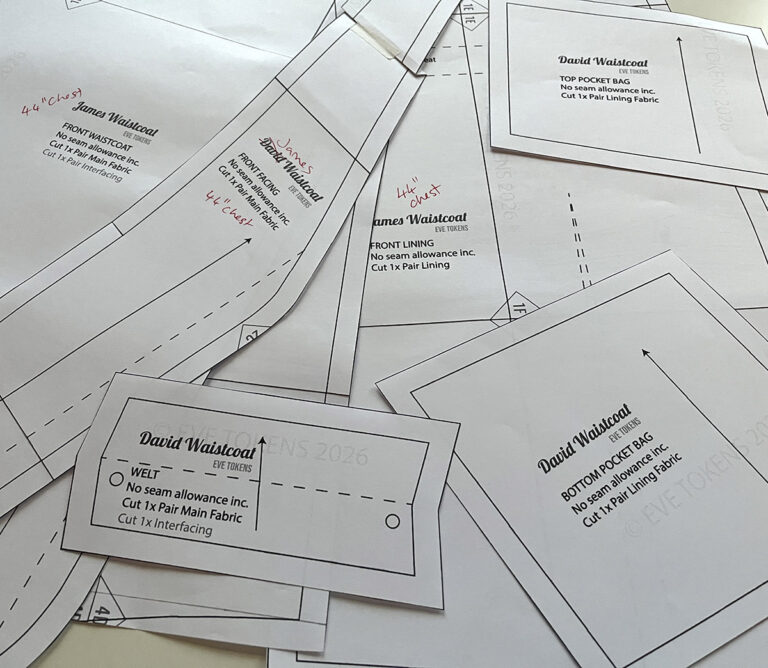
So, we will go suit shopping between now and the wedding to find him a great suit, and I may just make him a waistcoat. It feels like a lovely thing to do for my Dad, but we shall see…
All The Ties
It seems like this should be something that I could drop, but from what I hear, it’s something that everyone is onboard with me making. Perhaps because I said that ties were easy?
I’m still working on convincing my nephew that bow ties are cool. If he remains unconvinced, I’ll be making five neck ties and two cravats. Fingers crossed!
If you want to make one for yourself or someone you know then I have this bow tie pattern available for you to download!

Wedding Prep That Has Happened Since…
And then there’s the general wedding prep that has needed my time.
Designing The Invitations
The wedding invites we liked from the samples we were sent were silly expensive. I know some people keep such things for sentimental reasons, but mostly they get thrown in the bin, and to spend the cost per invite quoted on something that would just get trashed was just plain daft.
At the same time, the designer in me didn’t want something that looked like I printed it on a laser printer at the local library, so I opened up InDesign (the publishing app I use for my sewing pattern instructions) and got to work.
I took a painting my future MIL did for us and used that as the ‘header’ image. It’s on point for the location and the colour matches our theme. My MOH recently told me about the symbolism too, and it makes it more special now.
The details were added and then I worked out the cut and fold lines to ensure I could fit two invites per page and two details inserts too. Then I had to create a reversed image file too, so that the MIL art could be printed at the right direction on the reverse of the detail inserts too.
I chose to use this art paper from my stash, because it meant the paper quality was high, it was white and smooth, and the cost per sheet was sensible too. Did I mention it was already in my stash?
After two test sheets to get everything set up, I printed off the full quota, and used this tool to trim the four corners of each invite and detail insert to be rounded and smooth.
The last task was to score along the fold lines of all the invites.
Designing the Envelopes
Of course, what I didn’t consider was that handmade invitations often mean handmade envelopes, because the chances of finding anything high quality at the actual size are zero to none.
After much sighing, I took the dimensions of the folded invite into the design program I use, and developed an envelope ‘pattern’ too.
Luckily the tool I used to round off the invitation corners has a notch side too, which will work to nothing the envelopes for me. Those this board is a much better version that I wish I had access to!
I printed out a one copy of the template on my pattern making card paper, folded, notched and glued it together.. and realised I’d need to do a few tweaks to get it just right.

After four variations – which included white, orange and blue inserts to add strength and look more ‘sophisticated’ we landed on the final version, and I printed out all the envelopes on the pattern making card. This was from my stash, so zero cost at this point in time, though future me will be very upset when I go to print a final pattern for for easy tracing and find I have none and the cost has gone up..
Then I printed the inserts from a paper that I did have to order in. It was worth it, but I had hoped to keep the costs minimal.
Finishing the Envelopes
With all of the design work done, the time consuming part needed to commence. And I tell you no lie, I was still hand cutting envelope inserts this morning before I wrote this!
With the outer envelope and inserts cut to size, it’s a case of gluing the two together, scoring the fold lines, sticking three sides in place and leaving something heavy on them to set. That is the work of tomorrow – wish me luck!
Finalising the Invitations
And then the last step for the invitations is to get the guest names written in – also tomorrow’s work – and then hand glue ribbon into place before sealing with a wax stamp. Yes, I know. Over the top? Maybe. Fabulous? Absolutely!
Below is the test version I did using a wax stamp set my future in laws got me for Christmas after we got engaged. I’m sure it was a little hint, which I was not against at all!

Our finished invitations will not have the letter E or be gold wax, which is why I’m sharing the above photo with you – I’ll add the real thing once I know invites have been received so that there are no spoilers!
New Hair
I did get started on my hair. D’s birthday present for me this year was to get my hair coloured just how I want it for the wedding. This should have started in February but I put off that appointment until last weekend so that I wouldn’t have to have too many in-between visits.
After all, getting hair colour is such a time suck! Below was me 3.5 hours in…

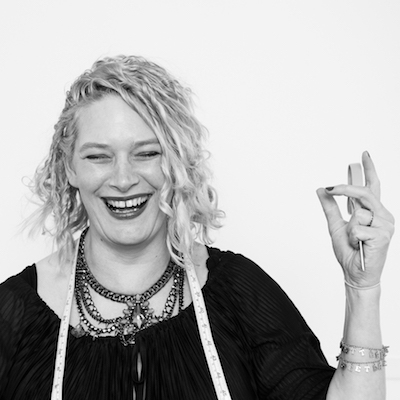
I now have hair that is a mix of pale copper and blonde – rose gold perhaps? – and I am loving it! It is much fuller than I expected – a standard scrunchie no longer contains it at night – but I also got more layers cut in to bring out the curl and it is much more enjoyable to have my hair down.

Reception Decorations
Another one that we could have outsourced, but the costs! Turns out that the wedding industry is an entire thing now where couples can accidentally end up spending the equivalent of a house deposit for one day! Madness!
So, we’re ‘cutting corners’ here as well. I’ve been saving any bottles and jars that are interesting in shape, glass decoration or size, and have cleaned them up and stored them ready to take to the UK on my next trip. My dad has been doing the same.
I plan to use them for twinkle lights, flowers etc.. we shall see. And I’m going to get a nice linen or chiffon that is colour appropriate and use that for ‘ribbon’ to tie around the jars.
I thought I’d also find some old metal photo frames too in charity shops when next home, and maybe use those for table numbers.
If you have suggestions please feel free to share in the comments section down below!
Wedding Prep I Have Barely Considered
Finally, the things I have barely considered…
- Wedding rings – we know we need them, but yet to buy them
- Wedding shoes – my feet are huge, this is a problem area
- Wedding cake – I can’t say much about this one, because I don’t want anyone who shouldn’t know to accidentally read this, but I can say it’s in hand. I just had to mention it because I know someone reading this will be commenting ‘don’t forget the cake’!
- Photographer – I have a list of possibilities, but again, the costs!
- Makeup – probably going to do my own, so I need to learn and practice
- Honeymoon – we’re not having one until spring 2028 due to D’s work schedule
- Flowers – deposit to secure date has been paid, but decisions due soon!
- Special license – we don’t live in the UK, so we need to get a license which requires affidavits, one passport renewal and more…
- Travel to from UK for: the special license meeting and then again for the wedding
I know, I know.. some on the list should have been finalised months ago… They’re all on my list for sorting in April though, so worry not!
Right’o.. I think that is a decent update for anyone following along with my DIY wedding journey. I’ve organised events before – fashion shows being the main thing – but a wedding just feels so much more intense when it’s your big day.
I have faith that it will be a wonderful day – it’s really about spending the day with the man I love and all our family and friends – but the to do list is a bit much for this tired brain.
Thanks so much for reading this far and if you have thoughts, suggestions or more, please do share them in the comments below!

Love your new hair Eve, looks really nice. My hair goes between curly to wavy when down but its getting so thin now I use hair pieces and usually have it tied up.
Thanks Lesley! I’ve been growing it out so that it was long and with no old colour left in for about 4 years now, so it was looking a bit knackered. Glad I got it cut and coloured, making me feel more like my old self too! Totally understand having it tied up too – especially in the hotter summers! xx
Hi Eve, l so enjoy following along with your wedding plans, great job on the invitations and envelopes, so much better than anything you can buy. Love your hair, it looks amazing! Good luck with all of your plans, I’m sure it’ll be perfect. Best wishes, Helen xx
Oh, thanks so much Helen! The invitations have been a hit, so it was worth the effort involved. Though thankfully I will never be making them again! My hair has been such a hit too (with the other half and me!)… the colour and the slightly shorter length should be a win for the summer and the wedding! And thank you, I hope so.. a lot of work but it’s also a great opportunity to see family and friends in one place. Big hugs! xxx
Hi, Eve, LOVE, LOVE, LOVE your hair!!!! So exciting as your plans are taking shape. I have a few suggestions: for your make-up- have a cosmetics shop do your makeup soon (free) and you can get some great hints on application and products; For the jars you are collecting, you can buy tea light candles to put in each jar. Twinkle lights can be woven around the plant/flower (see below); I had a photographer just shoot the vows, not the party. You can be sure friends will take tons of photos with their phones. You can set up a site where everyone dumps their shots into one place. I’ve seen this done just don’t have the details; Shoes—go for comfort. A sandal or decorated flip flop showing off your pedicure can be so cool; Flowers-you may be able to rent potted plants or potted flowers for decor on tables. Spend the money on your bouquet. Or order fresh flowers from your local (UK) grocery store and make small clusters of flowers for the MOH and maids. Have them make their bouquets from a sample you create the afternoon before the wedding, placing the finished flowers in vases with water. So, so fun!