Puff Sleeve Pattern Tutorial: How To Draft Pouffy Sleeve
Today I’m going to show you how to draft puff sleeves with my puff sleeve pattern tutorial! This is a very thorough step by step pattern making tutorial to help you draft a puffed sleeve pattern for yourself!
Pouffy sleeves are a fun take on a regular sleeve, with more volume at the shoulder and the hem which helps to create a puffed up effect! This volume is created in two ways by:
- Expanding the sleeve block across the width to add in extra volume
- Lengthening the sleeve block to give a little more height which adds to the puff effect
When the fabric is gathered at along the armhole and hem of your puff sleeve pattern, you constrain the excess fabric back down to the sleeve block proportions which creates the ‘puff sleeve’ effect!
Now because a sleeve block is created specifically for you and your body measurements, I cannot provide you with a puff sleeve printable pattern to download, because it wouldn’t work for your self drafted bodice block.
Instead, I’ve provided this tutorial and photos of the pattern making process for creating your own puffed sleeve pattern!
If you want to know how to make puffy sleeves, pop to my puff sleeve sewing tutorial for the step by step process of sewing puffy sleeves!
And do check out my other sleeve pattern making tutorials too – including the kimono sleeve pattern!

Some of the links in this article are affiliate links. This means that I may receive a fee at no extra cost to you if you purchase a recommended product.
Tools For Drafting A Puff Sleeve Sewing Pattern
As is standard, I have a list of tools you should gather to start pattern drafting the puff sleeve pattern:
- Pattern making paper
- Hard pencil
- Coloured pencils
- Pattern master or fashion ruler
- Paper scissors
- Tape measure
- Masking tape (the non-tacky option)
- Glue stick
- Pins
- Tracing wheel
- Awl
- Cutting mat
You won’t need all of these for this pattern making tutorial, but these should be part of your standard pattern making kit!
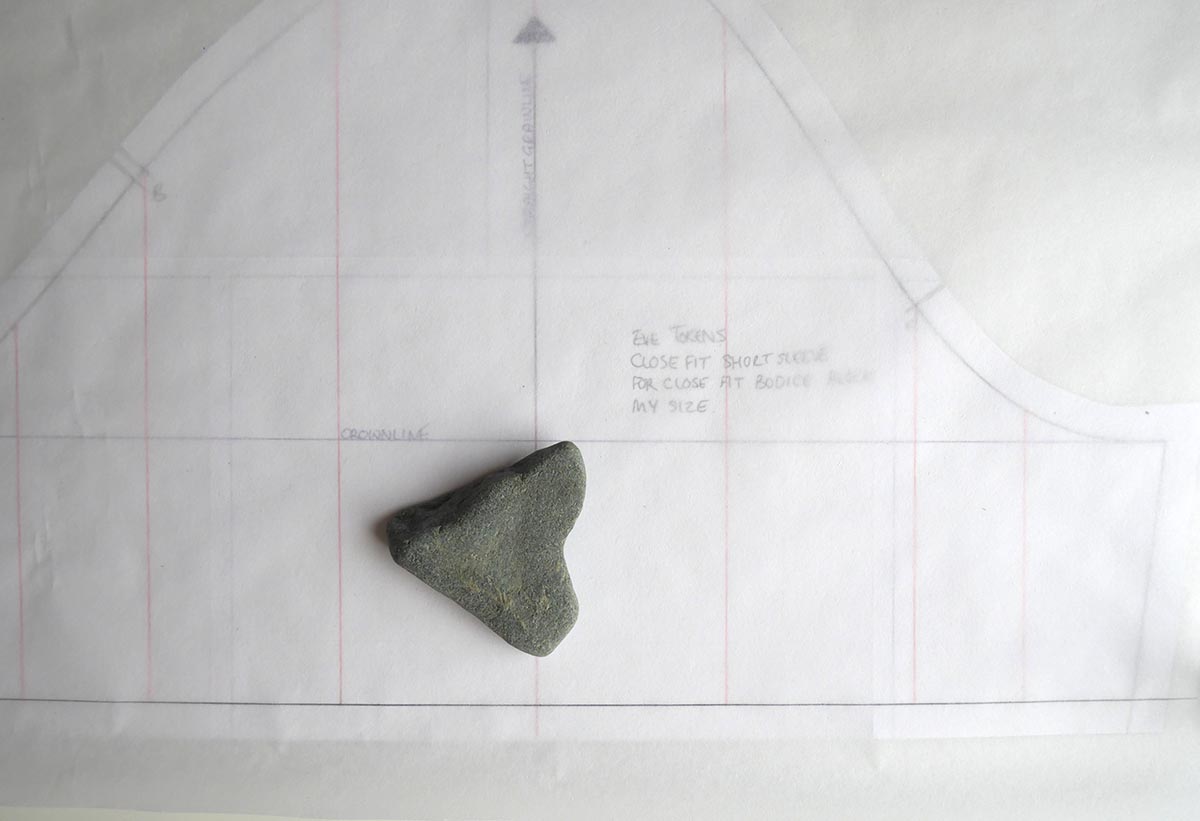
Step 1: Choosing The Sleeve Block
Your first step is to choose the sleeve block that you plan to use. You could also use a pre-existing sleeve pattern from a commercial sewing pattern that you own / developed yourself, but make sure it’s a basic / straight sleeve block!
I’ve selected my personal sleeve block, and I’ve traced it to create a short sleeve. Notice I have also marked in vertical lines to separate the short sleeve into 8 sections.
You can section yours with as few as one line or as many as me. I have chosen 8 sections because it helps me to create a more natural curved sleeve at the end.

Step 2: Plotting The Baseline
Now, we need to plot the base line. This is the line at the lower end of your paper that you’ll draft your puff sleeve pattern upon!

You’ll want to then place your sleeve block underneath your pattern making paper, and with the hem lined up with the base line position.

Step 3: Tracing The First Sleeve Section
Now, making sure the pattern making paper is weighed down, grab your pencil and pattern master / ruler, and trace the front underarm line / side seam, around the underarm curve and then down the second line to connect with the hem.

Step 4: Adding In Volume
Now, we need to add in volume between the line, and we do this by moving the pattern piece under the pattern making paper away from the section we traced.
I’m adding in 2cm between each line.
Be sure to consider the fabric you plan to use to make your puff sleeve – if it is a heavier fabric, you’ll want less to minimise bulk when sewing, and if a finer fabric you can go all out!

I’m using my graders ruler so that I can be more accurate with my added amounts.

Step 5: Tracing The Remaining Sections
Work your way around the remaining sections of your short sleeve block until you have traced off all, making sure that the bottom of the block is always lined up with the base guideline that you marked in at step 2!

Be sure to maintain the distance between sections as you go – I’m sticking with my chosen 2cm amount.

As you move the sleeve block along, you’ll notice how much wider the puff sleeve pattern you are creating will be!

Mark in the grain line as per your sleeve block. This will also help you when it comes to sewing your puff sleeve.
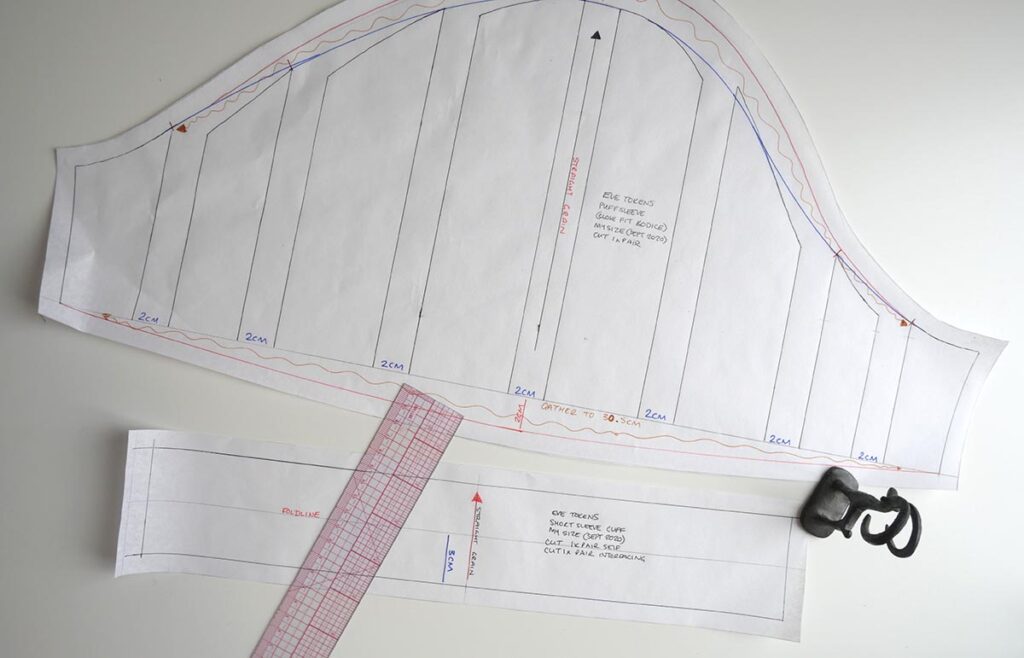
Step 6: Smoothing The Puff Sleeve Pattern
Clearly this doesn’t work as a sleeve so we need to smooth the jagged lines created by our tracing of the sections. You can either use your pattern master or freehand it.
Try to incorporate as many of the original ‘high points’ as possible without distorting the sleeve head shape. You can see I have marked across only one peak.

Step 7: Adding More Puff
Now we need to add more puff to the height of our puff sleeve pattern!
Grab your pattern master, and mark in a point below and above the centre front. I’ve opted to add 2cm each end, but you could add more if wanting a dramatic puff!
Notice how I’ve marked in 2cm across the top of the two middle sections?

Repeat for the bottom so that there is puff at the lower hem.

Finally, smooth these marked in points so that they connect with the previous line in a smooth way.

Step 8: Adding Seam Allowance
Now we get to add seam allowance!
Ideally you should now trace off the outline of your puff sleeve pattern and add seam allowance to that one, keeping this as the development pattern, but for now, I’m just going to add it to this pattern.
I’m using 1cm seam allowance throughout, but you should add you chosen amount.

Step 9: Working Out The Gathering Amount
To work out how much the sleeve head and sleeve hem need to be gathered by, you’ll need to grab a tape measure, and use it on its edge (as pictured) to measure the original sleeve block!
Start at the point of the first line…

And measure around to the last line.

Now note this amount down on the puff sleeve pattern you created with a squiggly line which is the pattern symbol for gathering!
RELATED CONTENT:
If you’re unfamiliar with sewing pattern symbols, you can learn how to read sewing patterns here!

Repeat for the sleeve hem, again noting on the new pattern how much the fabric should be gathered to.

Step 10: The Puff Sleeve Pattern Details
Finally, we need to mark in the details of your puff sleeve pattern! This is super important!
The details we need to add in are:
- Name of design / style
- Pattern piece (puff sleeve)
- Size (my size)
- Quantity (one pair)
- Gathering amount (sleeve head and hem!)
- Notches / balance marks
There you have it! A self-created puff sleeve pattern all of your own!
Of course, you can play around with the amount of puff to create different effects with different fabric weights, and in order to help the ‘puff’ happen, you’ll want to create either a cuff (as I have done here) or a sleeve facing that helps to constrain the fabric.
What will you be making a pouffy sleeve for? A top, a dress, or maybe even a little jacket?
Let me know in the comments, and if you need help sewing your sleeve, check out my sewing tutorial on how to sew puff sleeves!


Really helpful tutorial, exactly what I need to transform a sundress into a puff sleeve creation for Miss Kitty Bennet in Pride and Prejudice. Thank you
Really good tutorial! Thank you so much
U have YouTube channel
I do, this is it: https://www.youtube.com/channel/UCPNDYhxNeRlE013Cj0S_GXQ
Hi. This tutorial is very helpful for an old, experienced sewer like me who finds Youtube a pain, as I have to keep stopping & repeating! I am a self taught sewer from the age of 14 (I am now 76!) but not good at pattern making, so this really helps.
I have a query tho about modern techniques. I did O level Needlework & was taught that when you do gathering threads, you did 2 rows close to each other. I notice from TGBSB programme, etc that no one seems to do this any more but I was told that it prevented puckering when you sew the finished seam. I can only assume that its a time issue.
ps I am a stickler for neatness!
Hi Adrienne! I’m so glad to hear that you found the tutorial helpful! I try to do both text / photos here and video so that everyone gets what they need, so I do appreciate the feedback that you enjoy learning this way! 🙂 Regarding gathering, to this day I still do two (sometimes three!) rows of basting stitch to gather. It’s the best way to get beautiful gathers, but as you noted, it is time consuming. That said, like you, I love doing them as I am a sucker for neatness too! Have a fab evening Adrienne!
Thank you so much! I now havenot only a sleeve pattern. But a puff sleeves too and the know how to alter better.
I’m making two Marie Antoinette dresses. This one’s started as a médiéval wedding dress, never used and now too small. Taken top of dress from skirt, made elasticated waist band, using a corset as the bustier, and sewing the puff, fringed full length sleeves. The second dress, from scratch with old curtains.