Making Waistcoat Patterns for The Groom & Best Man
I’m working on the biggest sewing project of my life, which involves making my wedding corset, two skirts, three dresses, two waistcoats, five ties and two cravats – amongst other things!
Today I begin the journey of making the waistcoats for the groom and the best man. The first step is to get the patterns in order.
My options were to buy and use a commercially available sewing pattern or use one from the archive of patterns I have drafted over the years. I went with the second option.
The Groom’s Waistcoat Pattern
I drafted a waistcoat for David (The Groom) some years ago, so I pulled it from my filing cabinet and was happy to see that it just needed updating to reflect his current size. I cut calico and sewed a toile so that we could do a fit check, and for the most part it worked.
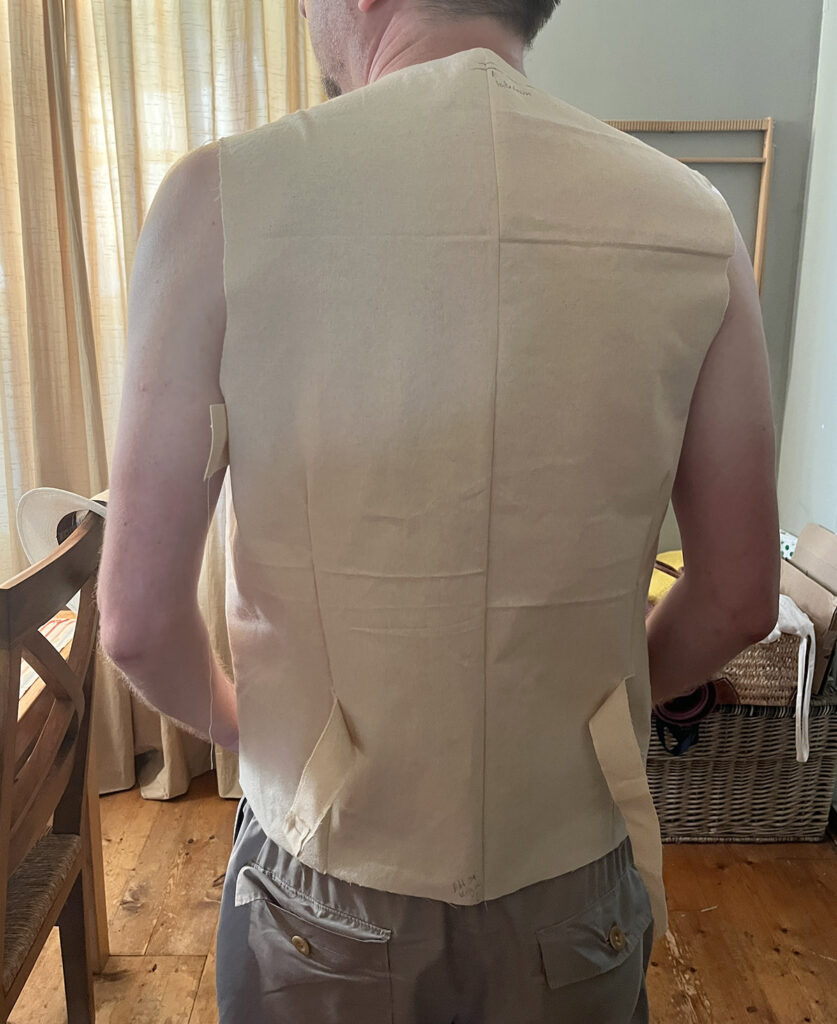
Across the back in particular it fit quite nicely, but there was not enough length to cover the top of his suit trousers – he’d opted for a slim cut Italian suit which is gorgeous but cut the Italian way. It had been altered to provide a little more room, but it was also a slightly shorter rise than he’s used to.
I extended the length on both the front and the back of the waistcoat pattern and then also increased the coverage across his chest, as he felt like the armholes were too far in.
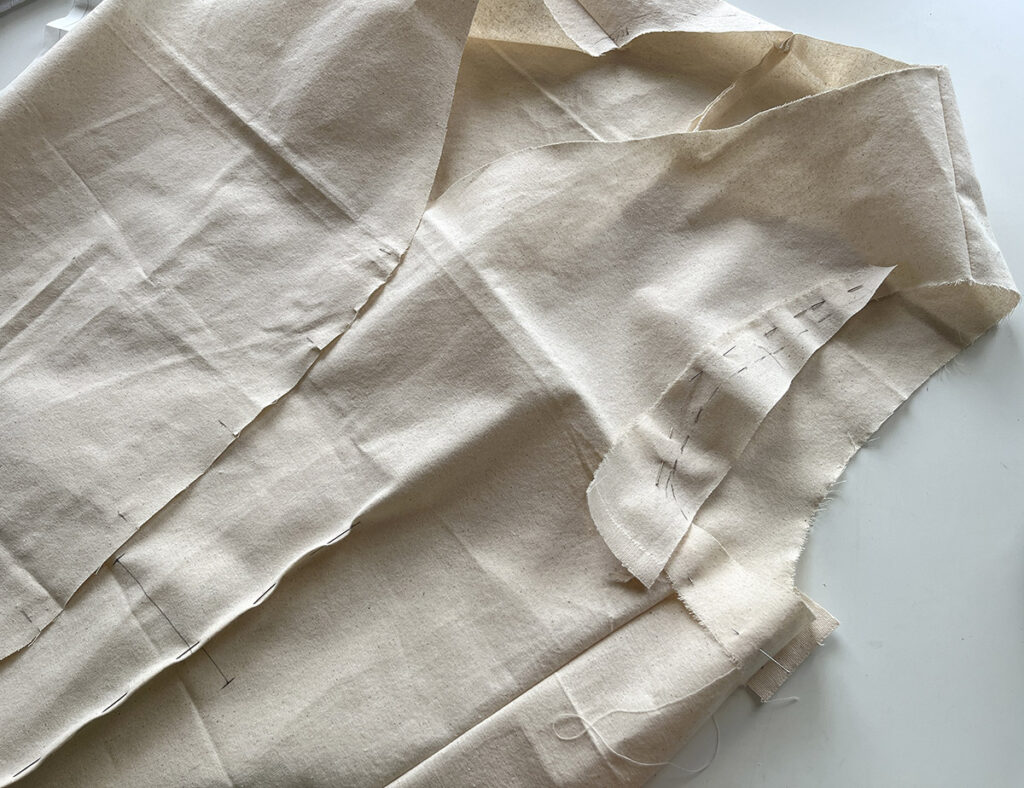
The dart was also pinned in place on him, and I drew in the approximate location of the welt pockets too.
He was very chuffed with it, despite being forced to try it on during an extremely hot summer day. Poor David.
I made the modifications to the pattern quite quickly – I find that if I just make notes, by the time I get back to it, I’ve forgotten what those notes refer to, and have to do the fitting all over again.
Digitising The Groom’s Waistcoat Pattern
Before I could move onto grading the pattern for the Best Man, I needed to get David’s version scanned in and digitised. This is always a fun but time-consuming process. Perhaps because I am a perfectionist and often feel like I can’t move on until something is EXACTLY how I want it.
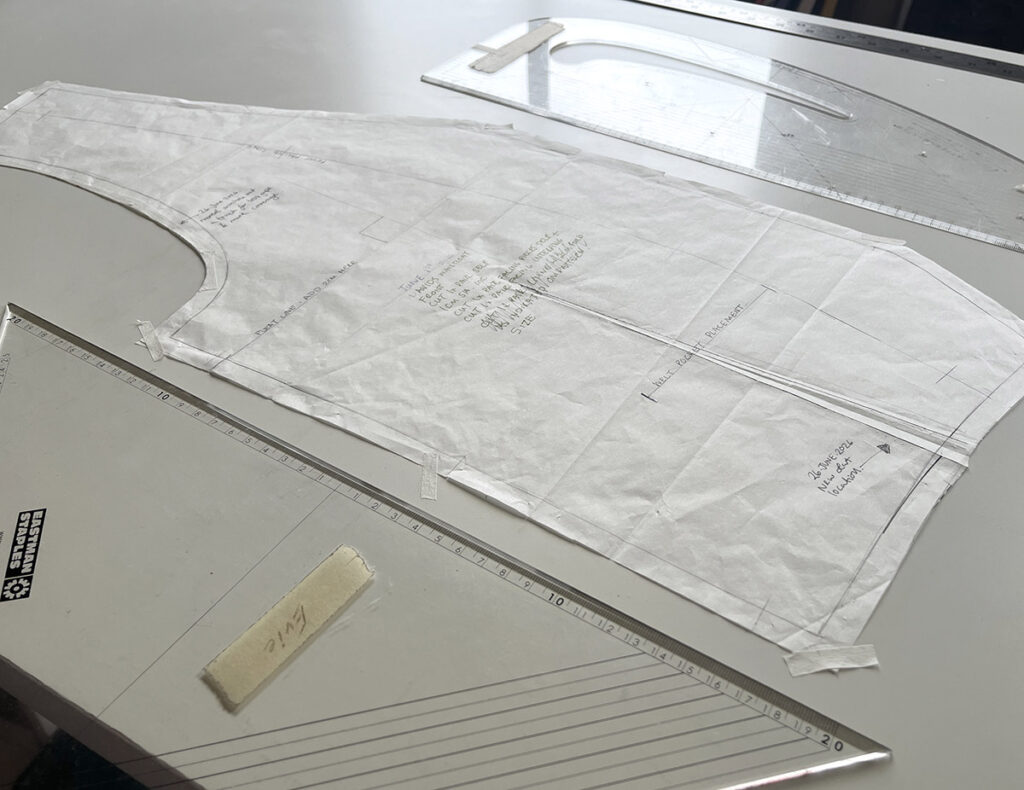
I use Adobe Illustrator to digitise my patterns. The pen tool is used to trace off each of the sewing lines, making sure all the fit notes from the pattern have been carried over.
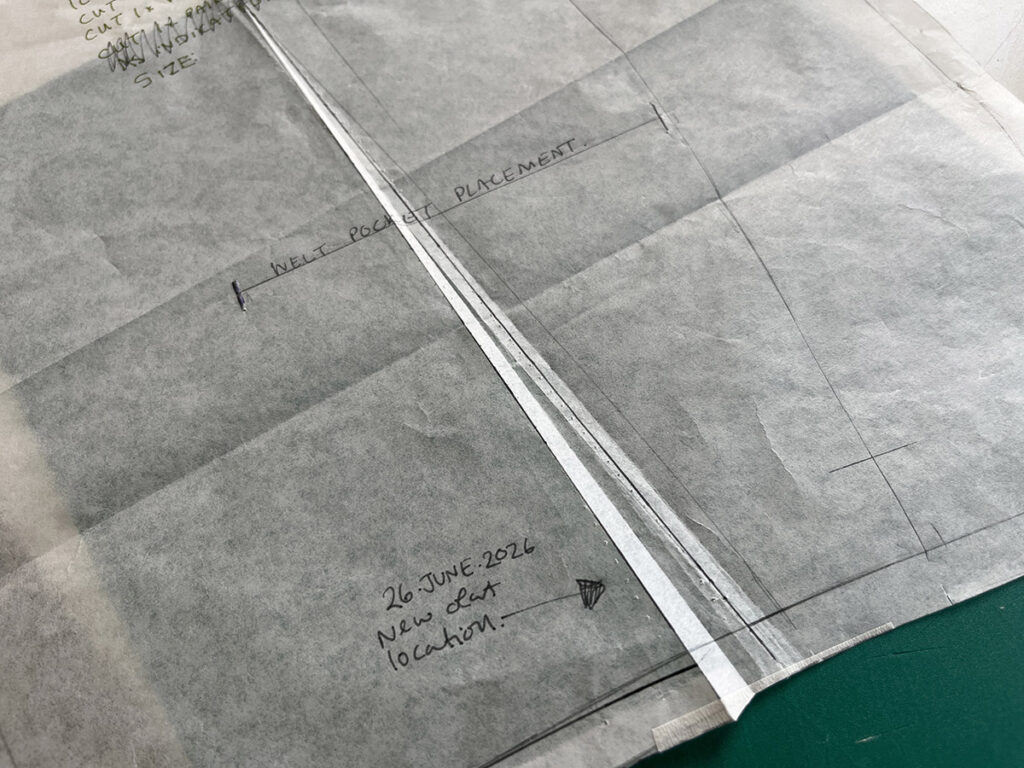
Then I true the pattern pieces to make sure that there are no discrepancies before adding all the essential elements: seam allowance, grainlines and general information.
Grading The Waistcoat Pattern for The Best Man
This caused me so much anxiety that I spent a day “researching” men’s grade rules to avoid doing the actual process. The main struggle is that I work in metric (centimetres) but all of my grading resources (yes, I even have books but still felt inadequate!) were providing information in imperial inches. Gargh!
Silly I know, but because of the time remaining I felt like I had one chance to get the grading right and so I really did spend a day stuck on this, before getting the grading done in just under an hour.
The best man is generally speaking one chest size bigger than the groom, but quite a bit shorter than him too. This meant I needed to split the grading process: add circumference to increase the chest and waist size, but omit the vertical grading, or perhaps even shorten it. As there is no option to do a test version and fitting with the best man – and knowing he is quite a lot shorter – I opted to shorten the length.
The Grading Amounts
To start with the horizontals, I split the additional 2” needed between the front and back, and then between each piece. So, the back pattern piece had 0.5”/1.25cm added and this was distributed as 4mm into the neck, 4mm into the shoulder, 4mm into the armhole and 1mm added to the side seam, just to be sure.
I then repeated this for the front pattern piece too, making sure that wherever I had added in on the back was replicated on the front.
When it came to the length, I decided to take out a conservative 0.5cm in length, splitting that between the armhole depth and the overall length at the back waist…
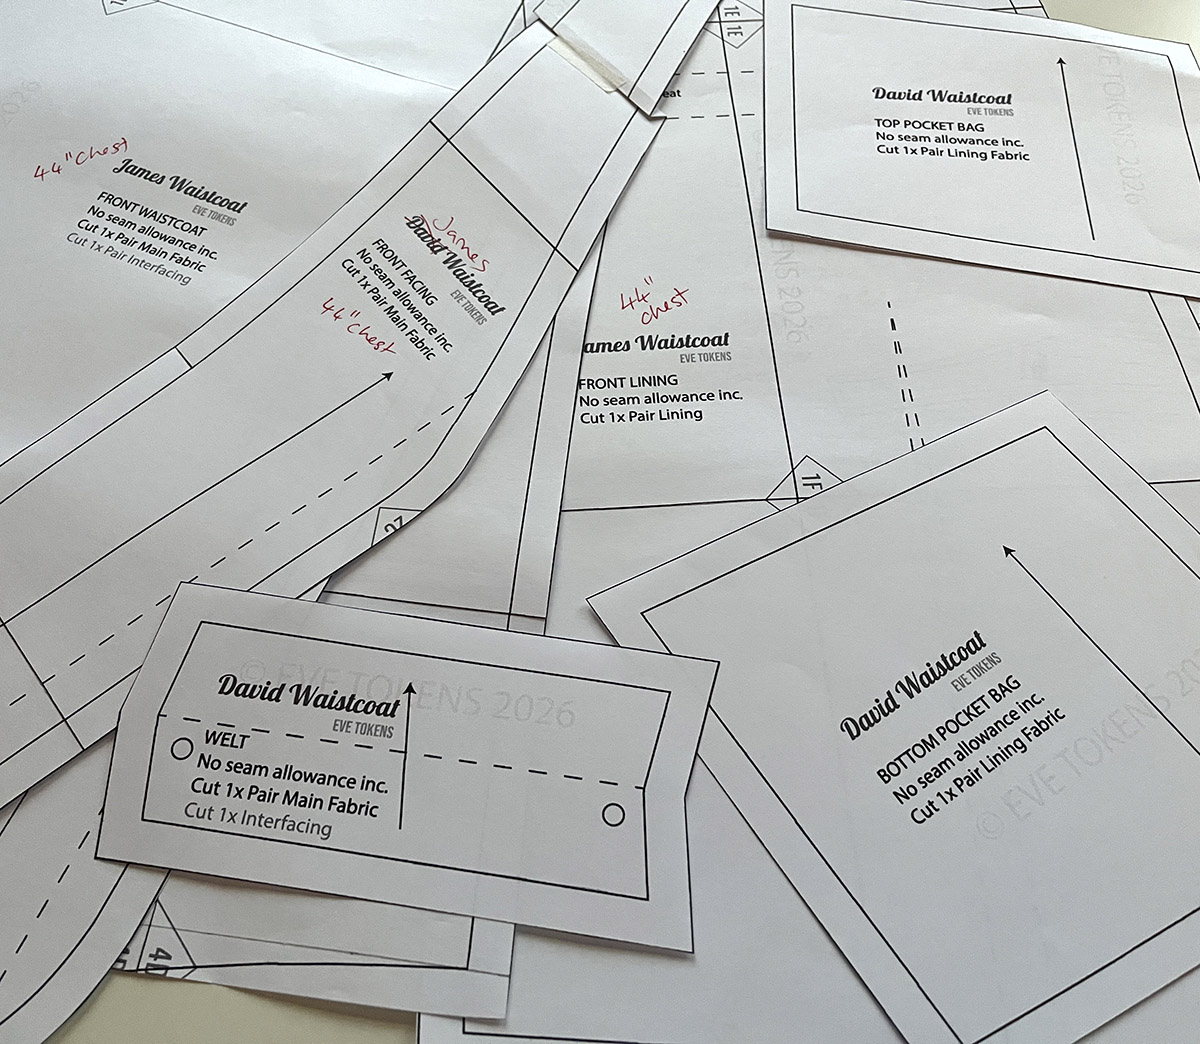
With the pattern fully graded – I then had to apply the same grade rule to the front facing and front lining pieces – I added seam allowance and printed the pattern.
Evaluating The Graded Waistcoat Pattern
After trimming and sticking the pattern together – easy to do while chatting on a call with my Creative Dressmaking membership – I cut the various pieces and borrowed David again to do a quick evaluation.
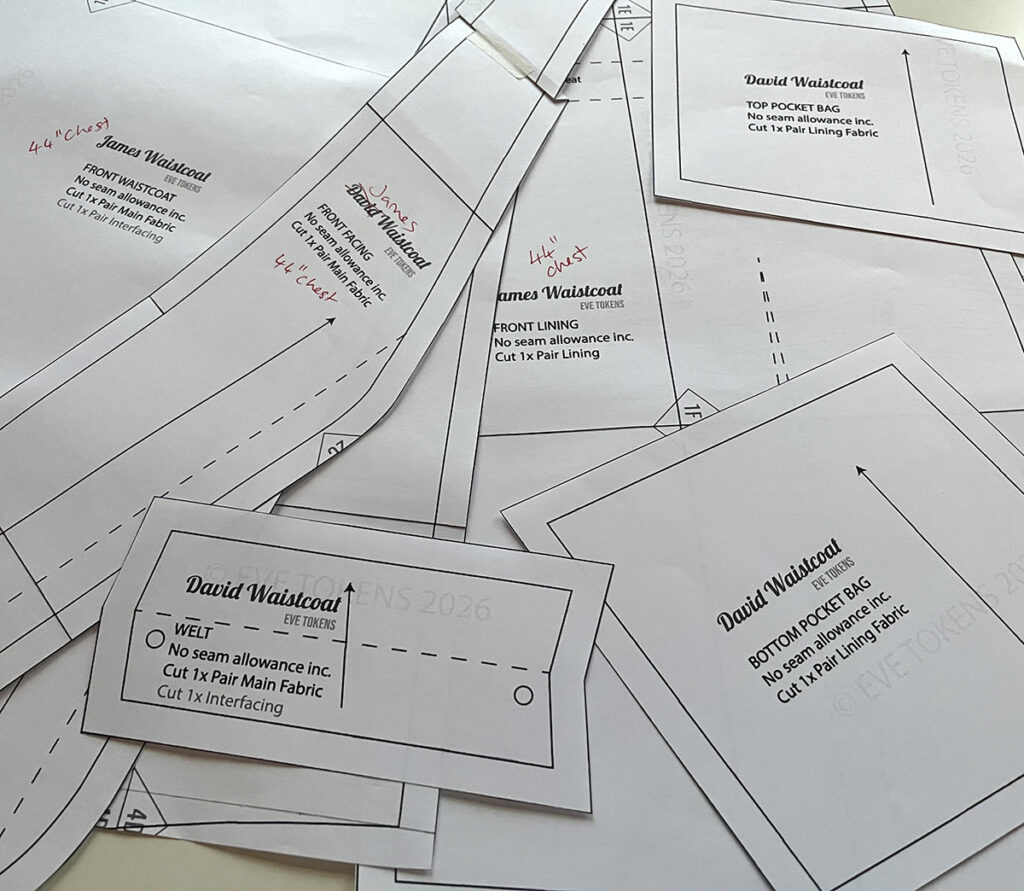
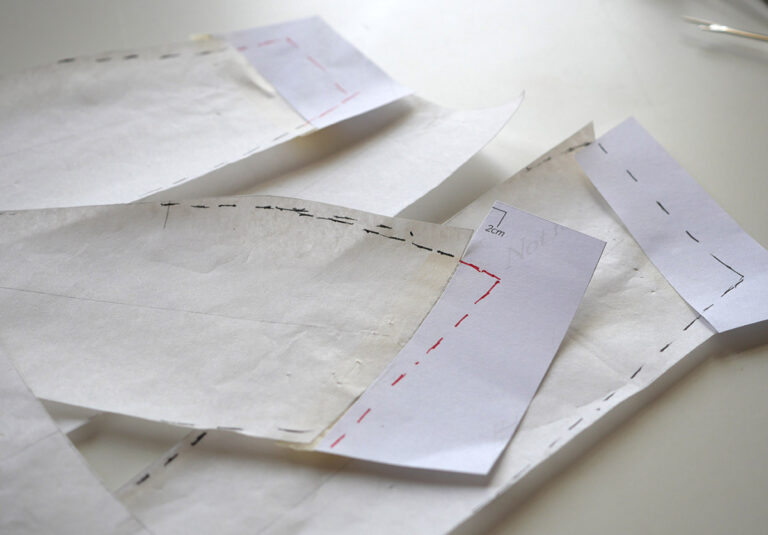
I could see that while it was bigger around the chest and waist, it would still be far too long for the best man, so I manually removed 1cm in the armhole depth on the front and back pattern pieces and then chopped the back hem off for a straight hem instead of the shaped one. Pretty sure it will fit him now!
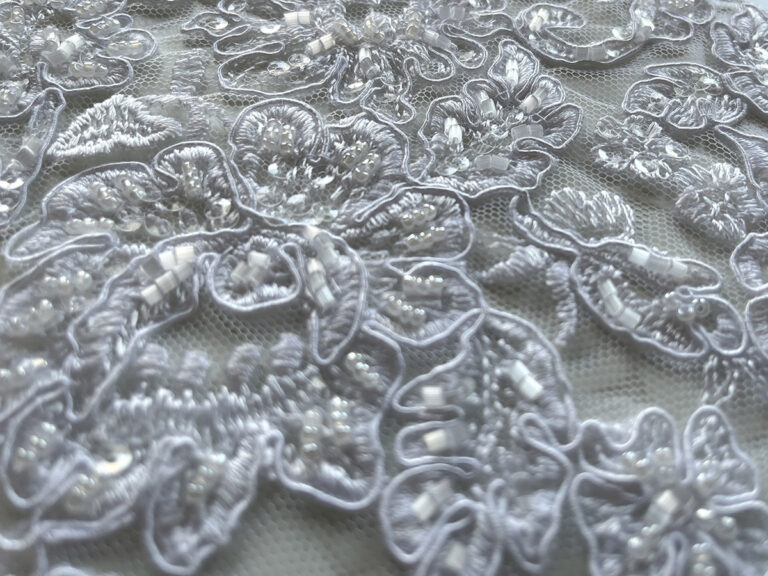
The next step is to cut the fronts, welts and facings from the special bridal fabric I purchased and then decide if I have enough of the viscose satin twill lining for the backs. Fingers crossed!