DIY Large Drawstring Bag Tutorial (+ FREE Pattern)
Who doesn’t love a large drawstring bag to throw things in when you’re heading out the door or give as a gift during the holiday season! Or maybe you want a large drawstring bag pattern to create your own laundry bags? This drawstring bag isn’t *quite* big enough for household laundry levels, but would certainly work as a travelling laundry bag!
A couple of years ago I was given a vegan leather drawstring bag. It was a great size, but poorly made, and fell apart quite quickly.
So, I put my noggin to use and recreated the pattern to make a better version for myself – and then thought it would be a great idea to make it available for my readers as a complete step by step tutorial!
So today, we’ll be drafting a drawstring bag pattern and then sewing one up.
Some of the links in this article are affiliate links. This means that I may receive a fee at no extra cost to you if you purchase a recommended product.
Tools You’ll Need
Here’s a list of the few tools you’ll want to gather up before starting to draft the drawstring bag pattern:
- Paper
- Pencil (2H or higher is best)
- Grading Ruler or Pattern Master
- Basic ruler if neither of the above is available
- Fabric
- Fabric weights
- Fabric scissors / rotary cutter
- Pins
- Sewing machine
- Or hand sewing needles
- Optional: overlocker / serger
- Optional: eyelets / grommets and an eyelet press
- 200 cm . 40 inches rope or ribbon, though self fabric can also be used (400 cm / 80 inches if you’re doubling up and making your bag as a rucksack style!)
Drafting The Large Drawstring Bag Pattern
The pattern needed for a large drawstring bag is very simple. We’ll be drafting a simple rectangle, with one turned edge to create a channel for the ‘drawstring’ part
Pattern Measurements
Let’s start with the measurements. I love the this size as the bag is then big enough to throw in a laptop / tablet and sits nicely on an adult sized back. For a small person, you could take off 25% – but I’ll have another tutorial on that, to show you how to make a drawstring bag with French seams!
- Width: 37.5 cm / 15 inches
- Length: 45 cm / 18 inches
You also need to add on your preferred seam allowance amount – I always stick with 1 cm, but you may like more to play with – but we’ll do that at the end.
Drafting The Bag Pattern
Grab your paper and pattern master / ruler / straight edge and draw a rectangle the exact dimensions above. You should have a rectangle that looks like this.

Take your ruler and mark a dotted line 3.5 cm in from one of the shorter edges. This will be the ‘fold line’ for the string channel.

Add another line 3.5 cm below this. You’ll be sewing up to this line later on.

Next, add on your chosen seam allowance amount, and mark in notches (A and B) to match key points when sewing. This is what your drawstring bag pattern should look like.

Sewing A Large Drawstring Bag
Let’s move onto sewing your drawstring bag!
Choosing Your Fabric

You can use many different fabrics to sew a drawstring bag. Here are some ideas to get you thinking:
- Heavyweight cotton
- Faux / real leather or suede
- Organza – delicate, but would be lovely as a gift for pyjamas or nightdresses?
- Quilting cotton – so many fun fabrics used for quilting
- Crocheted or knitted granny squares, sewn together
- Curtain or upholstery fabrics
- Denim – using up old jeans for a drawstring bag is a great recycling project!
You could even get really creative and patchwork together some of your favourite fabric remnants to create a block of fabric to cut out your drawstring bag!
Remember: your fabric choice needs to work with the drawstring you have decided upon, whether rope, fabric or ribbon.
Cutting Out The Pieces
Place your fabric right sides together, and place the pattern piece on top, so that when you cut your fabric out, you’ll have cut a pair.
If sewing a leather drawstring bag, or using any other non-grain material, cut your pieces one at a time to prevent slippage!
Place pattern weights on top to stop the pattern shifting (you can also use pins as I have done) and then use your fabric scissors or rotary cutter to cut around the pattern piece. Mark in the notches as you go.

Remove the pattern piece, and use pins for fabric, or clips for non-grain materials, to hold the sections together, making sure that they are right sides together! This is a super easy drawstring bag pattern so you’ll have this sewn up in no time.

Sewing The Large Drawstring Bag
We’ll start by finishing the fabric edges. (You can skip this step if your chosen fabric is non-grain material and won’t fray!) If you have an overlocker you can use this to close the raw edges otherwise use the zigzag stitch on your sewing machine.
It is important that this step is done first before sewing the pieces together as we need them ‘separate’ later on!
Next, sew from point A (notch) down, along the bottom of the rectangle, and back up to point B (notch) with your chosen seam allowance amount. It is important not to go beyond these points.
NB: If not using an eyelet, you will want to leave one inch opening on one of the lower corners rather than sealing them up completely!

Now we need to finish the section of the long edge that will be part of the drawstring channel. Turn and press the fabric from point A to the top on both pieces, and then the same for point B, folding only your seam allowance amount under, and pinning into place.

Topstitch this fabric in place, about 0.5 cm away from the edge. I used a zigzag stitch but you can also use a straight stitch. This will give the drawstring channel opening a nice clean finish!


Finally, fold the channel plus seam allowance down, wrong side to wrong side, at the marked fold point, and pin to secure.

Sew in place from the right side with your chosen seam allowance. I have again zigzag stitched mine.

Adding The Eyelets / Grommets
Now, grommets and eyelets aren’t essential, and if you do not have the tools already, you may prefer to create your drawstring from self fabric (meaning the same fabric you used for the bag). If this is the case you should have an opening at one of the bottom corners ready to insert your drawstring in the next step.
Start by choosing the right size eyelet or grommet that works with your chosen drawstring. If using rope, you’ll want a grommet as these are bigger, if using fabric for your drawstring, then an eyelet will be better!
Take a fabric marking tool and place a mark where you want your eyelet or grommet to go. Make sure that there is enough ‘space’ for the whole grommet without going into the seams!

Cut a small cross on this spot. Not too big, but it should be big enough for one section of the eyelet or grommet to pass through with a bit of a push!
Make sure you have gone through both layers of fabric! A handy trick is to place a little piece of double sided adhesive interfacing (like bondaweb) and bond the two pieces together before cutting your cross!
Place the piece with the column through the cross, and then place the second section on top. Use your method of choice to install the eyelet of grommet. (<– that is a step by step tutorial showing three different ways to install eyelets!)


I’m using an eyelet press which is a tad easier for this thick curtain fabric and grommets.


Inserting The Drawstring (Corner Method)
Use this method if you are not using eyelets or grommets on your large drawstring bag!
The last step is to insert the drawstring. To be an effective drawstring bag, you’ll want one piece of ready prepared rope, fabric or ribbon 200 cm / 80 inches each in length. So a total of 400 cm / 160 inches is needed for two if you’re making yours as a backpack style!
Take one 200 cm / 40 inch piece, and thread it through one channel and then the second so it travels back on itself. Make sure the center (100 cm / 20 inch point) is at the side seam edge!
Do the same for the second piece, but going in the opposite direction.
Take the two ends from one of the channel openings, and take them down to the lower corner, and pop them into the gap you left so that they are inside the bag. Pin in place to secure.
Finally, topstitch both bottom corners of the drawstring bag to secure the drawstring straps in place!
Inserting The Drawstring (Eyelet Method)
If you’re going down the eyelet route, the process is the same as the corner insert method, but instead of inserting the drawstring straps into the corners, you’ll want to put them through the eyelet or grommet and then tie them into a chunky knot to prevent them from coming back through.


You know have a simple DIY ‘sling it over your shoulder’ drawstring bag! You can of course double up the rope to make your bag a backpack style.
DIY Drawstring Bag Variation
The above tutorial is for a backpack style drawstring bag. You could also use just one length of rope, fabric or ribbon that it 200cm / 40 inches long.
Thread it through the channels once, then bring both ends together and insert in the bottom corner (or knot through an eyelet / grommet) and you have a swimming kit style drawstring bag.
A super easy stash-busting version of a large drawstring bag in no time. Give it a go, and let me know how you get on!


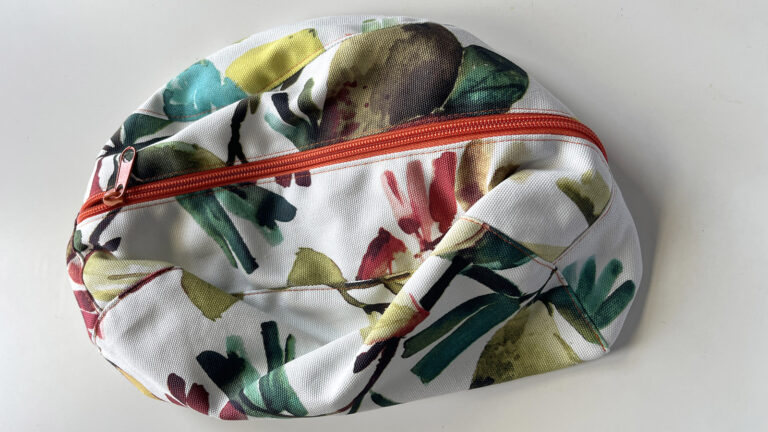
From curtain to epic upcycled drawstring bag. I have so much of this curtain fabric left, I’ll be making more I’m sure, despite my Mum’s cries of ‘but it’s old and fraying’…