Threading a sewing machine is a simple task – when you’ve done it a few times! But for a sewing beginner it can seem like quite a daunting task!
Learn how to thread a sewing machine with this 7 step guide, perfect for sewing beginners who are not sure how their sewing machine should be threaded up but are ready to give it a go and get stuck in.
This is also lesson 3 in my ‘learn to sew series’.
You’ll feel more confident that your domestic sewing machine is threaded up correctly and will be ready to sew up a storm!
When you’re ready, I also have this tutorial on how to use a sewing machine for beginners!
What You’ll Need To Thread A Sewing Machine

As long as you have a sewing machine to thread up, there isn’t much more that you need, though many people find a small pair of snips or scissors come in handy for neatening your sewing thread end before threading the needle.
To that end, you may find a needle threader is handy too.
- Sewing machine
- Thread
- Small snips or scissors
- Needle threader (optional)
Step 1: Load The Thread Onto The Thread Spool


Let’s start by threading the upper thread! Grab a spool of your sewing machine thread of choice – cotton thread or polyester thread works well, avoid silk thread for now!
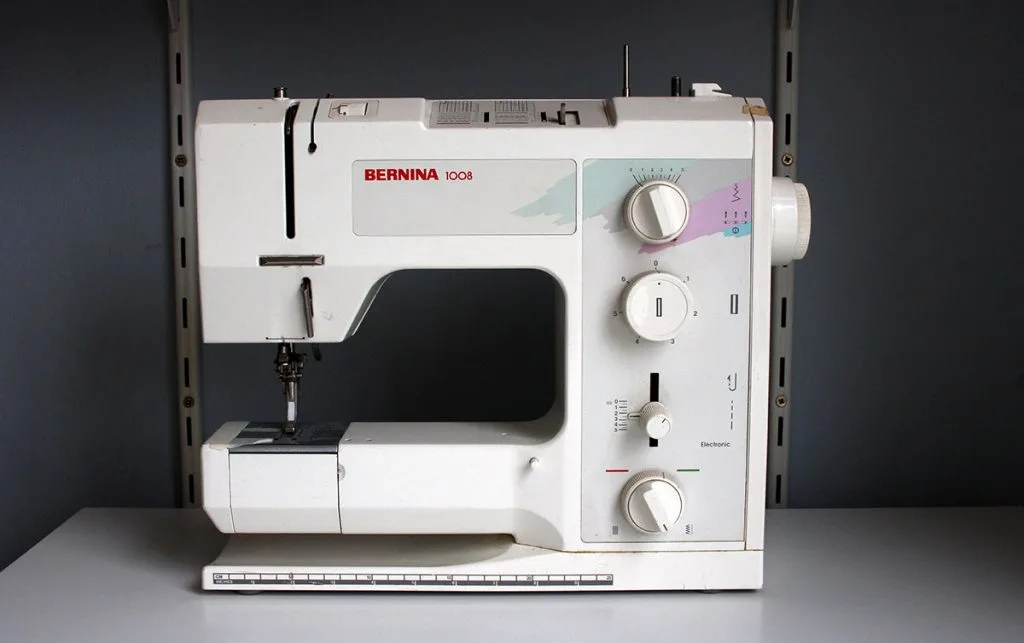
Place the thread spool on the spool pin which sits on the top far right of a sewing machine.

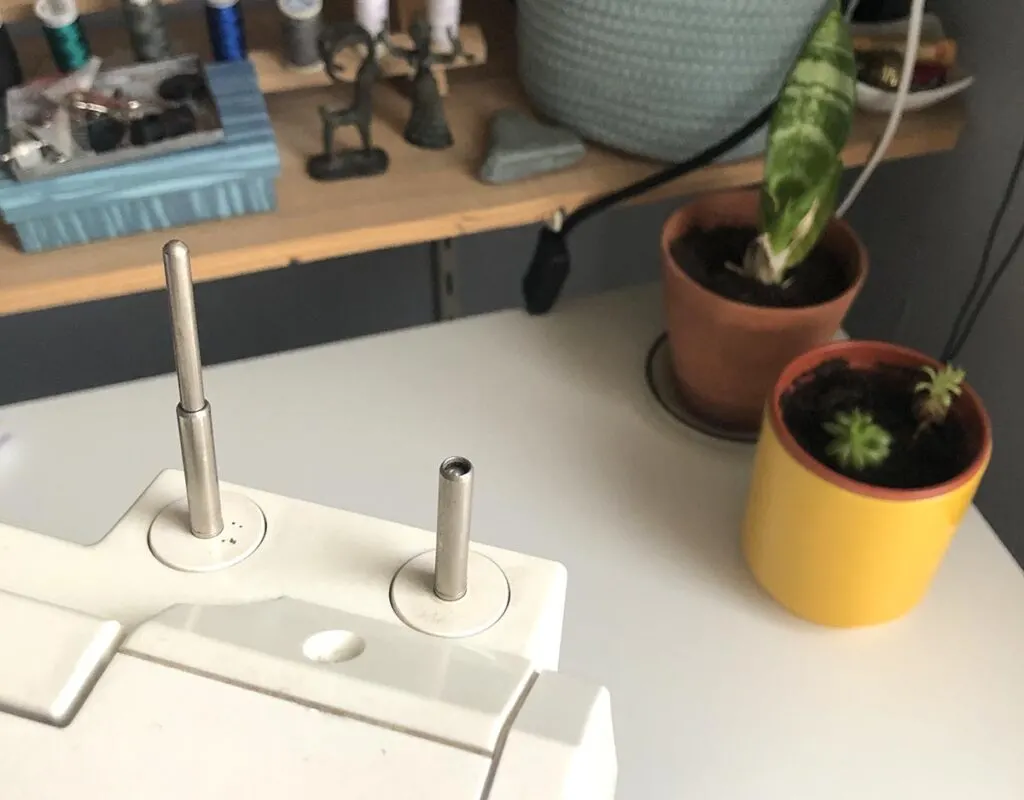
Mine is a standing spool holder, but you may have a horizontal spool pin – they work in the same way – and then is you have one, secure the thread spool in place with the spool cap.


Step 2: Guide The Thread Through The Upper Thread Guide


On the upper left of your sewing machine, you should see the upper thread guide. On my sewing machine it is a narrow piece of metal with a slot that I guide the thread through.
My mum’s old sewing machine has a plastic upper thread guide, which does the same job, guiding the thread from the thread spool to the tension discs.
Step 3: Create Tension With The Tension Discs


Your thread tension is very important when sewing and if stitch tension is off, it can result in a skipped stitch or two and even seam puckering!
Draw the thread from the upper thread guide down and around the tension dial which usually contains the tensions discs, though they may not be visible on your sewing machine.

My Bernina has side-on tension discs set just below my upper thread guide, so for me there is an additional step to guide the thread from between the tension discs and down to an additional hook to create the tension.


Step 4: Control Thread With The Takeup Lever


Use the hand wheel on your sewing machine to make sure the take-up lever is in the furthest up position, and then guide your thread through this.
You may have a small hole in your take-up lever that you guide the thread through.
Mine is again a piece of metal with a slot in leading to the hole, which makes it a little easier and faster to guide the thread through.
Step 5: Guide Thread With Thread Hooks Above The Needle


You’re now on the needle section of your sewing machine and it’s time use the small wire hooks to guide the thread.
You may have two of these wire thread hooks – one sitting below the take-up lever and the second is often part of the shaft where the needle clamp is.

Some people do not use these extra guides but I prefer to thread my sewing machine properly to lessen the chances of seam puckering or skipped stitches.
Step 6: Threading The Needle


Now we get to the needle threading part! Not anyone’s favourite task I’m sure – my mum will always ask me to thread her needle for her when I’m home because her eyes do struggle to see the needle eye clearly.
If you have an automatic needle threader, lucky you!
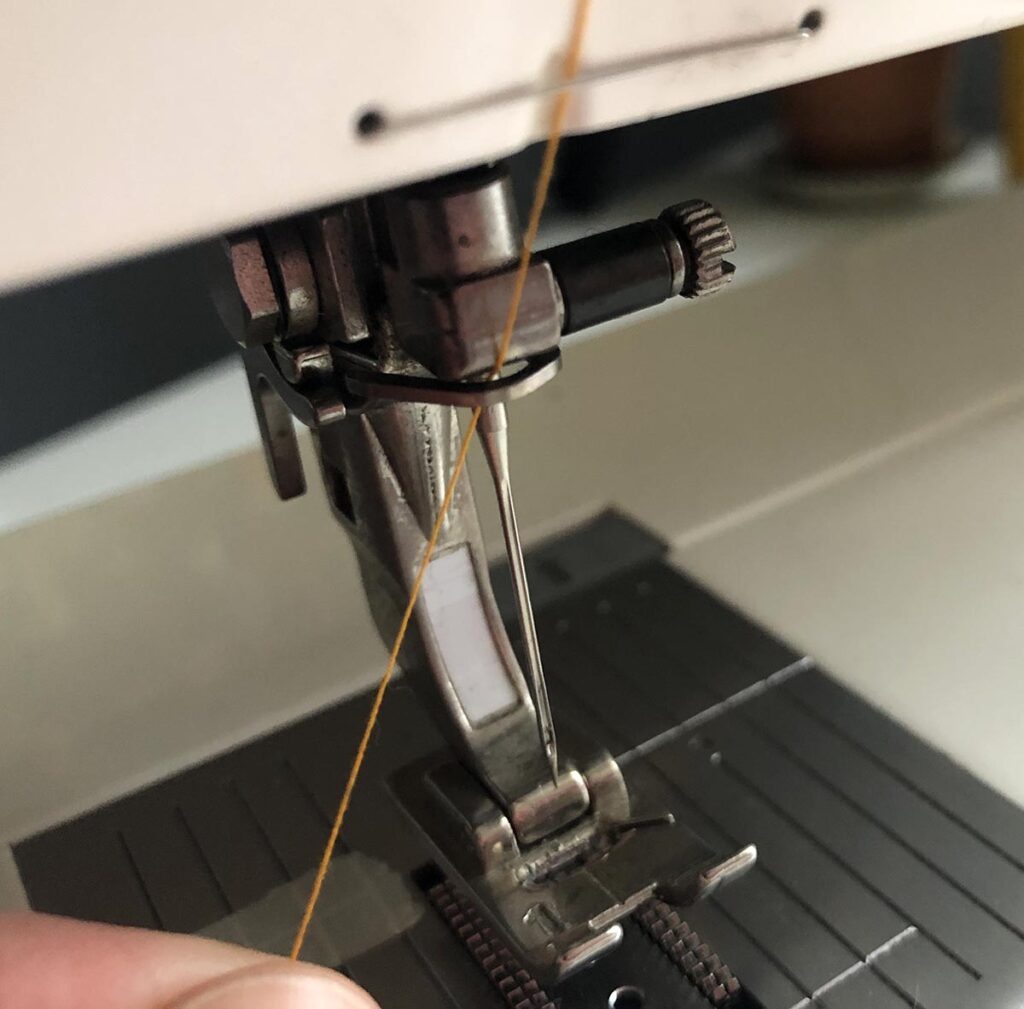
For those reading this who don’t have an automatic threader, make sure that the needle is securely in position in the needle clamp.
Also, lowering the presser foot to the needle plate will give you more room to see for threading the needle.
Use the snips or small scissors to make a clean cut of your thread – this will give you a clear point to use – and guide the thread tip to the needle eye.
If your eyes are good (mine struggle) you can poke the thread through the front of the needle eye with your dominant hand, and then pull it from the back of the needle with your other hand.

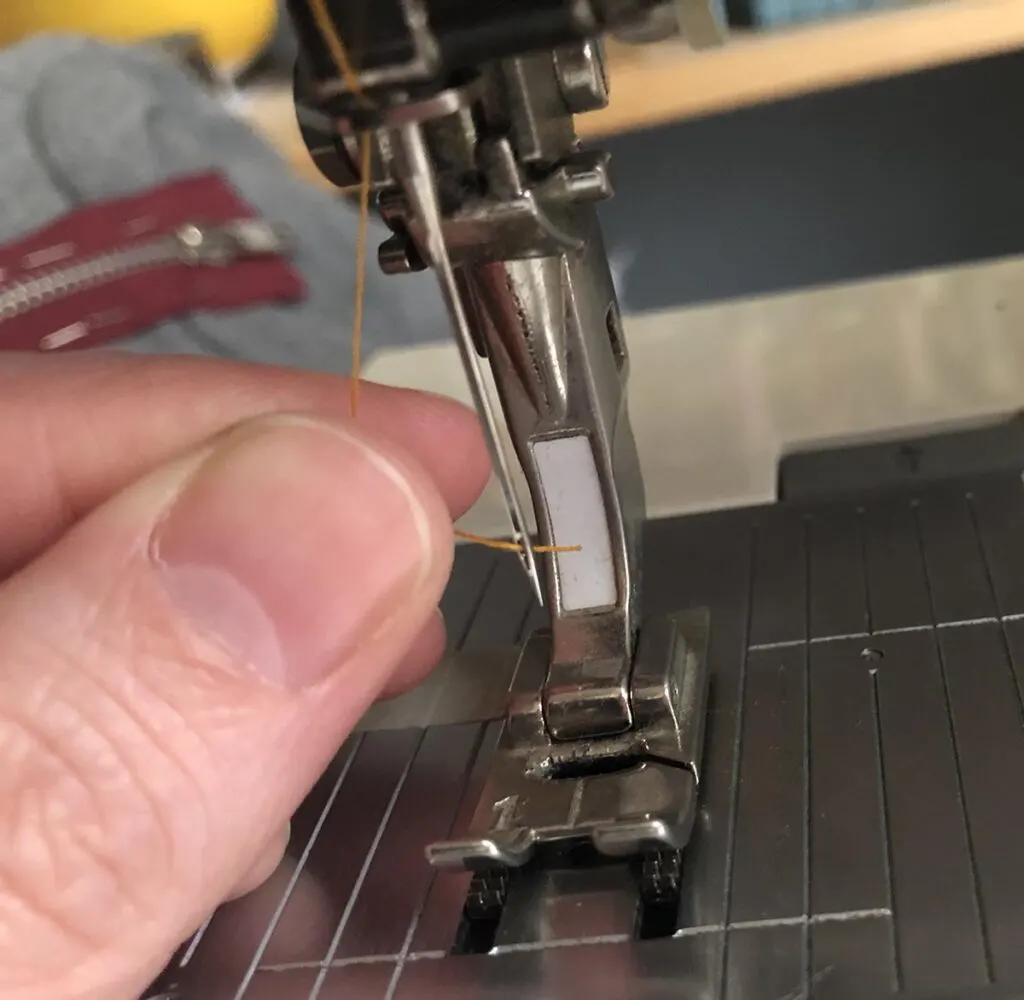
Be careful to pull it slow and steady, because the tension discs will be applying tension, and if you pull too fast the thread may spring from your fingers and back out of the needle. Ask me how I know!
Step 7: Loading The Bobbin
The top part of your sewing machine is now fully threaded up, but you still need to thread up the lower section of your sewing machine.
This is where the bobbin comes in!
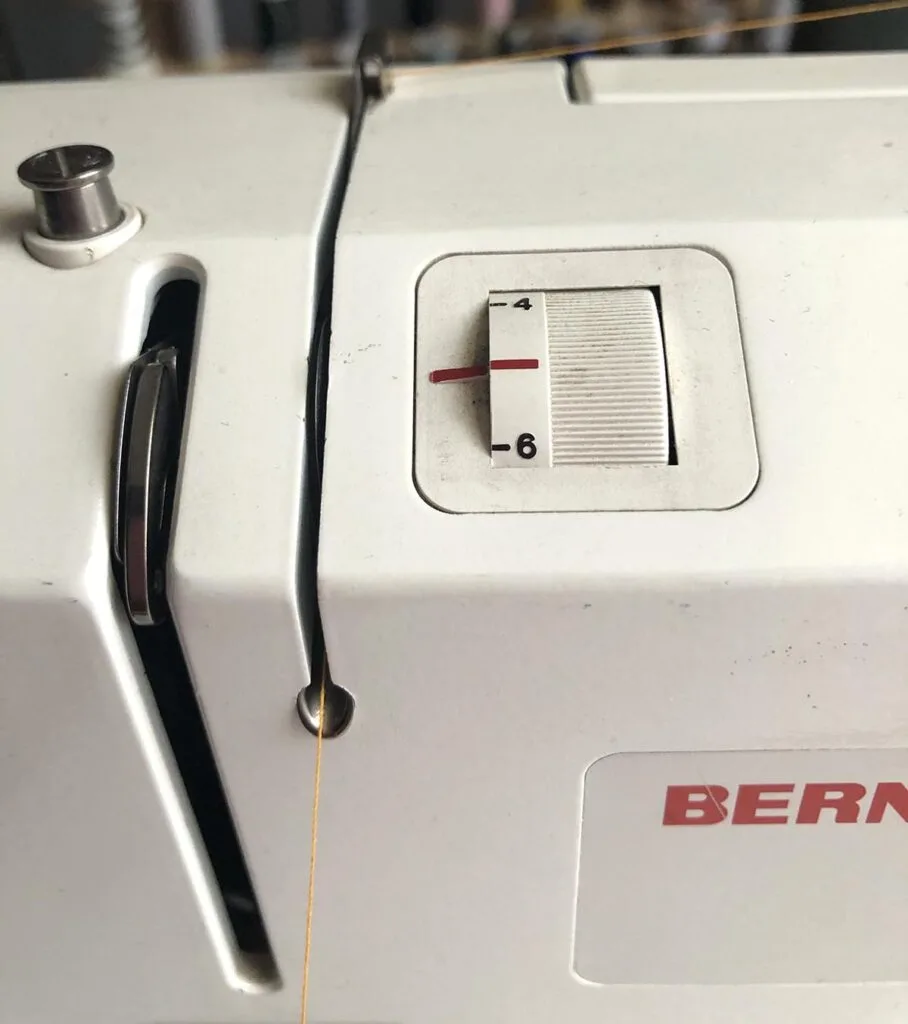
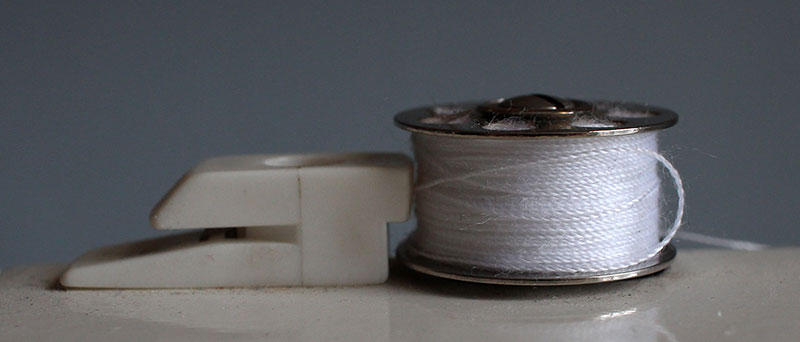
Start by loading a bobbin using the bobbin winder – my bobbin winding happens on the top right of my Bernina in line with the thread spools, whereas on my old Singer, the bobbin is wound on the balance wheel which is a completely different experience.
Fill the bobbin until the bobbin stops spinning on the bobbin pin.
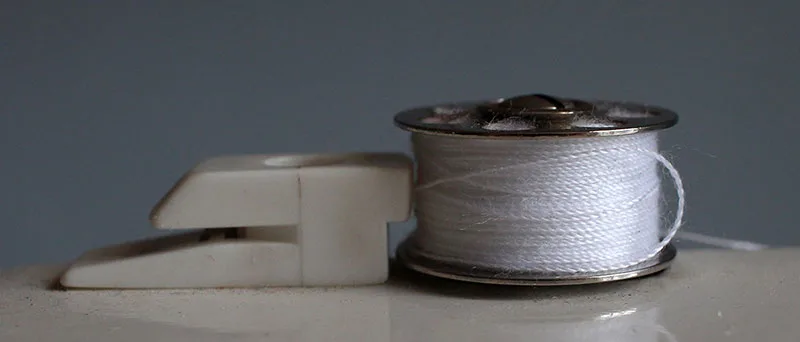
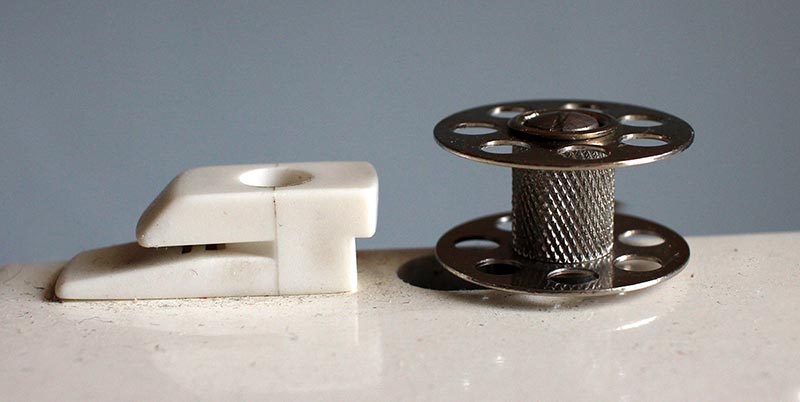
Pop the bobbin in its bobbin case.
If you look closely at the bobbin case you may see a small screw just visible.


This is where the bobbin tension is adjusted, but it is very rare that you would need to do this. I’m just highlighting that this is where you would modify the bobbin tension!
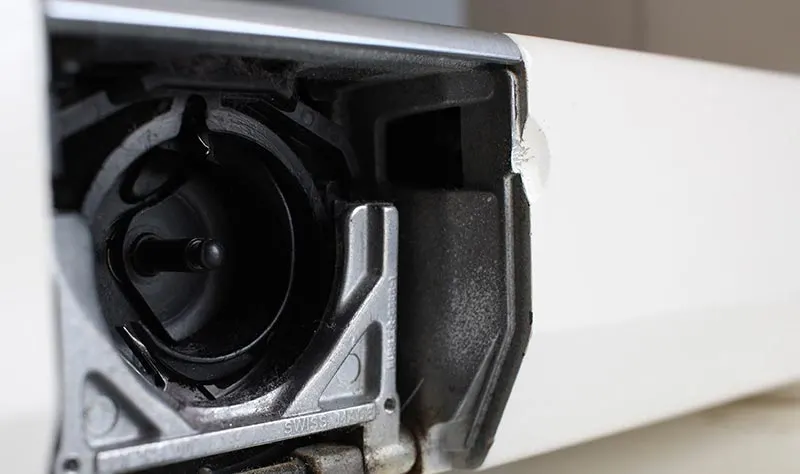
Pop the bobbin case into the bobbin holder on your sewing machine. It should fit neatly over the bobbin pin.

If your sewing machine has a top-loading bobbin, then your bobbin holder will be accessed from the needle plate below the presser foot. In this case you’ll need to raise your presser foot first to allow the bobbin holder to open.
This is how the bobbin is loaded into my Singer 66.


Or, you may have a front loading bobbin house like my Bernina, and instead you’ll slot the bobbin case into position on the bobbin pin until it ’clicks’ into place.
Close the lid, raise the presser foot and use the hand wheel to slowly lower the needle.
While your right hand is turning the wheel, you’ll want to have you left hand holding onto the top thread at the back of the needle, so that as the bobbin thread appears through the hole in the needle plate, you can lift the top thread to tug the bobbin thread all the way through.


And now you have a fully threaded sewing machine!
Do take the time to thread your machine a few times so that it becomes easy to do – in no time at all you’ll be able to thread it up in a moment which is super handy for those times when your bobbin runs out and you need to rethread your machine after filling your bobbin.
And then you should grab some fabric and have a go at stitching some lines.
Try different fabric weights and play around with the stitch options on your sewing machine.
Monitor the stitches for skipped stitches, seam puckering and stitch tension.
And make a note so you have the information for future reference.
Finally have fun. Now that you know how to thread your sewing machine, the world is your oyster. Think of all the sewing projects you can sew and have fun with!
Working your way through my ‘Learn to sew’ series? Lesson 4 for you is ‘sewing machine stitches’.
cary
Saturday 27th of February 2021
wooow Eva the steps on how to thread a sewing machine are awesome. Trouble some when its time to fix the thread through the needle my eyes are kaput even at times when my glasses are on finally with enough struggle i have to fix it in order to complete a garment thanks