Free Little Wallet Pattern
I love a good little wallet, but I don’t necessarily want to buy all the possibilities available, mostly because of my sustainability beliefs, but also because where would I put them all? Which is why I have this fab free little wallet pattern!
Back when my fashion label existed and showed at Brighton Fashion Week, I had a super simple and easy to create wallet – literally two lines of stitching and stud closure – and it was a fab product!
Whether I sold the wallet in leather, encrusted glitter, laminated lace or sheepskin, it consistently sold really well.

Nowadays, I make them as easy DIY Christmas gifts for people, but being that the pattern is just sitting there in my folder not doing anything, I decided it’s time to release it as a free sewing pattern – because it is SUCH an easy sewing project!
So here it is, my free little wallet sewing pattern, and I don’t even want an email address for it! 😉
Some of the links in this article are affiliate links. This means that I may receive a fee at no extra cost to you if you purchase a recommended product.
What You’ll Need To Make Your Free Little Wallet Pattern
Let’s break this down into two categories!
Materials To create Your Wallet With
- A medium to heavy weight fabric
- Interfacing (optional)
- Sam Browne stud (or you could sew a button hole)
- Sewing thread
Tools To Make Your Wallet
As well as the usual suspects on my essential sewing tools list below there are a couple of additions marked with an * that you will definitely be needing:
- Sewing machine or hand sewing needles
- Serger / overlocker (optional)
- Seam ripper
- Tape measure
- Pattern weights
- Dressmaker pins
- Fabric scissors or rotary cutter (and a cutting mat for the latter!)
- Snips
- *Seam roller (optional)
- Iron
- Pressing mat or ironing board
- Tailors ham
- *Hole punch
Wallet Sewing Pattern Dimensions
My free wallet sewing pattern can easily be scaled up to create a larger wallet, but the pattern I’m giving you is for a little wallet, which is plenty big enough to fit several debit / credit cards, some paper cash and a key.
The finished dimensions of the wallet are:
- Height: 8cm
- Width: 11cm
I have a fab sparkly black glitter version which I’ve used for years, and my BMF loved his so much that I gave him my spare one! This is what it looks like open with cash stashed inside.

And this is what it looks like closed!

Suitable Fabrics And Materials For The Wallet
If you’re going to use a regular woven fabric, at a medium weight, you’ll want to interface the fabric to give it extra stability. I recommend only using materials that are heavy weight – up-cycled leather, felt etc. Heavier weight fabrics will make it easy to construct and non-woven materials that are grainless will mean less finishing!
Here’s a list of possible fabric options to use for your free wallet sewing pattern:
(Note. the animal products listed here are ones I have previously worked with in an up-cycling method – I didn’t buy the skins)
- Leather
- Suede
- Encrusted fabric
- Sheepskin
- Heavy weight denim
- Heavy weight cotton or drill
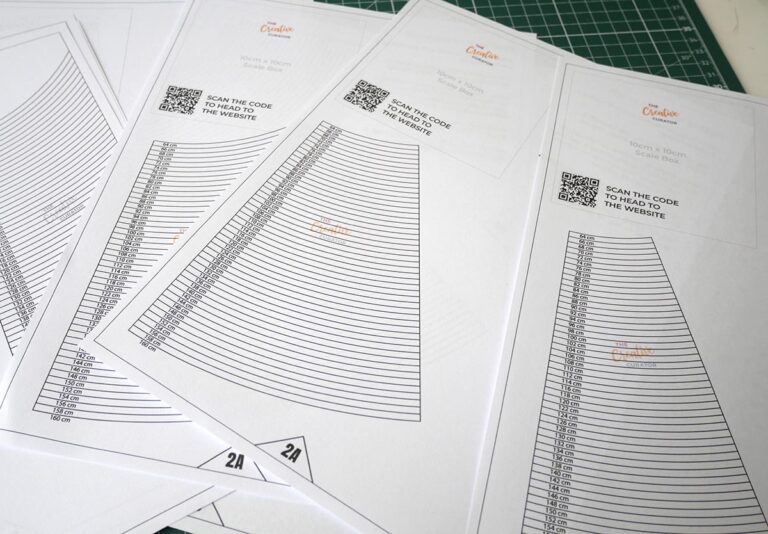
Downloading The Free Wallet Sewing Pattern
If you’re ready to get cracking, here’s that link again to the free wallet sewing pattern for you to download. It’s created at scale for printing at A4 dimensions, so make sure to check your printer settings before printing it off. You can always add a little extra around the perimeter of the pattern if it looks like it came up a little smaller than planned.
Cutting Out Fabric / Materials For The Little Wallet Pattern
The final step is to cut the fabric ready to sew the wallet!
Place the paper pattern on your fabric or material of choice, cut around the pattern carefully. Make sure to mark in notches and drill holes!

Sewing Your Little Wallet
Now that you have everything ready to go, let’s get sewing!
Step 1: Preparing The Seams
I’m using clips to hold my seams together because I do not want the vegan leather I am using to have the visible holes that would be created if I were to use pins.
If you’re using fabric, you can of course us pins, and press the fold line as well for a nice sharp finish.

If you’ve decided to use a button instead of a Sam Browne stud (whether shanked or a 2- or 4- hole button) you may find it easier to sew it in place before sewing the side seams of this lovely little wallet, as you’ll have a little bit more space to hand sew.
Step 2: Sewing The Two Side Seams
Using an appropriate thread and seam finish, sew the two side seams on your wallet. For my version, I am sewing with heavy top stitching thread so that it stands out against the vegan leather.

If you’re using a friable fabric, consider sewing with French seams to prevent having frayed fabric, or you could create your little wallet from two pieces of fabric and bag it our before sewing the side seams.

I probably ought to have lined my version – the lines on the inside of my vegan leather wallet were actually drawn in by the designer that created the original product – a vegan leather drawstring bag that I really didn’t like! So, I took it apart and am up-cycling the material in different ways!

Step 3: Top Stitching The Opening
Now we’re going to continue the topstitching from one side seam, along the point and down to the second side seam. Make sure to sew this line of top stitching with the fabric or material right side up as this will prevent the feed dogs from possibly marking any material that isn’t a woven fabric!

Step 4: Making The Little Wallet Opening Secure
Now we need to create a small hole on the wallet so that it can be used to secure the wallet when the flap is closed!
Mark in the location, and grab the hole punch, and make a hole that is slightly smaller than the size of the Sam Browne stud you’ve chosen to use.

If you’re not using a Sam Browne stud, you could also sew a button hole here (vertical towards the point, not horizontal!) and use a button for your fastening instead!
I have this great post about different clothes fastenings that you may find inspiring ideas from!
Step 5: Adding The Wallet Closure
Grab a marking tools (I’ve used a pen on mine) and mark the point where your sam brown stud (or other fastening type) will be placed. You can do this by folding the flap down so that the first hole you created can be used as a guide. You should just about see a slightly darker blob on the photo below – this is my marked point.

Grab the hole punch again if going with the Sam Browne stud, and make a much smaller hole, just big enough for the stem of the screw part to go through.

Feed through the screw part, as seen below.

Place the upper part of the stud on top, and screw it over the bottom section.

You may need to use a flathead screwdriver to tighten it from the inside – the one from your sewing machine should be perfectly sized!


Finally, trim the edge of the wallet (very carefully!) with your rotary cutter or craft knife top get a nice crisp finish.

Funky Edge Finishing The Wallet
If you don’t like a simple raw edge finish neatly trimmed away (which I used on my vegan leather version below!) another method you can use to finish the raw edge of your DIY wallet is to apply narrow bias binding from the bottom corner on the left side, up to the top apex, and back down to the lower right corner. I’ve included a basic template in the pattern for you to make your own bias binding using this tutorial!
Final Photos Of The Finished Little Wallet!
I’m not gonna lie – I love this little wallet! It’s so cute, and such an easy make – it took me less than 15 minutes total so would definitely make an easy sewing project for you if you plan to make some hand sewn gifts!
Imagine all the different versions you could sew to give as gifts! Will you be having a go? Let me know in the comments below!